


Guide
Ink/Stitch Lettering
Ink/Stitch
A practical starting point for adding text to an embroidery project.
Embroidery digitizing, vector artwork, patches & stickers
 DigitEMB University
Practical learning
Clear lessons, practical tools and production knowledge from the people behind thousands of stitched designs.
Start learningUniversity Learn
Choose your route
Pick the part of embroidery you want to understand, then move from the idea to something you can use.
First project
Understand artwork, size, fabric and the details your digitizer needs.
Explore
Build your skill
Explore the choices behind clean coverage, readable detail and stronger sew-outs.
Explore
Make it real
Choose the face, border and backing for the job you need to make.
ExploreGuided practice
Use a practical guide before you open software, prepare artwork or order a patch.
Build confidence with four short, browser-based production exercises.
Inside this guide
See how artwork decisions become cleaner, more reliable stitches.
Inside this guide
Look up the machine, file and stitch terms used throughout production.
Inside this guide
A simple learning rhythm
Move from the artwork brief to the stitch plan, then use a practical check before production.
Confirm artwork, finished size, fabric and the way the design will be used.
Learn how stitch direction, density, underlay and detail affect the result.
Review the lesson against your artwork or a sample sew-out before production.
Learning paths
A guided route from your first brief to a finished sew-out. Each path gives you clear milestones, practice and a useful next move.
Beginner · 7 steps
7A short, practical path for business owners and decorators who are about to send a logo to a digitizer. You will learn what digitizing involves, find the right artwork, choose a size and placement, simplify the design for thread, write a clear brief and check the proof before anything is stitched in quantity. Use your machine and material instructions for production settings.
Beginner · 7 steps
7For anyone ordering custom patches for the first time. The path takes the decisions in a sensible order: what the patch is for, its size, the patch type, backing and border, colors and artwork, quantity and timing, and finally checking the proof and applying the patches. Each step ends with a short checklist. Use your machine and material instructions for production settings.
Beginner · 4 steps
4Build a simple job estimate from real quantities, setup work, production time and material costs. Compare markup with margin, check your assumptions and prepare a clear quote before accepting the order.
Intermediate · 7 steps
7An intermediate path for people who want to digitize their own designs. It covers a sound working setup, the three core stitch types, underlay, pull and push compensation, density and stitch length, sewing order, and how to test and read a sew-out. Each step ends with a practice task for your own software. Use your machine and material instructions for production settings.
Tutorials & guides
Browse a focused first set, then open more cards when you are ready to go deeper.
Designed to stay calm and easy to scan—even as the learning library grows.
Ink/Stitch
A practical starting point for adding text to an embroidery project.
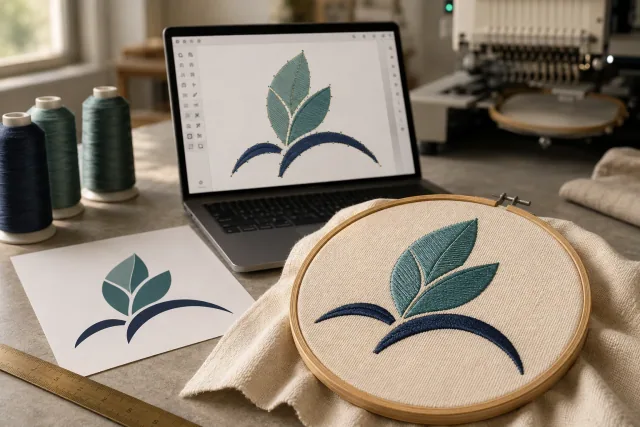
Ink/Stitch
Start here to understand the basic path from vector artwork to an embroidery design.

Google Search Central
Use the URL guidance when planning categories, filters and product variants.
Google Search Central
A reference for understanding ways to share product information with Google.

Google Search Central
Use the site-structure guidance when organizing products and categories.
Design Doctor
Upload it to Design Doctor for a free readiness check. You get a score for embroidery, patches, vector and print, with plain-English notes on what to change before you order.
DigitEMB University is a practical industry learning platform by DigitEMB and is not an accredited university or degree-awarding institution.