
Learning path · Intermediate
Learn embroidery digitizing
Turn simple artwork into a thoughtful stitch plan. Learn stitch types, underlay, compensation and sequencing, then test your design on fabric. Seven practical steps to a more confident digitizing workflow.
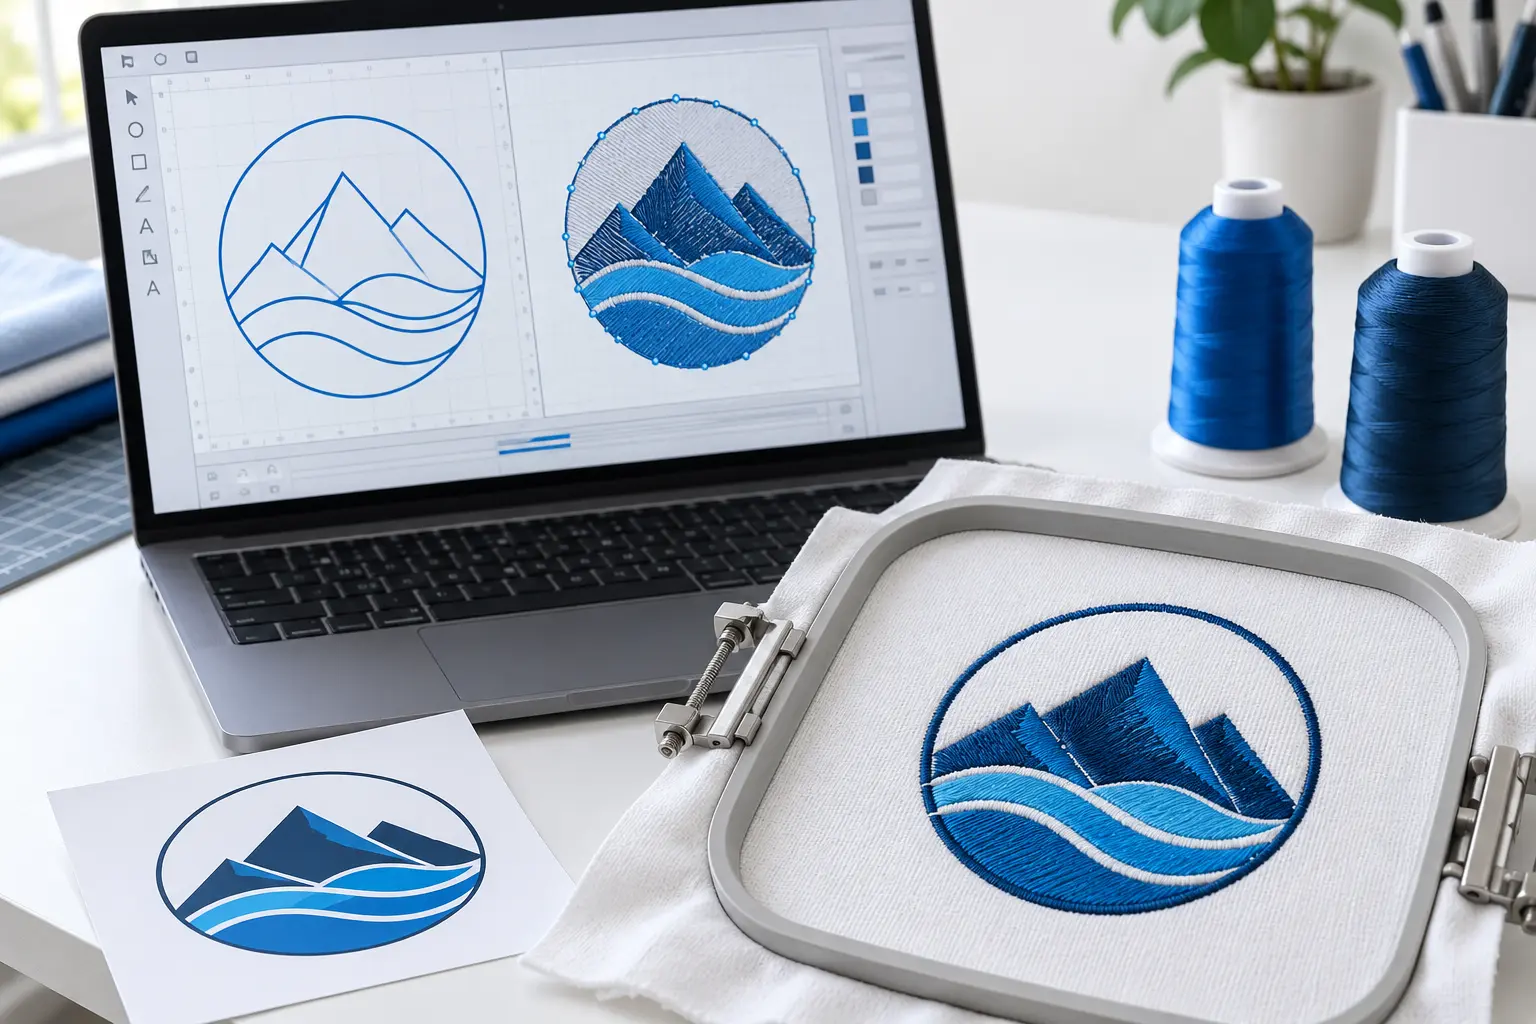 Topic illustration
YOUR LEARNING ROADMAP
Build your skills, one stitch at a time.
Follow the steps in order, or return to a skill you want to practise. Read, make a sample, then check your understanding.
Set up your workflow
Organize artwork, editable files and test materials before digitizing.
Create a project folder and a design brief.
Choose the right stitch type
Choose running, satin or fill stitches and control their direction.
Digitize a circle, a ring and a letter.
Build a foundation with underlay
Match underlay to the shape and material so top stitches have support.
Compare three versions of a satin letter.
Correct for pull and push
Understand pull, push and overlap by comparing a drawing with a sewn sample.
Measure a circle on knit and woven fabric.
Set density and stitch length
Read density and stitch-length controls, then compare physical samples.
Sew one fill square at three densities.
Plan the sewing order
Review layering, travel stitches, trims and color changes together.
Reorder a logo and compare its stitch plan.
Test, read the sew-out and adjust
Inspect alignment, coverage and fabric movement before making a revision.
Document one useful change for each fabric.
BRING IT ALL TOGETHER
One logo.
A complete workflow.
Turn your practice into a documented sample project, from the first brief to a tested machine file.
See the project checklistBefore you begin
This intermediate path is for people who have already stitched ready-made files. Have digitizing software, simple artwork and suitable test materials ready.
Make time for the making
The existing guide estimate is about 120 minutes. Allow additional time for the practical samples, machine setup and revisions; work at your own pace.
- Who it is for
- Decorators, embroidery shop staff and designers who have stitched ready-made files and now want to build their own.
- By the end
- You can digitize a simple logo with suitable stitch types, underlay, compensation, density and sewing order, then test it and fix what the sew-out shows.
Step 1: Set up your workflow
Digitizing goes more smoothly when the setup is right before the first stitch.
Software. Choose a program with manual digitizing tools, not only lettering or editing. Options range from free, open-source software to professional suites sold in levels. Compare the current feature lists and documentation, and check which edition includes the tools you need before buying.
Working file first. Save each project in the program's own working format, and export machine files from it. The working file keeps shapes and settings you can edit later. An exported stitch file may retain stitch commands and some metadata, but it need not preserve the editable objects and settings in the working file.
Artwork. Start from clean artwork at the finished size. Vector art is easier to trace accurately. Set the design size in real units, not pixels, before you start.
Auto-digitizing. Review the generated stitches and test the result on the intended material. Manual tools let you adjust problem areas; automatic conversion does not replace checking a real sew-out.
A test kit. Keep offcuts of the fabrics you stitch most and the stabilizers you use, so every test matches production.
Practice: make a folder for one simple logo with the artwork, the working file and a notes file.
- Glossary: digitizing and working files →
- Embroidery file formats: choose for your machine →
- Academy lesson: Preserve physical size →
- Wilcom: embroidery file types ↗
Check yourself
Step 2: Choose the right stitch type
Most designs are built from three stitch types. Choosing the right one for each shape is the first real digitizing decision.
- Running stitch: a single line of stitches. Use it for fine outlines, small details and hidden travel paths between parts. A triple or bean stitch repeats the line for a bolder outline.
- Satin stitch: stitches that zigzag from side to side across a column. It has a smooth sheen and suits borders, narrow shapes and most lettering. Very narrow satins look thin and can sink, and very wide ones make long, loose stitches that can snag. Check the supported width and splitting options in your software, then test the result with the intended thread and material rather than applying a universal width range.
- Fill stitch, often called tatami: rows of shorter stitches that cover large areas. The pattern of needle points in each row can be varied for texture.
Stitch angle matters too. Thread reflects light, so two areas of the same color sewn at different angles can look like different shades. Use this on purpose, and keep angles consistent where areas should match.
Practice: digitize a solid circle, a thin ring and one letter, using each stitch type at least once.
- Video: Manual digitizing basics in Hatch Embroidery →
- Book: Punch - Digitizing for Embroidery Design →
- Wilcom: satin spacing and width ↗
Check yourself
Step 3: Build a foundation with underlay
Underlay is a layer of stitches sewn before the visible top stitches. It holds the fabric to the stabilizer, gives the top stitches something to sit on and stops them sinking into the fabric.
Names and implementations differ by program. Common types include:
- Center run: a single line down the middle of a narrow column. Light support for small satins and lettering.
- Edge run (contour): runs just inside the outline. It helps satin columns keep crisp edges.
- Zigzag or double zigzag: a loose zigzag under wider satins that adds loft and support.
- Fill underlay (lattice): open rows under a fill, usually at an angle to the top stitches.
Match underlay to the fabric. Stretchy knits and pile fabrics such as towels and fleece need more support, and on pile a light knockdown layer can flatten the surface before the design. Firm wovens need less.
Too little underlay lets fabric show and edges wobble. Too much makes the design stiff and bulky.
Practice: sew the same satin letter three times, with no underlay, a center run and an edge run, and compare the edges.
- Glossary: fabric support and stabilizers →
- Glossary: topping →
- Video: The one stabilizer rule most embroiderers get wrong →
- Madeira: choose stabilizers for the material ↗
Check yourself
Step 4: Correct for pull and push
Stitches can pull fabric inward where the needle penetrates. Stitch buildup can also push or distort other parts of a shape. A circle may lose its roundness, or an outline may no longer meet its fill. Digitizing, support, hooping and machine setup all influence the result.
Pull compensation adds a little width to shapes, so they sew at the size you drew. Most software sets it as a fixed amount, a percentage or both. Use the software's documented fabric settings as a starting point, then compare the intended dimensions with a sew-out. Adjust the relevant objects rather than applying one compensation value to every design.
To address push, inspect where the sewn shape grows or overlaps. Review stitch angles, sequence, shape and support with the software's documentation. A correction that helps one area may change another, so test again.
Other habits help too:
- overlap fills slightly under outlines and neighboring shapes
- sew outlines after the fills they surround
- use suitable underlay and stabilizer, which reduce movement in the first place
Practice: digitize a filled circle with a running-stitch outline. Sew it on a knit and on a woven, measure both, and adjust compensation until the outline meets the fill.
Check yourself
Step 5: Set density and stitch length
Density describes how closely stitches are packed. Many programs express it as spacing between rows: decreasing spacing usually increases density. Other programs use different units, so check the control's definition before changing it. Coverage also depends on thread, stitch type and the material underneath.
Too dense and the design turns stiff, puckers the fabric, breaks thread and can perforate thin or delicate material. Too light and the fabric or underlay shows through.
Choose an initial setting from the relevant software and material guidance, then compare samples. Consider:
- Thread: changes in thread thickness can change coverage at the same spacing
- Fabric: inspect stretch, texture, stiffness and needle marks
- Shape: narrow columns, tight curves and overlapping objects may need different treatment
- Underlay: check the support before adding more top stitching
Stitch length matters as well. Very short stitches can bunch and break thread, and very long ones can snag. Most software lets you set limits.
Stitch count follows from size, coverage and density. Estimates help with quoting and planning, but only the finished file gives the real count.
Practice: sew one fill square at three densities on the same fabric, and keep the one that covers without stiffness.
- Embroidery Stitch Calculator →
- Academy lesson: Use embroidery estimates responsibly →
- Glossary: thread size →
- Podcast: Why is my embroidery puckering? →
- Wilcom: fabric settings ↗
Check yourself
Step 6: Plan the sewing order
Sequencing is the order in which the parts of a design are sewn. A good order keeps the design aligned and cuts down on trims, jumps and color changes.
Common habits:
- Back to front. Sew background areas first, with details, outlines and lettering on top.
- Fills and outlines. Many designs place outlines after fills, but inspect alignment and layering for the particular artwork.
- Group by color where it is safe. Fewer color changes save time, but not if the machine has to jump back and forth across the design and alignment suffers.
- Travel under later stitches. Hide running-stitch travel paths beneath areas that will be sewn over, instead of trimming.
- Lock the thread. Add tie-ins and tie-offs where a thread starts and ends, so stitches do not unravel after trims.
Caps are different. A cap's curvature, seams and frame change how the material is supported. Plan and test a cap-specific sewing sequence rather than assuming a flat-garment file will work unchanged. Follow the frame manufacturer's setup instructions.
Practice: take one multi-color logo, count its trims and color changes, then reorder it and count again.
- Video: How to digitize flats vs caps →
- Podcast: Embroidery terms you need to know →
- Tajima: cap frame setup ↗
Check yourself
Step 7: Test, read the sew-out and adjust
No file is finished until it has been stitched. Test on the same fabric, stabilizer, thread and needle you will use in production, hooped the way it will be hooped.
Open the file in a viewer first to confirm its size, stitch count and color changes. Then sew it and inspect the result. The following are possible causes to investigate, not diagnoses; threading, tension, hooping, bobbin and needle condition can produce overlapping symptoms:
- Puckering: density too high, too little stabilizer, or fabric stretched in the hoop
- Gaps between outline and fill: not enough pull compensation or overlap
- Fabric showing through: density too light, or underlay missing
- Lettering that sinks or blurs: text too small, or the fabric needs topping or a knockdown
- Thread breaks: very short stitches, heavy density or a worn needle
Change one setting at a time and sew again, so you know what fixed it. Write down the fabric, stabilizer and settings that worked. Over time those notes become your own house standards.
Practice: sew your logo on two different fabrics and write down one change for each.
- DST File Viewer →
- Video: Hooping tension and technique →
- Glossary: needles →
- Academy exercise: Review a physical proof →
- Brother: thread-jamming troubleshooting example ↗
Check yourself
YOUR SAMPLE PROJECT
Build a file you can explain.
Choose a simple logo you own or have permission to use. Keep the same artwork through the exercises so each test adds to one useful project.
Prepare your artwork- 1
A clear brief
Size, placement, fabric and the required machine format.
- 2
An editable design
Stitch types, angles, underlay and sewing order you can review.
- 3
A documented sew-out
Labeled samples with the materials, settings and changes recorded.
- 4
A checked handoff
The final export, color sequence and notes together with the source file.
A FEW THINGS TO KNOW
Questions before you start?
Is this path suitable for a complete beginner?
It is an intermediate path. If you have not stitched a ready-made design before, start with Embroidery Digitizing Foundations in University Training, then return here to build your own files.
Explore the foundations lesson →Do I need a particular software brand?
No. The lessons focus on stitch planning and testing. You need software with manual digitizing tools; tool names and available features vary, so follow the documentation for your edition.
Can I finish without an embroidery machine?
You can read the lessons and practise planning in software. To complete the physical practice tasks, you need access to a machine and suitable fabric, stabilizer, thread and needles. A screen preview cannot confirm the sewn result.
Will my progress be saved?
Checklist progress is stored in this browser, without an account. It does not sync between devices and may be lost if you clear browser data. Quiz selections are for the current visit.
What should I have at the end?
Aim for a simple digitized logo, its editable source and exported machine file, plus labeled sew-out samples and notes explaining your revisions. Use the final checklist to review your work.
Design Doctor
Not sure your artwork will stitch well?
Upload it to Design Doctor for a free readiness check. You get a score for embroidery, patches, vector and print, with plain-English notes on what to change before you order.