Learning path · Beginner

Plan your first custom patch order

For anyone ordering custom patches for the first time. The path takes the decisions in a sensible order: what the patch is for, its size, the patch type, backing and border, colors and artwork, quantity and timing, and finally checking the proof and applying the patches. Each step ends with a short checklist. Use your machine and material instructions for production settings.

7 stepsAbout 45 minutesFree · no sign-up
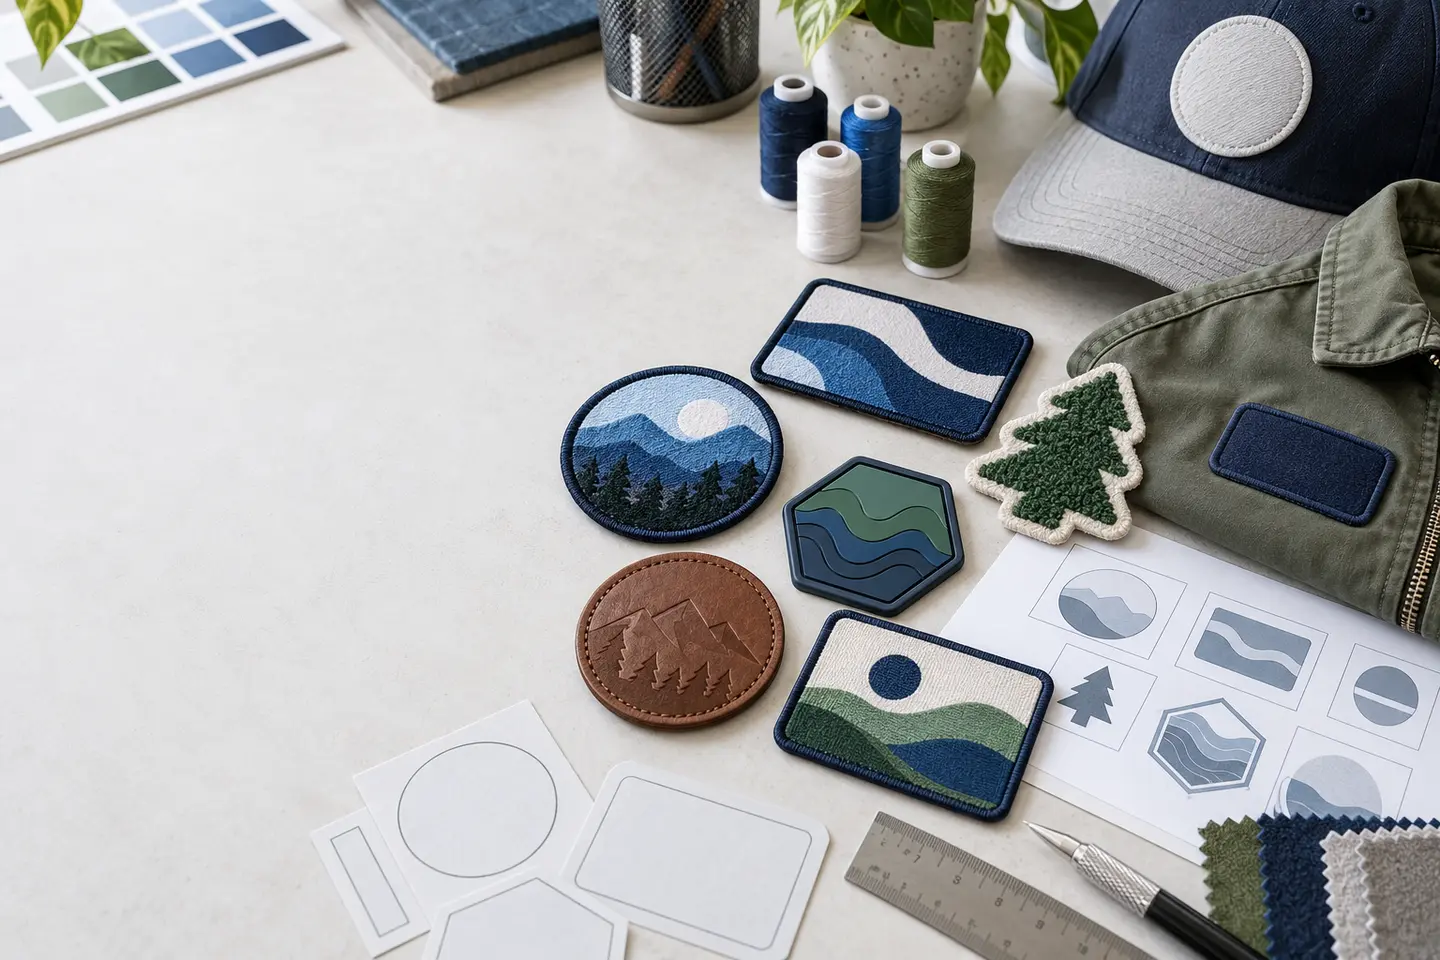
Illustrative embroidered mountain, sun and botanical patches on navy fabricTopic illustration

The idea at a glance

A patch has three separate choices

Decide the face, the edge and the attachment. Each solves a different part of the job.

1. Face: the look

Describe the artwork, texture and detail you want. Use the guide below to compare patch types.

2. Edge: the outline

Show the final shape and any tight corners. Ask which border suits that outline.

3. Back: the attachment

Decide whether it will be sewn on, heat applied or removable. Name the garment material.

Try it: finish this sentence — “I need a ___ mm patch for a ___, with a ___ shape, attached by ___.” Add quantity and a required delivery date to complete your brief.

Who it is for
Business owners, team and club organizers, and resellers placing their first custom patch order.
By the end
You can write a complete patch spec covering size, type, backing, border, colors, artwork, quantity and date, and check a proof against it.
  1. Step 1: Start with where the patch will be used

    Every other choice gets easier once you know how the patch will be used. Before you think about colors or shapes, answer four questions and write the answers down.

    • What will it go on? A cotton work shirt, a nylon jacket, a cap, a backpack and a hard case each suit different options.
    • How will it be cleaned? Home washing, industrial laundry and items that are rarely washed need different ways of attaching.
    • Will it be used outdoors? Rain, mud and sun wear some patch types faster than others.
    • Will it ever come off? Patches that move between jackets, or come off for washing, need a removable backing.

    Add who will wear or carry it and why: staff uniforms, a club, a team, merchandise for sale or a one-off event. A patch sold as merchandise may call for a different look from one worn every day at work.

    Keep these notes. You will use them in every step that follows.

    Before you move on

    Check yourself

    A patch must move between several jackets. Which question from this step settles how it attaches?
  2. Step 2: Choose the size

    Measure the space before you pick a size. A patch that looks right on screen can look tiny on a jacket back or huge on a cap.

    • Cut paper shapes in two or three sizes and hold them on the real item.
    • Check what surrounds the spot: seams, pockets, zippers, loop panels and the curve of a cap.
    • Measure the width and height of the one that looks right.

    Some quotes use trade size: width plus height, divided by two. Under that convention, a 4 by 2 inch rectangle has a trade size of 3 inches. Ask which sizing convention your supplier uses, and always include the actual width, height and shape in your specification.

    Use the paper sample and the actual attachment area to decide the size. Check the supplier's minimum detail and border requirements before approving a small design.

    Size also limits detail. The border takes up a band around the edge, and small text needs room to stay readable. If your design is busy, go a little larger or simplify it.

    Before you move on

    Check yourself

    Using (width + height) ÷ 2, what trade size does a 4 by 2 inch patch have?
    Why can a busy design need a larger patch?
  3. Step 3: Pick the patch type

    The type decides the look and how well the patch copes with its job. Use your notes from the first step and the amount of detail in your artwork.

    • Embroidered: thread stitched onto a twill base. Suits bold shapes and short text. Some designs leave part of the twill showing as the background, which uses fewer stitches and gives a flatter, softer patch.
    • Woven: finer threads woven together. Choose it when small text or fine detail must stay crisp.
    • PVC: molded, flexible plastic. Choose it for outdoor, wet or rugged use. It needs clean artwork with solid areas of color.
    • Chenille: the soft, looped texture used on varsity jackets.
    • Leather: usually debossed or laser-engraved rather than stitched. Popular on caps and bags.
    • Printed: an option for photos and smooth gradients when the intended detail is difficult to reproduce in thread at the chosen size.

    If two types both seem to fit, ask your maker to explain the trade-offs for your design, or compare proofs of both before you commit to a large order.

    Before you move on

    Check yourself

    Your patch will be used outdoors on wet gear. Which type suits it?
    Your design has very small text that must stay crisp. Which type does this step suggest?
  4. Step 4: Choose the backing and the border

    Backing is how the patch attaches. Match it to the fabric and to how the item is cleaned.

    • Sew-on: secured by stitching. Confirm that the garment and its construction can accept the stitching and intended care routine.
    • Iron-on (heat-applied): uses an adhesive activated under specified conditions. Check compatibility with the particular fabric, finish and coating before applying heat.
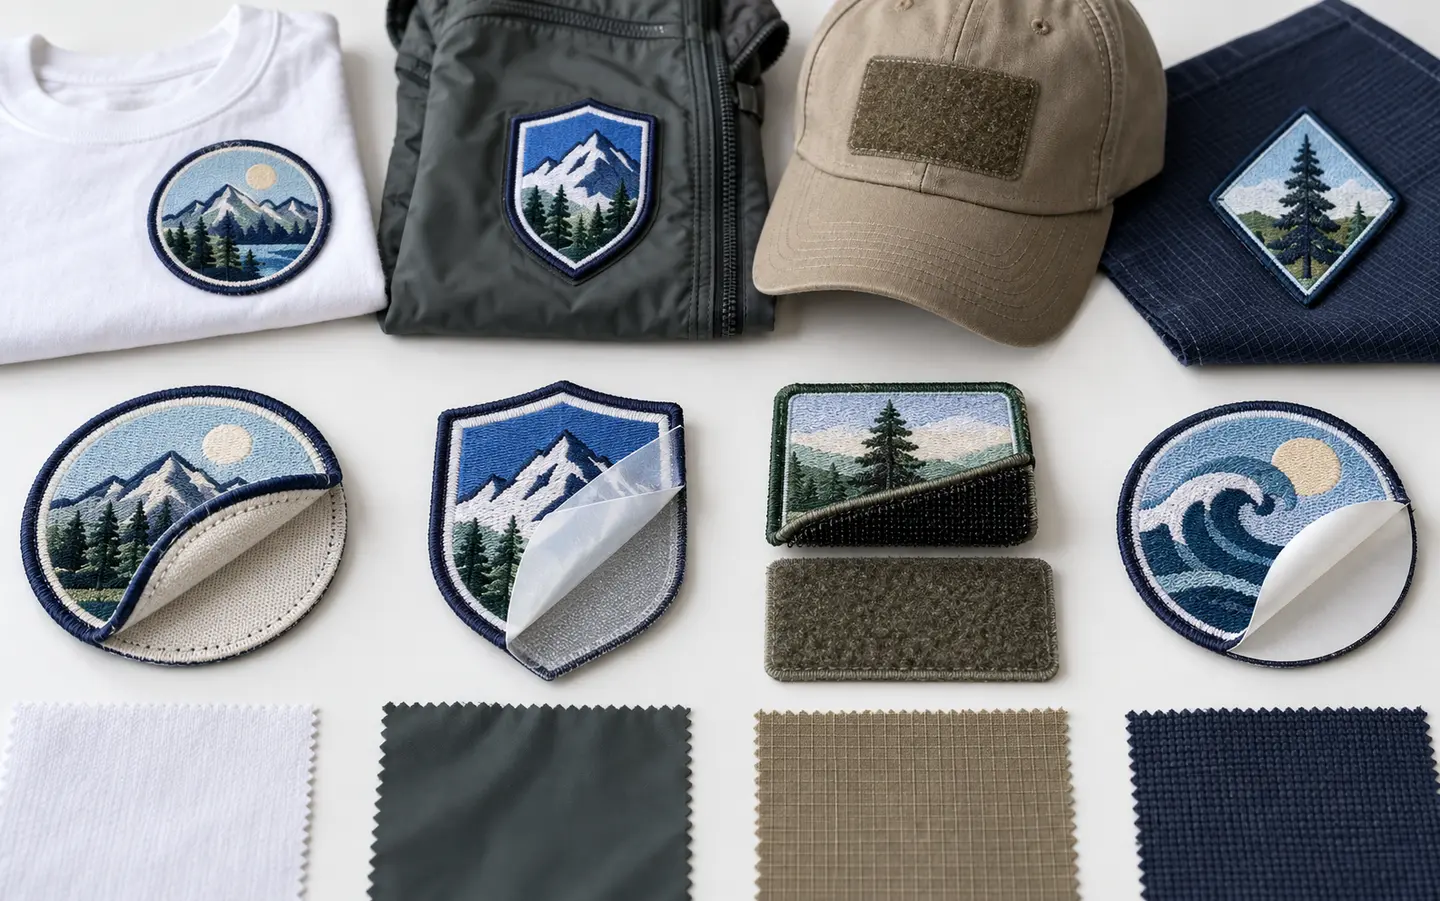
    • Hook-and-loop: for patches that come off. The hook side usually goes on the patch and the soft loop side on the garment. DigitEMB supplies both sides, so you get the matching piece for the garment too.
    • Adhesive (peel and stick): suitability depends on the adhesive and surface. Confirm whether the product is intended for hard goods, temporary fabric use or another application; do not assume it is washable.

    Follow both the garment label and patch supplier's application instructions. If either rules out heat application, use an approved alternative.

    The border finishes the edge. A merrowed border is a wrapped, overlocked edge. A satin-stitched border with a separately cut edge is another option. Ask the maker to confirm which method can reproduce your exact corners, curves, material and finish, then inspect the sample. Choose the border color on purpose, either matching or contrasting.

    Before you move on

    Check yourself

    How should you choose a border for a patch with sharp points?
    What should you confirm before using a peel-and-stick patch?
  5. Step 5: Settle the colors and the artwork

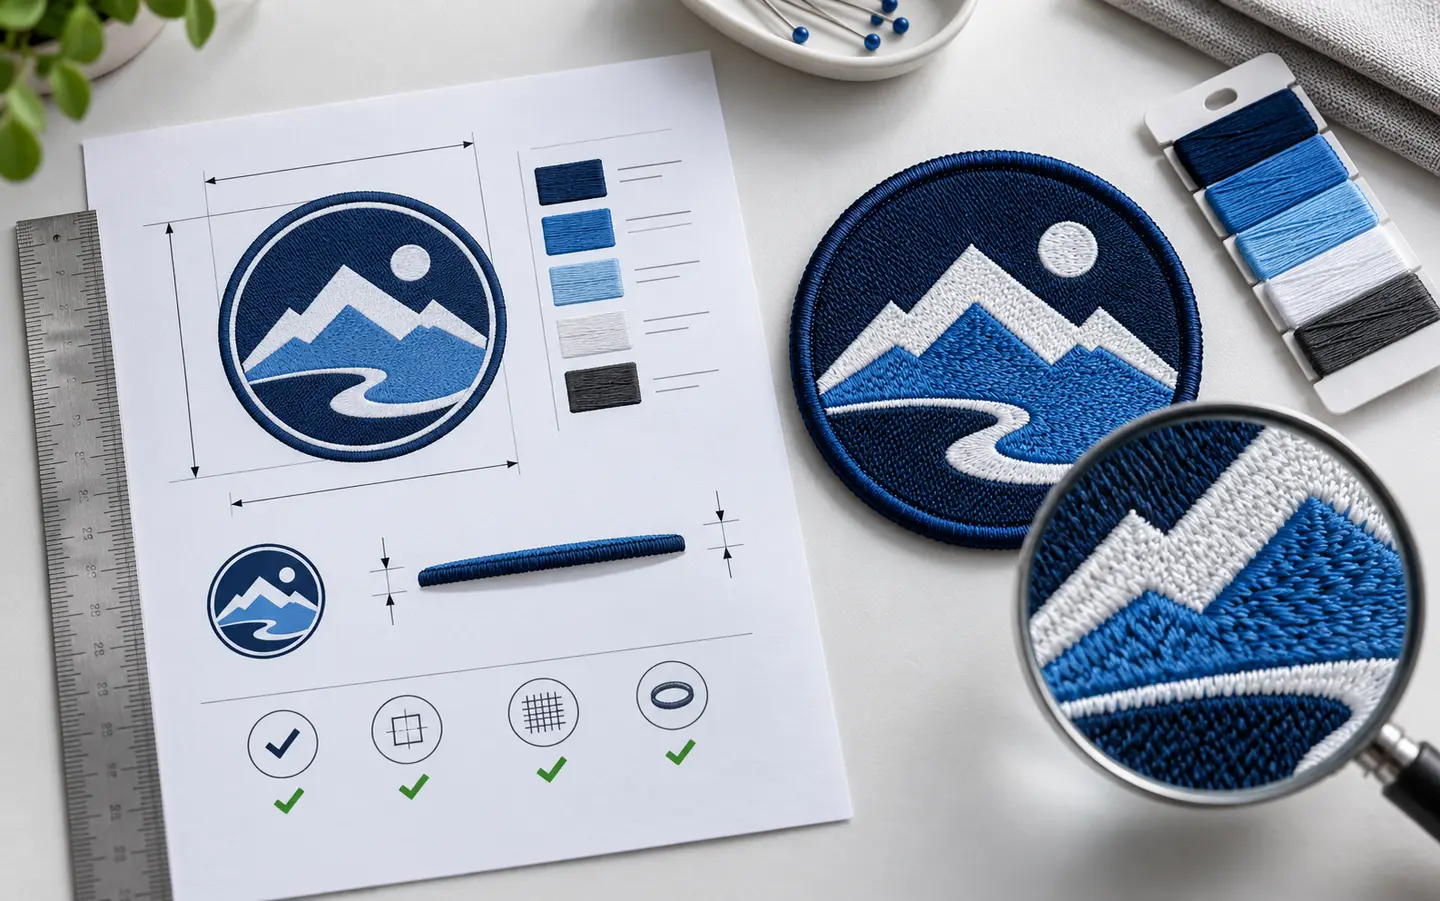
    Send the cleanest artwork you have. Editable vector artwork is useful; AI, EPS, SVG and PDF can also contain pixel images, so check the contents rather than relying on the extension. If you only have an image, send the largest, sharpest version you can find, not a screenshot.

    Then decide the colors. Each part of a patch has one:

    • the background, which on many embroidered patches is the twill itself
    • the design colors
    • the border
    • any text

    Count them. Ask how your color count affects the quoted price, production process and time; the answer varies by patch type and supplier. Gradients and shadows do not stitch or mold the way they print, so flatten them into solid colors or choose a printed patch.

    Match thread colors on a physical thread card if you can. For molded or printed patches, agree on the supplier's color reference and sample approval method; a thread number alone may not describe the intended result.

    Finally, check the text at your chosen size. If a slogan or phone number is too small to read, make it bigger, shorten it or drop it.

    Before you move on

    Check yourself

    What should you agree on for molded or printed patch colors?
    Your logo has a soft shadow and a gradient. What does this step suggest?
  6. Step 6: Set the quantity and work back from your date

    Quantity. Count what you need now, then add a few spares for new staff, damaged items and mistakes when applying. Per-piece prices usually fall as the quantity rises, and most makers set a minimum order, so ask for prices at two or three quantities before you decide. Keep the approved artwork and your spec. A reorder is faster and more likely to match when you can point to the last one.

    Timing. Work backward from the day you need the patches in hand.

    • Allow time for questions and one or two proof rounds.
    • Add the maker's production time.
    • Add shipping, plus a margin for delays.
    • If the patches must be sewn or pressed onto garments, allow time for that too.

    For an event, set your order date early and treat it as fixed. A rushed order leaves no room to fix a mistake.

    For a DigitEMB order, confirm the current minimum quantity, production time, shipping time and the event that starts the production clock in your written quote. Keep that confirmation with the approved proof.

    Before you move on

    Check yourself

    Besides the maker's production time, what should your timeline include?
    Why add a few spares to your count?
  7. Step 7: Approve the proof and apply one first

    Before production starts, you should see a proof. Check it against your notes from every step:

    • Size and shape
    • Type, backing and border, including the border color
    • Colors of the background, design and text
    • Spelling of every word
    • Quantity

    Reply with any changes in writing, and do not approve until everything matches. A change after production usually means making the patches again.

    When the patches arrive, count them and compare a few against the proof.

    Before you apply them all, test one on a spare garment of the same fabric. For heat-applied patches, use equipment and settings permitted by the supplier and compatible with the garment. Do not substitute a household iron unless the instructions explicitly support it. Let the patch cool fully, and wait before washing for as long as the supplier advises.

    If staff or customers will apply the patches themselves, give them the application and care instructions in writing.

    Before you move on

    Check yourself

    Why test one patch before applying them all?
    What equipment and settings should you use for heat application?

Design Doctor

Not sure your artwork will stitch well?

Upload it to Design Doctor for a free readiness check. You get a score for embroidery, patches, vector and print, with plain-English notes on what to change before you order.

DigitEMB University is a practical industry learning platform by DigitEMB and is not an accredited university or degree-awarding institution.

About UniversityReport or request removal