Learning path · Beginner

Prepare your first logo for embroidery

A short, practical path for business owners and decorators who are about to send a logo to a digitizer. You will learn what digitizing involves, find the right artwork, choose a size and placement, simplify the design for thread, write a clear brief and check the proof before anything is stitched in quantity. Use your machine and material instructions for production settings.

7 stepsAbout 45 minutesFree · no sign-up
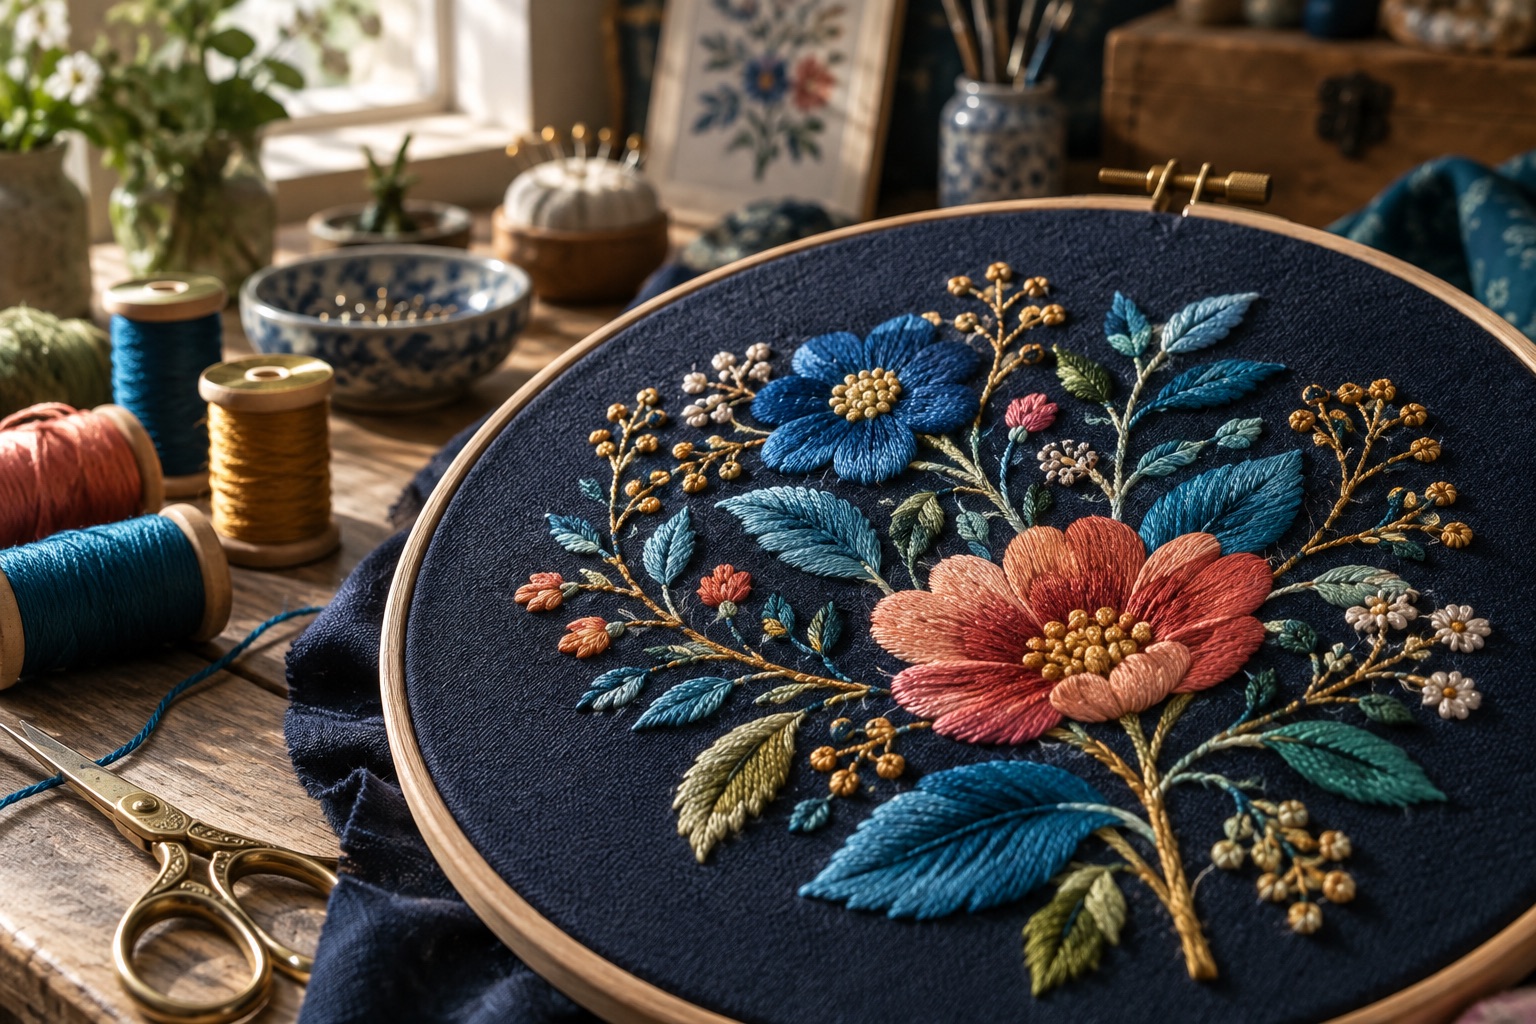
Illustrative close-up of colorful botanical embroidery in a hoopTopic illustration

The idea at a glance

Make your artwork brief easy to follow

Pair the image with production details so everyone is working toward the same result.

Show the design

Send your clearest original artwork and identify any text or detail that must remain readable.

Describe the finished piece

Give a width or height, the garment fabric and the placement. Include the machine model if you have one.

Example brief: “This logo, 80 mm wide, on the left chest of a cotton polo. Keep the company name readable. Please advise whether the small tagline needs simplifying.”

Who it is for
Business owners, office managers and decorators who are sending a logo to be digitized for the first time.
By the end
You can give a digitizer the right file, a finished size, a placement, the garment details and a clear written brief, and you know what to check on the proof.
  1. Step 1: Know what a digitizer does with your logo

    Your logo artwork describes an image. To stitch it, a machine needs embroidery instructions describing needle movements and other supported commands. Even systems that accept an image must convert it into stitch instructions before sewing. Digitizing is the work of turning your artwork into that file.

    A digitizer makes many small decisions along the way:

    • which stitch type covers each shape
    • which way the stitches run, which changes how the thread catches the light
    • the foundation stitches, called underlay, that hold the fabric steady
    • the order the parts are sewn, so outlines line up and the machine trims less

    These choices depend on the size of the design and the fabric it goes on. That is why a good digitizer asks questions before starting, and why the same logo can need one file for a cap and another for a polo.

    Some programs can convert artwork automatically. The result can be a starting point, but it usually needs a person to check and fix it. The rest of this path helps you give the digitizer what they need the first time.

    Before you move on

    Check yourself

    Why can the same logo need one file for a cap and another for a polo?
    What is underlay?
  2. Step 2: Find the cleanest copy of your artwork

    Start with the original logo file, not a copy of a copy. The cleanest version is often with whoever made it.

    • Ask the designer who created the logo for the vector file. AI, EPS, SVG and PDF can contain vector artwork, but some also contain embedded pixel images; the extension alone does not prove the artwork is vector.
    • Ask your printer or sign maker. They often keep the file they used for business cards, banners or vehicle graphics.
    • Search your own email and files for a brand folder, a style guide or the message where the logo was first delivered.

    Zooming in can reveal pixelation, but it is only a first check. Ask the designer whether the file contains editable vector paths or an embedded image. For a pixel image, check its dimensions and inspect the details at the intended finished size.

    Avoid screenshots, images copied from social media and logos saved from a web page. They are usually small and compressed, and fine detail is already lost.

    If a small, blurry image is all you have, the logo can be redrawn as a vector first. That extra step usually gives the digitizer much cleaner edges to work from.

    Before you move on

    Check yourself

    What can blocky edges when zooming in suggest?
    Which of these is usually the poorest source for your logo?
  3. Step 3: Choose the size and the placement

    A stitch file is built for one size, so decide the size before you order. Do it with the real garment in front of you, not on a screen.

    • Lay the shirt, cap or jacket flat, or have someone wear it.
    • Cut a paper shape the size you have in mind and hold it where the logo will go.
    • Step back. Can you read it from a few feet away? Does it crowd seams, buttons or pockets?
    • Measure the finished width and height in inches or millimeters.

    Common placements are left chest, cap front, full back, sleeve and bag front. There is no single size that fits every garment. Cap shape, seams, pockets, the machine and the chosen frame all limit the available area. Confirm the usable space with whoever will stitch the item.

    Tell the digitizer which measurement matters. A wide logo is usually set by its width, a tall one by its height. If the logo will go on several items at different sizes, say so. Each size may need its own file, because enlarging or shrinking a stitch file changes how the stitches sit.

    Before you move on

    Check yourself

    Why might each size of your logo need its own file?
    What is the point of holding a paper shape on the real garment?
  4. Step 4: Simplify the logo for thread

    Thread is much thicker than ink, so a logo that looks crisp in print can blur in stitches. Test your logo at its finished size before you send it.

    • Print it at the exact size you chose, or view it on screen at that real size.
    • Hold it at arm's length. Circle anything you cannot read or that looks like a smudge.
    • Look closely at small text, taglines, phone numbers, web addresses, thin outlines and tiny gaps between shapes.

    For each circled item, pick one answer: make it bigger, make it simpler, or leave it out of the embroidered version. Many businesses keep a simpler embroidery version of their logo next to the print version.

    Then count your colors. Each color is a separate thread. Gradients, shadows and glows do not stitch the way they print, and flat, solid colors stitch more cleanly.

    Finally, choose thread colors. A thread color matcher gives a starting point, but screens rarely match thread. Check a physical thread card, or give the thread numbers you have used before.

    Before you move on

    Check yourself

    A tagline cannot be read at arm's length at the finished size. What are your options?
    Why confirm thread colors on a physical card?
  5. Step 5: Name the garment and the machine

    The same logo stitches differently on different fabrics, so the digitizer needs to know what it is going on.

    • Knits such as T-shirts and polos can stretch and need an appropriate combination of stabilization and stitch settings.
    • Stable wovens such as denim and canvas behave differently from stretch fabrics.
    • Pile fabrics such as towels can allow stitches to sink, so topping or suitable foundation stitching may be needed.
    • Thin or coated fabrics need a sample to check distortion, needle marks and the effect on the material.
    • Caps need a plan that accounts for their shape, seams and frame.

    Give the brand and style of the garment if you know it, and send a photo.

    If you or your decorator run the machine, say which file format it reads. Check the exact model's supported formats and limits in its manual. A familiar extension alone does not establish compatibility. If someone else is stitching the job, ask them which format they want before you order.

    Before you move on

    Check yourself

    Why might a digitizer add a light layer of stitches before the design on a towel?
    Someone else will stitch your job. Who should you ask about the file format?
  6. Step 6: Write a one-page brief

    Put everything in one short message, so nothing gets lost in a long back-and-forth. A clear brief often saves a revision round.

    Include:

    • Artwork: the cleanest file you found, and a note if it has been redrawn
    • Size: the finished width or height, and which one is fixed
    • Placement: left chest, cap front, full back, sleeve and so on
    • Garment: type, fabric, brand and color
    • Thread colors: thread numbers, or “match the artwork”
    • Changes: anything to enlarge, simplify or leave out
    • File format: the one the machine reads
    • Dates: when you need the file, and when the finished garments are needed

    If the logo goes on more than one item, write one line per item with its own size and placement.

    Keep a copy of the brief with your order. When you reorder or add a new item later, you can reuse it and get a matching result.

    Before you move on

    Check yourself

    Your logo goes on polos and caps. How should the brief handle that?
  7. Step 7: Check the proof and test before a big run

    Before the file is final, ask to see a proof. Ask whether the proof is a digital preview or a physical sew-out. A simulation can confirm planned details, but it cannot establish how the real fabric and thread will behave. Check it slowly:

    • Spelling of every word, including names and phone numbers
    • Size, against the measurements in your brief
    • Colors, against your thread numbers or card
    • Small details you asked to enlarge, simplify or remove

    Ask for changes now, in writing, as a clear list. Small fixes are easier at the proof stage than after garments are stitched.

    For a first order, stitch one sample on the real garment before the full run. If wash performance matters, agree on a sample wash test that follows the garment, thread and stabilizer care instructions. Look for puckering, gaps between outlines and fills, and fabric showing through.

    When you receive the file, open it in a viewer before stitching to check its size and color changes. Keep it with your brief for reorders.

    When your artwork is ready, Design Doctor can check it before you send it to be digitized.

    Before you move on

    Check yourself

    Which of these should you check on a proof?
    Why stitch one sample on the real garment before the full run?

Design Doctor

Not sure your artwork will stitch well?

Upload it to Design Doctor for a free readiness check. You get a score for embroidery, patches, vector and print, with plain-English notes on what to change before you order.

DigitEMB University is a practical industry learning platform by DigitEMB and is not an accredited university or degree-awarding institution.

About UniversityReport or request removal

Prepare your first logo for embroidery | DigitEMB University