
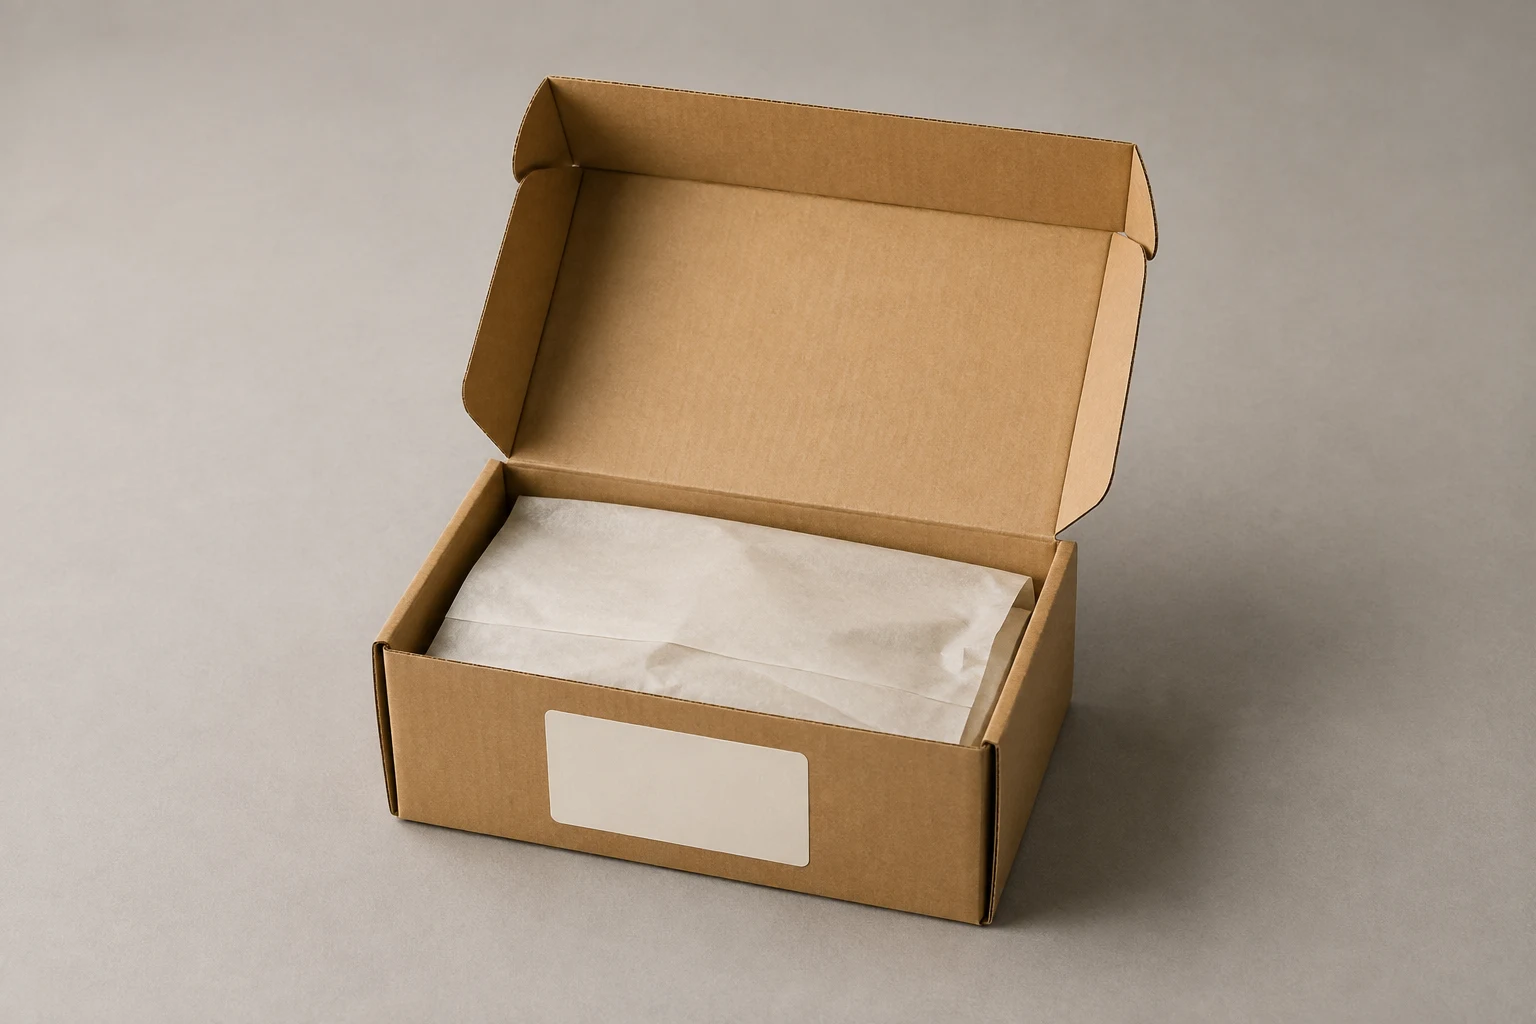
Cover image: AI-generated editorial concept; not a customer project or production proof.
Choose packaging stickers by their purpose, the surface they will touch and the way the finished package will be handled. Keep branding clear of shipping information and opening features, check the design at its printed size, and test the proposed sticker on representative packaging before ordering.
A box logo, tissue-paper sticker and loose parcel insert serve different purposes. Plan them together so each adds something useful without complicating packing.
Decide where the sticker belongs
Assemble the box or fill the bag before choosing a position. Reserve room for product information, shipping labels, closures and return features, then measure the remaining space.
Packaging location | Purpose and placement check |
|---|---|
Box front or side | Place the main branding on a flat panel, clear of seams and shipment information. |
Paper bag or poly mailer | Check the position when filled; keep opening strips and moving folds accessible. |
Inside lid | Add a short welcome or useful unpacking message where it becomes visible on opening. |
Tissue paper | Test a decorative sticker on the actual tissue, including how the recipient opens it. |
Thank-you card or insert | Keep the message readable; distinguish an applied label from a loose sticker the customer can peel later. |
Across an opening | Specify the intended closure or opening-indication function and have that use assessed separately. |
Start with one main branding position. Add another sticker only when its purpose justifies another packing step. Photograph the accepted arrangement as a placement reference.
For loose inserts, compare the overall backing dimensions with the available parcel space. The die-cut versus kiss-cut guide explains the supply-format choices in more detail.
Match the adhesive to the actual packaging
Give the supplier the packaging material and any exterior coating. Uncoated kraft board, coated card, paper bags and poly mailers should be described separately. A photograph helps, but an unused production package gives the supplier a better basis for evaluating the surface.
Roughness and absorbency can affect adhesion. HERMA describes edge lifting and detachment on rough recycled grey board; that example shows why surface assessment matters, without establishing that every kraft box behaves the same way. HERMA’s rough-carton guidance
Surface incompatibility, dust, oil, label age and severe exposure conditions can also contribute to poor adhesion. Avery’s adhesion troubleshooting
Include these conditions in the brief:
Whether labels are applied before or after filling.
The surface texture, coating and any loose dust.
Temperature and surface condition during application.
Storage conditions and expected moisture, grease or rubbing.
How soon the package will be handled after application.
Whether removal without residue or packaging damage matters.
Ask for the proposed material, adhesive and protective finish together, along with application instructions and exposure limits. Confirm application conditions separately from later storage conditions. Avoid transferring a temperature range or waiting period from a different label product.
For a broader material comparison, see vinyl versus paper stickers. Here, the key decision is whether the complete construction suits your particular package.
Keep kraft packaging artwork readable
A kraft paper sticker and a sticker for kraft packaging are different specifications. The first describes the label stock; the second describes the receiving surface. A white label can be used visually on a brown box, while a brown label still needs a suitable adhesive.
For simple dark artwork, compare brown stock with the actual package colour. For small lettering or pale artwork, evaluate an opaque white background. Print the design at its intended size before deciding whether the contrast works.
When the printing process does not include white ink, white areas normally remain unprinted and show the label material beneath. Avery’s non-white printing guidance illustrates this on brown stock and recommends dark text for stronger contrast. Avery’s non-white printing guidance
Some professional processes include white ink: Avery describes white underprinting for its own custom kraft labels. Confirm whether the proposed printer supports the effect you need and how to identify it in the artwork. This does not establish availability for a DigitEMB order. Avery’s custom kraft-label description
Another option is a brown background printed on white stock, leaving selected details unprinted. Review the actual colour and cut edges in a physical sample. Keep decorative finish decisions secondary to readable branding and instructions.
Plan shipping-box branding around the shipment
Position the carrier label and shipping closure before sizing the branding sticker. A front or side panel may leave more usable branding space when the top carries shipping information.
FedEx advises placing its label on the package’s largest surface, avoiding seams and edges where possible, and keeping tape—including clear tape—off the barcode. Use the instructions for your chosen carrier and service. FedEx shipping-label guidance
For reused boxes, remove or conceal obsolete shipment labels and markings before adding new branding. UPS also calls for shipping tape and securely sealed closures and seams. A decorative logo sticker should remain supplementary to the appropriate shipping closure. UPS packaging guidance
A sticker spanning a flap does not by itself establish closure strength or reliable evidence of opening. If either function matters, ask what the proposed construction is designed to do and test it on the actual package. Avoid describing an ordinary branding sticker as tamper-proof.
On returnable packaging, open and reclose a filled sample. Check that branding leaves tear strips, instructions and the return closure usable.
Check fit and the packing routine
Make a paper mockup at actual size and attach it in the intended position. State measurements with units: a 50 × 30 mm mockup is approximately 1.97 × 1.18 inches. These are illustrative dimensions, not a standard size.
Read the artwork on the assembled package at a comfortable handling distance. Check that the sticker stays within its intended panel and does not hide product information. On bags and flexible mailers, repeat the check after filling and closing.
Try peeling and positioning samples at the packing workstation. Check whether the design orientation is obvious and whether placement can be repeated without frequent repositioning. For automated application, obtain the applicator’s requirements and ask the supplier to confirm a compatible supply format.
Keep file preparation focused: confirm finished dimensions, cut shape, background treatment and the printer’s bleed and safe-area requirements. Use the custom sticker artwork guide for detailed file and proof preparation.
Test the finished package before production
A digital proof helps you review layout and wording. Ask whether a physical sample using the proposed construction is available to evaluate adhesion and appearance.
Record the packaging stock, sticker specification, artwork version and dimensions.
Apply samples to representative packages using the supplier’s preparation, pressure, temperature and waiting-time instructions.
Complete the package with its normal contents, closure and shipping information.
Reproduce expected stacking, handling and opening, including relevant moisture or grease exposure.
Inspect for lifted edges, wrinkles, movement, scuffed printing and obscured information. Check removal if that is part of the brief.
Photograph the results and keep the accepted sample with its specification.
Agree beforehand what must remain attached, readable and accessible, and under which conditions. This is a practical acceptance trial, not certification or evidence of unrestricted waterproof performance. If a sample fails, change the relevant variable and repeat the check. If no suitable sample is available, discuss the remaining uncertainty before approving production.
Keep disposal wording specific
Brown colour alone does not demonstrate recycled content, recyclability or compostability. Request documentation for the exact construction before using environmental claims.
Avery identifies the label material, adhesive, liner and receiving surface as factors in recycling suitability. Evaluate the applied label and package together, and check the discarded liner separately. Avery’s recycling guidance
For customers in the United States, Canada or United Kingdom, check disposal wording against the collection arrangements where the packaging will be used. Do not add environmental symbols solely to match a natural-paper appearance.
Prepare your packaging sticker enquiry
DigitEMB’s packaging service covers branding and seal enquiries for boxes, mailers and inserts, with suitable options confirmed from packaging and handling details. Packaging stickers service
Include:
Artwork and quantity for each design.
Package material, coating, dimensions and a placement photograph.
Finished sticker width and height, clearly identified in inches or millimetres.
Whether the sticker brands, identifies, decorates or has a requested closure function.
Manual or automated application and expected storage and handling.
Essential colour, white-ink, handwriting or removal requirements.
Delivery country, postal or ZIP code and required date.
For repeat orders, include the previously approved artwork version and specification and identify any packaging changes. Ask for the construction, sample options, price, production timing and delivery arrangements to be confirmed for the particular order.
Use the quote route on DigitEMB’s custom stickers service to send your artwork, finished size, quantity and intended use.
Frequently asked questions
Do brown boxes need brown stickers?
No. Choose the background for readability and appearance. Both white and brown label stocks require an adhesive suited to the box surface.
What size should a packaging sticker be?
Measure the usable area on the assembled package and test a paper mockup containing the actual artwork. Preserve space for shipping information, opening features and required product wording.
Can the same sticker work on boxes and poly mailers?
Possibly, but approval on one surface does not establish suitability for another. Identify both materials and evaluate samples on each.
Can I use a sticker to seal tissue or a box flap?
Specify the intended function. Test tissue for attachment and opening behaviour; assess a box-flap label separately if closure strength or evidence of opening matters. Ordinary decorative stickers should not replace the appropriate shipping closure.
Practical details for Custom Packaging Stickers for Boxes, Mailers and Inserts
A sticker is more than a picture on adhesive material. Surface, shape, size, finish and handling conditions affect the right production choice, so define those details before artwork approval.
Work through these points in order and keep the answers with the artwork or production request. A short written brief makes it easier to compare a proof with the intended result, ask a useful follow-up question and avoid relying on assumptions made from a screen image alone.
The aim is not to add unnecessary steps. It is to identify the choices that change the final result before work begins. If a requirement is unknown, flag it for confirmation rather than guessing; that keeps the approval process focused on the design, material and use that apply to this particular project. Save the approved brief with the project files for future reorders or revisions.
Identify the surface and environment
Explain whether the sticker will be used on packaging, a jar, a bottle, a window, a laptop or another surface. Note curves, moisture, handling and expected wear so the material and adhesive can be matched to the job.
Set the cut shape and safe area
Provide the final size and decide whether the sticker is die-cut, kiss-cut, rectangular, circular or another custom shape. Keep important text and marks away from the cut edge so they are not crowded or trimmed.
Check the artwork at print size
Review small type, fine lines, colour contrast and transparent areas at the real finished size. A proof should confirm the wording, shape, finish and placement of the design elements.
Quick questions to check before you proceed
What information helps quote a sticker project?
Share the artwork, final size, quantity, intended surface, cut style and the finish or material you are considering.
Why does the surface matter?
Flat paper packaging, curved containers and outdoor equipment place different demands on adhesion, flexibility and finish.
What should I check on a proof?
Check spelling, dimensions, cut line, safe margins, colour, finish and whether the design still reads clearly at the final size.