
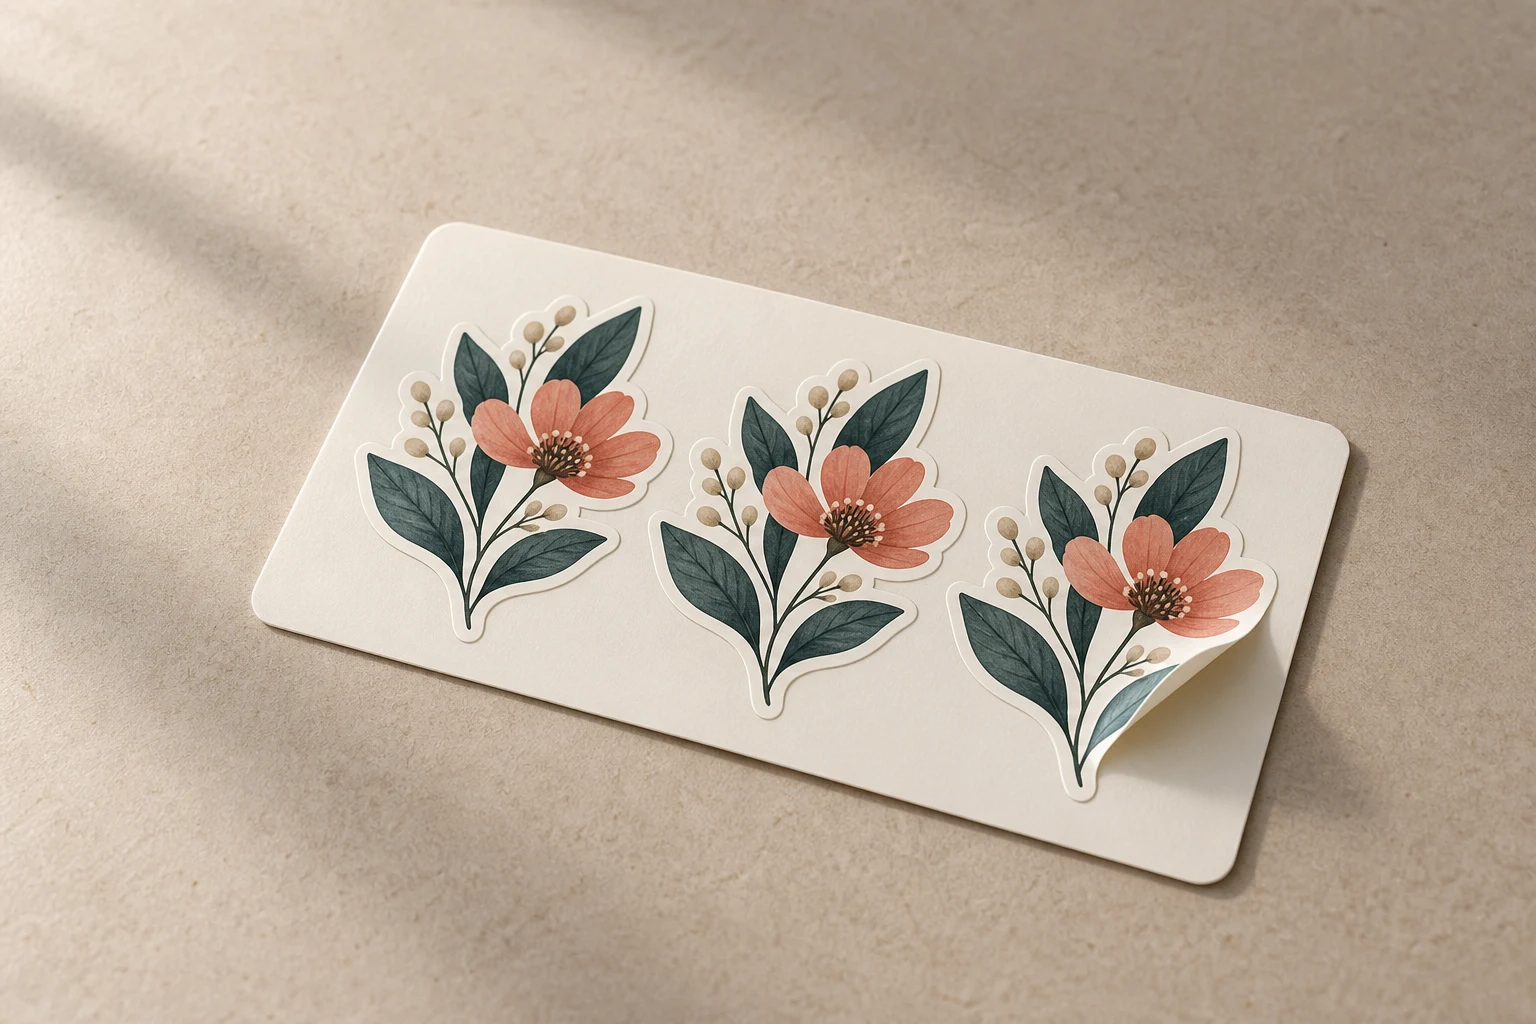
Cover image: AI-generated editorial concept; not a customer project or production proof.
To prepare artwork for custom stickers, confirm the finished size and format, supply the best original file, and follow the printer’s requirements for the cut path, bleed and safe area. Check text, image detail and color at the intended print size, then review and approve a proof before production.
Send the design and job details together: dimensions, quantity per design, sticker format, intended surface, delivery destination and required date.
1. Define the finished sticker first
State the maximum width and height of the peeled sticker, including units. For orders in the US, Canada or UK, specify inches or millimeters explicitly rather than leaving the printer to interpret a number. For example, 3 inches equals 76.2 mm.
For kiss-cut cards or sticker sheets, also state the overall backing dimensions. Explain whether your quantity refers to individual stickers, cards or complete sheets, and give the quantity for each design.
If the format is undecided, browse custom sticker formats and materials before setting up the layout. Loose stickers, backing cards and sheets need different layout decisions.
2. Choose the best available artwork file
Start with the original design file when available. A screenshot may help explain the design, but it should not replace a better source.
Artwork type | What to check before sending |
|---|---|
Vector logo or illustration | Check for embedded raster images, missing fonts and linked assets. Vector paths scale cleanly, but placed images still depend on their resolution. |
Raster photo or illustration | Check pixel dimensions and image detail at the finished print size. Send the highest-quality original. |
Confirm export settings, fonts and image quality. A PDF can contain both vector and raster artwork. | |
Screenshot or small web logo | Use it as a reference and ask whether a better original or redraw is needed. |
A file extension alone does not establish artwork quality. Saving a small image inside an SVG, EPS or PDF does not turn its pixels into clean vector paths. Adobe’s graphics format guide explains the differences between vector and bitmap content.
Keep an editable master. Ask whether the printer wants fonts embedded or converted to outlines, and whether linked images should be embedded or supplied separately. Reopen the exported file to check that nothing is missing. Adobe’s saving artwork guidance describes font, linked-image and export options.
If a logo needs rebuilding, ask for an artwork review before preparing the final production file.
3. Check raster detail at the real print size
Effective resolution is the number of image pixels available for each inch of print:
Pixels per inch = image width in pixels ÷ printed width in inches.
An image 900 pixels wide provides 300 pixels per inch when printed 3 inches wide, or 150 pixels per inch at 6 inches wide. These examples illustrate the calculation; they are not universal acceptance standards. Ask the printer what your artwork and production method require. Adobe explains this relationship in its printed image resolution guide.
Changing a resolution label alone does not add original detail. Inspect photographs, fine lines and small lettering at the intended size. A paper printout at actual size can help you judge readability, although it does not establish how the final sticker’s color or material will look.
4. Separate the cut path, bleed and safe area
These terms describe different parts of the artwork setup:
Term | Meaning for your sticker file |
|---|---|
Cut path | The intended finished outline. Confirm how the printer wants it named and separated from printable artwork. |
Bleed | Background artwork extending beyond the cut boundary so color can reach the finished edge. |
Safe area | Space inside the cut boundary where essential text and logos should remain. |
Visible border | An intentional printed or unprinted margin that forms part of the design. It is separate from bleed. |
Use the printer’s template or written specifications for bleed and safe spacing. Adobe’s bleed guidance explains why artwork extends beyond the trim boundary and recommends consulting the print provider about the necessary allowance.
Do not assume every supplier uses the same cut-line color, stroke width, layer name or bleed measurement. Confirm whether the printer will create the path or expects you to supply it. Ask how to prevent that path from appearing as a printed outline.
For complex shapes, request a review of small projections, narrow gaps and isolated elements. For sheets, confirm the spacing between stickers and the clearance around the sheet edges. Review any visible border in the proof, especially where an uneven margin would be noticeable.
5. Confirm color and material choices
Ask which color mode and profile the printer expects before converting the file. Supply brand color references where relevant, and identify any colors that are critical to the design.
A screen preview does not guarantee an exact printed match. Even a color-managed soft proof depends on the monitor, profiles and viewing conditions, as Adobe explains in its color proofing guide. If matching matters, discuss a physical proof or sample and the available matching process.
For clear, metallic or holographic materials, explain which areas should show the substrate and which should appear opaque. White ink beneath colored artwork can change how much of a specialty material remains visible; StickerGiant’s white-layer explanation illustrates this in its own printing workflow. Your printer must confirm the setup for your order.
Mark intended transparent areas clearly, and ask whether white ink or other special production layers are needed. Follow the supplier’s instructions for those layers.
6. Review the proof before production
Compare the proof with your order details and final artwork:
Confirm the design version, spelling and contact information.
Check the peeled sticker dimensions separately from the backing or sheet dimensions.
Review the cut outline, visible border, safe area and edge coverage.
Inspect small text and fine detail at actual size.
Confirm material, finish, quantity per design and any special printing requirements.
For QR codes, test a sample at the intended size and confirm the destination.
Record approval and retain the approved proof with the final file.
A digital proof helps you check layout and content. It cannot demonstrate adhesive performance or physical texture. Request a suitable sample when those properties matter, and clarify whether a supplied proof represents the final material and printing process.
If you revise the artwork after receiving a proof, request an updated proof before approving production.
Common artwork questions
Can I send a PNG?
A PNG may be usable if the printer accepts it and it has enough detail at the finished size. Send the original for review. A transparent background alone does not establish print quality.
Do I have to create a cut line?
Confirm the printer’s workflow. Ask whether cut-path preparation is included or whether you must supply a separate path, and clarify any artwork preparation charges before ordering.
Does every sticker need a white border?
No. A visible border is a design choice. Confirm the bleed and cutting requirements for an edge-to-edge design with your printer.
What should I include for several designs?
Label each file, list the finished size and quantity for each design, and explain whether you want loose stickers, individual cards or a combined sheet. Identify the final version clearly.
Send your artwork with a complete brief
Include your artwork, dimensions with units, quantity per design, format, intended application, material or finish preference, delivery destination and required date. Identify any uncertain details so the file and product requirements can be reviewed together.
Request a DigitEMB sticker quote and select Customized Stickers, then include your artwork and project details.
Practical details for How to Prepare Artwork for Custom Stickers
A sticker is more than a picture on adhesive material. Surface, shape, size, finish and handling conditions affect the right production choice, so define those details before artwork approval.
Work through these points in order and keep the answers with the artwork or production request. A short written brief makes it easier to compare a proof with the intended result, ask a useful follow-up question and avoid relying on assumptions made from a screen image alone.
The aim is not to add unnecessary steps. It is to identify the choices that change the final result before work begins. If a requirement is unknown, flag it for confirmation rather than guessing; that keeps the approval process focused on the design, material and use that apply to this particular project. Save the approved brief with the project files for future reorders or revisions.
Identify the surface and environment
Explain whether the sticker will be used on packaging, a jar, a bottle, a window, a laptop or another surface. Note curves, moisture, handling and expected wear so the material and adhesive can be matched to the job.
Set the cut shape and safe area
Provide the final size and decide whether the sticker is die-cut, kiss-cut, rectangular, circular or another custom shape. Keep important text and marks away from the cut edge so they are not crowded or trimmed.
Check the artwork at print size
Review small type, fine lines, colour contrast and transparent areas at the real finished size. A proof should confirm the wording, shape, finish and placement of the design elements.
Quick questions to check before you proceed
What information helps quote a sticker project?
Share the artwork, final size, quantity, intended surface, cut style and the finish or material you are considering.
Why does the surface matter?
Flat paper packaging, curved containers and outdoor equipment place different demands on adhesion, flexibility and finish.
What should I check on a proof?
Check spelling, dimensions, cut line, safe margins, colour, finish and whether the design still reads clearly at the final size.