
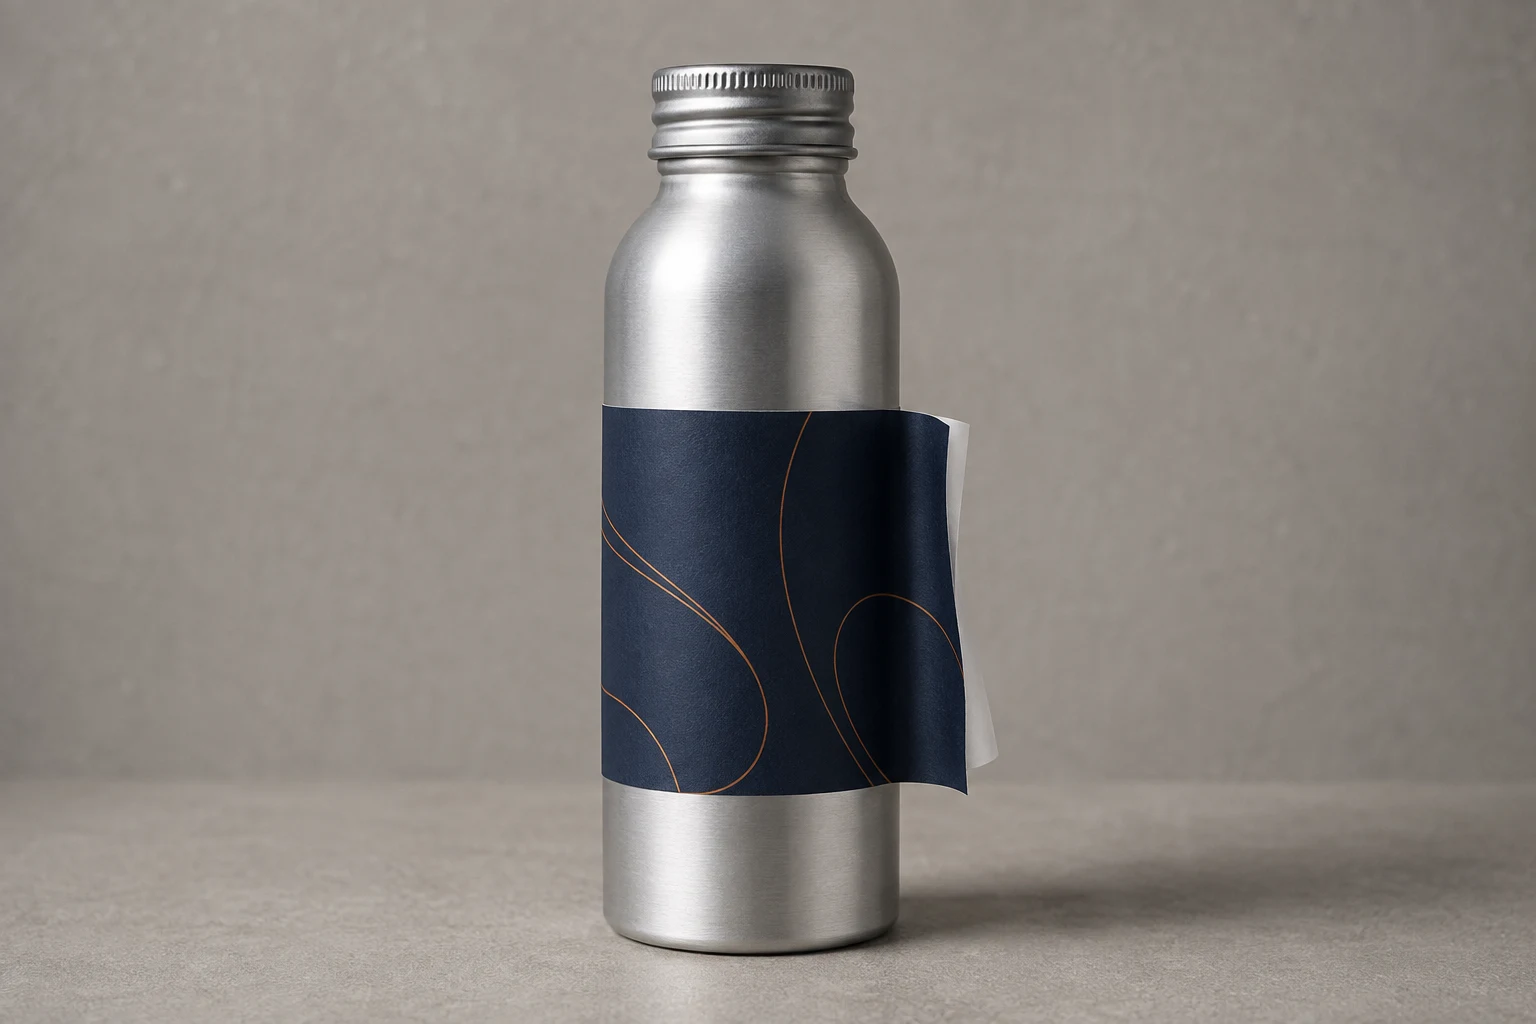
Cover image: AI-generated editorial concept; not a customer project or production proof.
To apply a sticker to a curved surface, test its outline on the actual object, confirm the material and adhesive suit the surface, and smooth it down progressively while removing the backing. Check a finished sample before applying the full batch.
A sticker can look level on its backing yet wrinkle around a taper or lift from a narrow tube. Separate three questions before starting: does the shape fit, will the adhesive hold, and can you repeat the application consistently?
Identify the curve and placement area
A straight cylinder has the same circumference throughout the label area. A tapered container becomes wider or narrower. A dome or rounded shoulder curves in more than one direction.
For ordinary bottle labels, Avery recommends measuring the actual rounded surface and choosing a straight-sided area without taper, bumps or ridges. Avery UK’s bottle-label placement guidance
Surface shape | Practical starting point |
|---|---|
Straight cylinder | Test a rectangle on the smooth body and plan the join. |
Tapered cup or pot | Compare upper and lower measurements; try a smaller panel or shaped outline. |
Narrow tube | Confirm suitability for the actual diameter and resistance to edge lifting. |
Dome or rounded shoulder | Look for a flatter placement area; seek specialist advice for broad coverage. |
Ribs or raised seams | Keep the sticker within an uninterrupted area where possible. |
These are fit checks. They do not establish which material or adhesive will work.
Test the outline before peeling the backing
Cut a paper mockup at the intended finished dimensions. Mark its top and center, then hold it against the object without stretching or forcing it flat. Check that the edges stay inside the usable area and the main wording looks level when the object stands upright. Keep clear of lids, grips and moving parts.
For a wraparound sticker, measure around both the upper and lower edges of the proposed placement. If those circumferences differ, a rectangular band cannot form an even, level wrap with both edges meeting exactly without distortion. This follows from the geometry of the container. A conical taper may need an arc-shaped outline; test the proposed template on the object.
For a straight cylinder, a starting wrap width is the circumference minus the intended gap, or plus the intended overlap. For example, an illustrative circumference of 220 mm with a 5 mm gap gives a 215 mm starting width. These figures are an example, not production tolerances.
Use one controlling unit—millimeters or inches—and label any conversion as a reference. A paper mockup checks fit and appearance; it does not test adhesion.
Confirm suitability for the diameter
Give the supplier the object’s material, coating, diameter and placement photographs. Ask about the finished construction, including the face material, adhesive and any protective finish.
For tight curves, ask about mandrel hold: the ability to stay attached around a curve without lifting at the sides. Avery Dennison explains this property in its guidance for small pharmaceutical vials. The principle shows why diameter matters; its specialist product specifications do not establish which constructions DigitEMB offers. Avery Dennison’s explanation of adhesion on small curved vials
Confirm the preparation method, application temperature, required pressure and waiting period before handling or cleaning. Ask whether a sample of the proposed finished sticker is available. If the wrap overlaps, also confirm that the adhesive can bond to the printed or laminated face beneath it.
Apply a trial sticker progressively
For an ordinary label applied by hand to a smooth cylinder, use the following sequence alongside the exact product instructions:
Prepare the surface. Use a cleaning method compatible with both the object and adhesive. Meet the specified dryness and temperature conditions before starting. Avoid touching the adhesive: fingertip oils can reduce adhesion. Avery’s adhesion guidance
Stabilize the object. Support it so it cannot roll. Establish a reference for the sticker’s height and orientation before exposing the adhesive.
Expose a small starting section. Where the sticker size permits, peel back only part of the liner and keep the remaining section supported.
Align and smooth in stages. Attach the starting section, then gradually remove more liner while smoothing the sticker around the curve. Keep the unplaced section under control. Avery Canada describes stabilizing packaging and applying larger labels section by section. Avery Canada’s label application guide
Inspect and allow the required waiting time. Check edges, folds and trapped air in angled light. Follow the specified pressure and waiting instructions before further handling.
Use heat, stretching or wet application only if the instructions for the exact sticker and surface permit them. If a fold keeps returning, reassess the fit before trying to force the sticker into place.
Plan the join before finalizing artwork
Decide whether the wrap should leave a gap or overlap. Keep essential wording clear of the join and check its position on a physical trial.
Avery suggests overlap for certain tube-label lifting problems. Evaluate that option with the supplier: the upper layer needs to adhere to the label face underneath. A printed or laminated surface needs its own compatibility check. Avery’s tube-label overlap guidance
Diagnose wrinkles and lifting edges
Folds recur in the same place. Recheck the taper, shoulder and outline. A repeatable crease may indicate a fit problem, although that observation alone does not prove the cause.
Air pockets appear during application. Review starting alignment and progressive smoothing. Compare a fresh sample applied in smaller stages.
Edges lift after initially sitting flat. Record when lifting starts and the surrounding conditions. Incompatible surfaces, contamination and insufficient adhesive hold are possible causes identified by Avery. Have the supplier review preparation and construction. Avery’s lifting and adhesion troubleshooting
The wrap finishes crooked. Recheck the starting edge and whether the container is truly cylindrical throughout the label area.
Change one variable at a time where practical. Photograph each trial and keep the object and sticker references with the results.
Check the applied sample before ordering a batch
Use the actual object and proposed finished sticker, including its protective finish. Agree on observation times and acceptable results—for example, no visible lifting, no folds through text and a join within the approved placement.
Record preparation, application conditions and the required waiting period. Inspect immediately after application and at agreed later intervals. Include the handling, moisture or cleaning relevant to the intended use, within the supplier’s stated limits.
A successful trial supports the tested combination and conditions. It does not establish unrestricted durability or dishwasher suitability.
For an inquiry through DigitEMB’s custom sticker service, send artwork, finished dimensions, quantity and intended use. Add the object reference, surface material, photographs, curve measurements and trial observations. For orders destined for the US, Canada or UK, include the delivery country and clearly stated measurement units. Ask which available options can be assessed for the application.
Frequently asked questions
Can a rectangular sticker fit a tapered cup?
A small panel may give an acceptable result, but a broad wrap needs closer attention to the taper. Test a paper outline first and consider a smaller placement or a shape matched to the container.
Is vinyl guaranteed to stay on a tight curve?
No. The material name alone does not establish suitability for the diameter, coating or finished construction. Confirm those details and test an applied sample.
How long should I wait before washing the object?
Follow the instructions for the finished sticker. There is no universal waiting period. Confirm the permitted cleaning method separately; permission to wash does not automatically mean dishwasher suitability.
Practical details for How to Apply Custom Stickers to Curved Surfaces
A sticker is more than a picture on adhesive material. Surface, shape, size, finish and handling conditions affect the right production choice, so define those details before artwork approval.
Work through these points in order and keep the answers with the artwork or production request. A short written brief makes it easier to compare a proof with the intended result, ask a useful follow-up question and avoid relying on assumptions made from a screen image alone.
The aim is not to add unnecessary steps. It is to identify the choices that change the final result before work begins. If a requirement is unknown, flag it for confirmation rather than guessing; that keeps the approval process focused on the design, material and use that apply to this particular project. Save the approved brief with the project files for future reorders or revisions.
Identify the surface and environment
Explain whether the sticker will be used on packaging, a jar, a bottle, a window, a laptop or another surface. Note curves, moisture, handling and expected wear so the material and adhesive can be matched to the job.
Set the cut shape and safe area
Provide the final size and decide whether the sticker is die-cut, kiss-cut, rectangular, circular or another custom shape. Keep important text and marks away from the cut edge so they are not crowded or trimmed.
Check the artwork at print size
Review small type, fine lines, colour contrast and transparent areas at the real finished size. A proof should confirm the wording, shape, finish and placement of the design elements.
Quick questions to check before you proceed
What information helps quote a sticker project?
Share the artwork, final size, quantity, intended surface, cut style and the finish or material you are considering.
Why does the surface matter?
Flat paper packaging, curved containers and outdoor equipment place different demands on adhesion, flexibility and finish.
What should I check on a proof?
Check spelling, dimensions, cut line, safe margins, colour, finish and whether the design still reads clearly at the final size.