
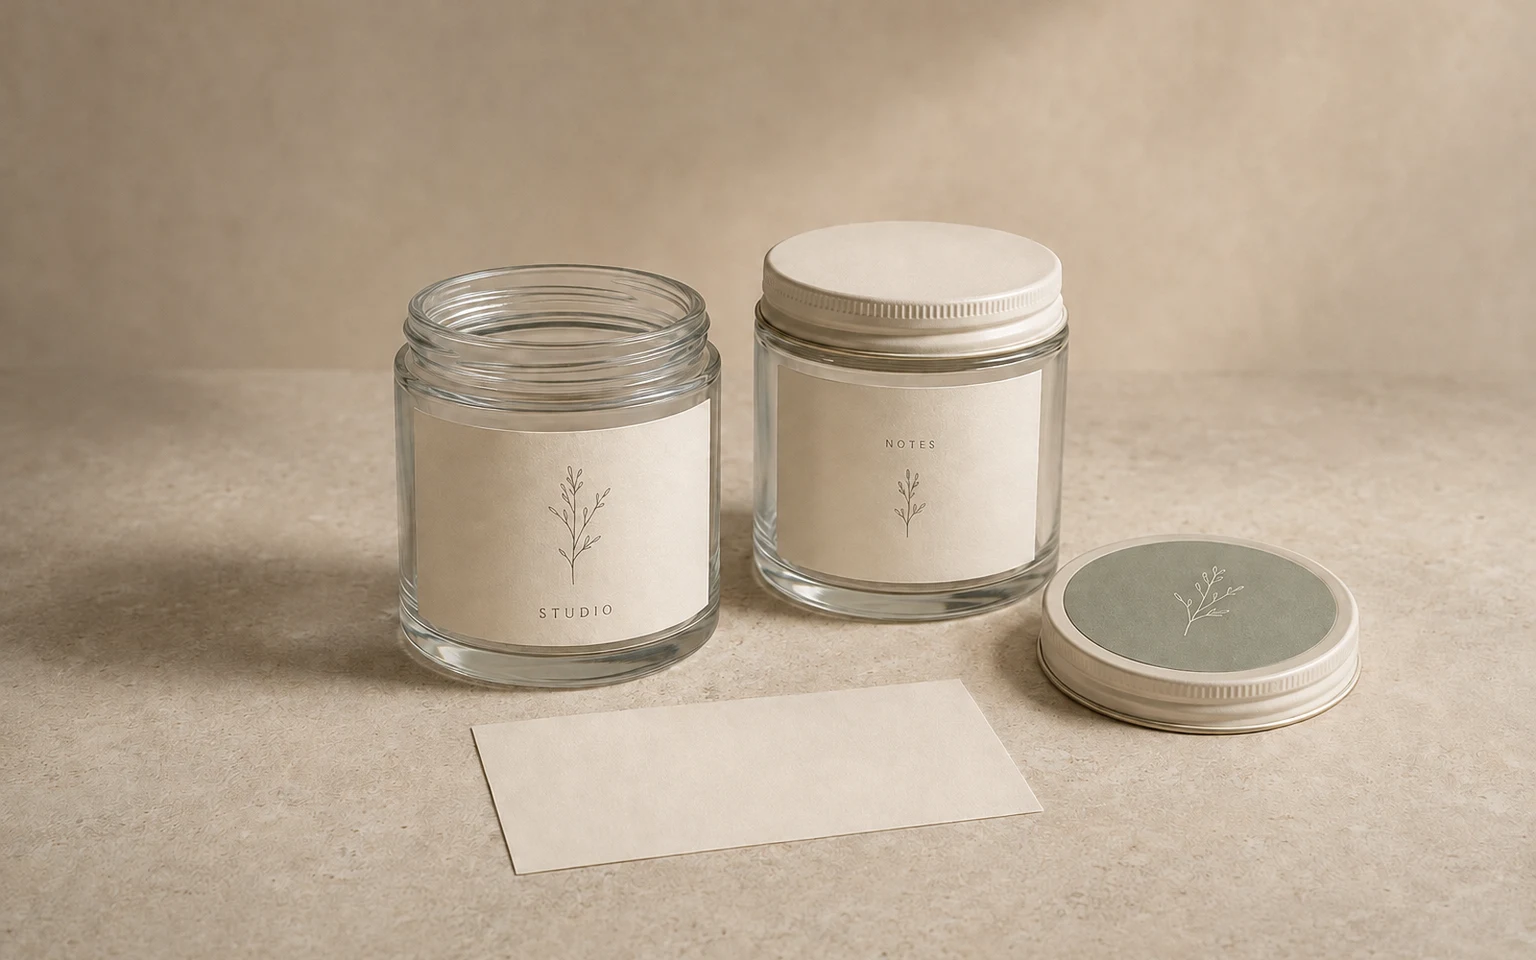
Cover image: AI-generated editorial concept; not a customer project or production proof.
Choose small jar label dimensions from the actual usable surface, then test the complete wording at its finished printed size. Use the body for information people need while viewing or handling the jar, and consider a lid label for identification from above. Establish required information and placement before finalising either layout.
Start with the exact jar, its lid and your product copy. A paper mockup lets you assess the arrangement before ordering printed labels.
Measure the body and lid separately
Jar capacity does not determine label size. Containers holding the same amount can have different proportions, shoulders and lid shapes.
Measure the smooth body area between the shoulder and lower curve. Note ribs, raised lettering and seams that could interrupt the label. For the lid, measure the flat central area inside the rim.
Wrap paper around the intended label area, mark the edges, cut it out and adjust the fit. Lay the paper flat to measure the finished shape. This follows Avery’s cut-and-wrap measurement method.
Illustrative example: For a usable body band 30 mm high, approximately 1.18 inches, try a paper label 24 mm high, approximately 0.94 inches. Centring it leaves 3 mm above and below. These dimensions demonstrate the calculation; they are not standard production clearances.
For a wraparound label, test where its ends will meet and mark the intended gap or overlap. If a rectangle wrinkles or sits crooked, reconsider its shape or placement before finishing the artwork.
Record finished width and height with the units clearly stated. Keep these dimensions separate from any extra artwork area the printer requests for trimming.
Give each label a clear purpose
Plan around how the jar will be displayed and handled. A lid visible in a gift box serves a different viewing angle from a front label on a shelf.
Label position | Suggested role and fit check |
|---|---|
Front body | Identify the product and variant; check that the main wording reads without turning the jar. |
Back body | Place detailed information where permitted; read it on the curved surface. |
Lid | Repeat a short identifier for viewing from above; stay inside the flat area. |
Wraparound | Combine front and detail panels; keep important wording clear of the join. |
Base | Consider secondary identification after checking placement rules; it is hidden when the jar stands upright. |
Separate front and back labels allow independent positioning but require two application steps. A wraparound label combines the panels in one piece and needs a carefully planned join.
For multiple variants, keep each variant name in the same position. Use colour as an additional cue alongside the wording.
Fit essential information before decoration
Begin with the information the product needs to carry. Reserve its space before adding decorative elements and optional promotional copy.
Print the design at 100% scale with automatic page scaling disabled. Check its dimensions with a ruler, attach it to the jar and read both front and back at a comfortable handling distance.
If the layout is crowded, remove optional copy, simplify decoration or redistribute information between permitted positions. Reconsider the label area or container if essential wording still cannot fit. Avoid treating smaller type as the default solution.
For food jars sold in the US, Canada or UK, establish the applicable requirements before approving the layout:
United States: Start with the FDA Food Labeling Guide page. FDA flags outdated information in its allergen and nutrition chapters and directs readers to newer resources; follow those updates for these subjects.
Canada: Use the CFIA Industry Labelling Tool. Its sections cover bilingual labelling, legibility and location, ingredients, net quantity and nutrition—topics that affect how much space to reserve.
United Kingdom: Consult GOV.UK’s food labelling and packaging guidance, which covers readable, visible information and links to required particulars and display guidance. Check the rules applicable to the product and its destination market.
These food resources do not establish labelling requirements for cosmetics, candles or other non-food products. Review the relevant product rules separately. Before moving information to a lid, base or QR-linked page, confirm that the proposed placement is permitted.
Discuss materials in the context of the jar
Ask the supplier about the complete construction: label stock, adhesive, printing and protective finish. Provide the jar material, surface coating and diameter, together with its intended storage and handling conditions.
Tight curves deserve particular attention. Avery Dennison’s small-diameter labelling guidance identifies adhesion around small pharmaceutical containers as a technical consideration. The practical takeaway for a jar enquiry is to ask about suitability for its diameter; that document does not validate a particular jar label construction.
Explain whether the jar will be refrigerated, handled with wet hands or exposed to oil, cream or sticky residue. State whether labels will be applied before or after filling and whether clean removal matters for reuse.
Ask about application instructions separately from storage conditions. For example, confirm whether a label intended for refrigerated use needs to be applied to a dry jar at a different temperature first.
For a clear label, request a proof or sample against the actual jar and contents. Ask whether opaque printing or a white backing is needed and available for the intended appearance.
Check a paper mockup and an applied sample
Use a paper mockup to assess dimensions, placement and wording. Use a sample made with the proposed production materials to assess the applied result.
Check the mockup with the jar standing, held in the hand and viewed from above. Confirm that the lid opens freely and no join or container feature interrupts important wording.
If a production sample is available, apply it to representative jars following the supplier’s surface preparation, temperature and waiting-time instructions. Test the expected storage and handling conditions. Include the agreed removal method if reuse matters.
Record:
Edge lifting, wrinkles or label movement.
Changes in print readability after handling.
Contact between label edges and the opening lid.
Barcode or QR code scanning on the applied jar, if used.
Residue after removal, where relevant.
Keep photographs, observation times and the material reference with the approved artwork. Results describe the conditions tested; a short sample trial does not establish unrestricted waterproof or dishwasher-safe performance.
Prepare a useful label enquiry
DigitEMB’s product label stickers service asks for container and handling details so suitable options can be confirmed with a quote.
Send the jar supplier reference, material and photographs; measured body and lid areas; proposed finished dimensions; final wording and sales markets; quantities by variant; and intended application method. Include storage and removal requirements, plus any space needed for later date or batch marking.
Ask which construction and supply format suit the jar, which artwork specifications to follow and whether a physical sample is available. Confirm those details before approving production.
Frequently asked questions
What size sticker fits a small jar?
Measure the smooth body panel or flat lid area on the exact jar, then test a paper shape with the full wording at finished size. Capacity alone does not determine label dimensions.
Is a lid label enough?
For a retail product, establish the required information and permitted placement first. Add a body label if the lid cannot accommodate the necessary layout or placement requirements.
Should I use a wraparound label or separate labels?
Try both with the final copy. Separate labels allow independent positioning; a wraparound label requires a planned join. Choose the arrangement that fits, reads clearly and suits your application process.
What if the text will not fit?
Remove optional wording and simplify decoration, then reconsider the layout or container. Check applicable text and placement requirements before reducing essential information.
Practical details for Small Jar Labels: A Practical Guide to Size and Layout
A sticker is more than a picture on adhesive material. Surface, shape, size, finish and handling conditions affect the right production choice, so define those details before artwork approval.
Work through these points in order and keep the answers with the artwork or production request. A short written brief makes it easier to compare a proof with the intended result, ask a useful follow-up question and avoid relying on assumptions made from a screen image alone.
The aim is not to add unnecessary steps. It is to identify the choices that change the final result before work begins. If a requirement is unknown, flag it for confirmation rather than guessing; that keeps the approval process focused on the design, material and use that apply to this particular project. Save the approved brief with the project files for future reorders or revisions.
Identify the surface and environment
Explain whether the sticker will be used on packaging, a jar, a bottle, a window, a laptop or another surface. Note curves, moisture, handling and expected wear so the material and adhesive can be matched to the job.
Set the cut shape and safe area
Provide the final size and decide whether the sticker is die-cut, kiss-cut, rectangular, circular or another custom shape. Keep important text and marks away from the cut edge so they are not crowded or trimmed.
Check the artwork at print size
Review small type, fine lines, colour contrast and transparent areas at the real finished size. A proof should confirm the wording, shape, finish and placement of the design elements.
Quick questions to check before you proceed
What information helps quote a sticker project?
Share the artwork, final size, quantity, intended surface, cut style and the finish or material you are considering.
Why does the surface matter?
Flat paper packaging, curved containers and outdoor equipment place different demands on adhesion, flexibility and finish.
What should I check on a proof?
Check spelling, dimensions, cut line, safe margins, colour, finish and whether the design still reads clearly at the final size.