
Read artwork as shapes, stitch objects, and production constraints.
Embroidery digitizing · Foundation course
Embroidery Digitizing Foundations
Start here. The core skills behind every good digitizing job: stitch types, underlay, pull compensation and density — the same fundamentals our own digitizers use before touching a real order.
Beginner1 guided module7 practical stepsCompletion certificate
Your destination
Learn the whole decision chain, not isolated settings
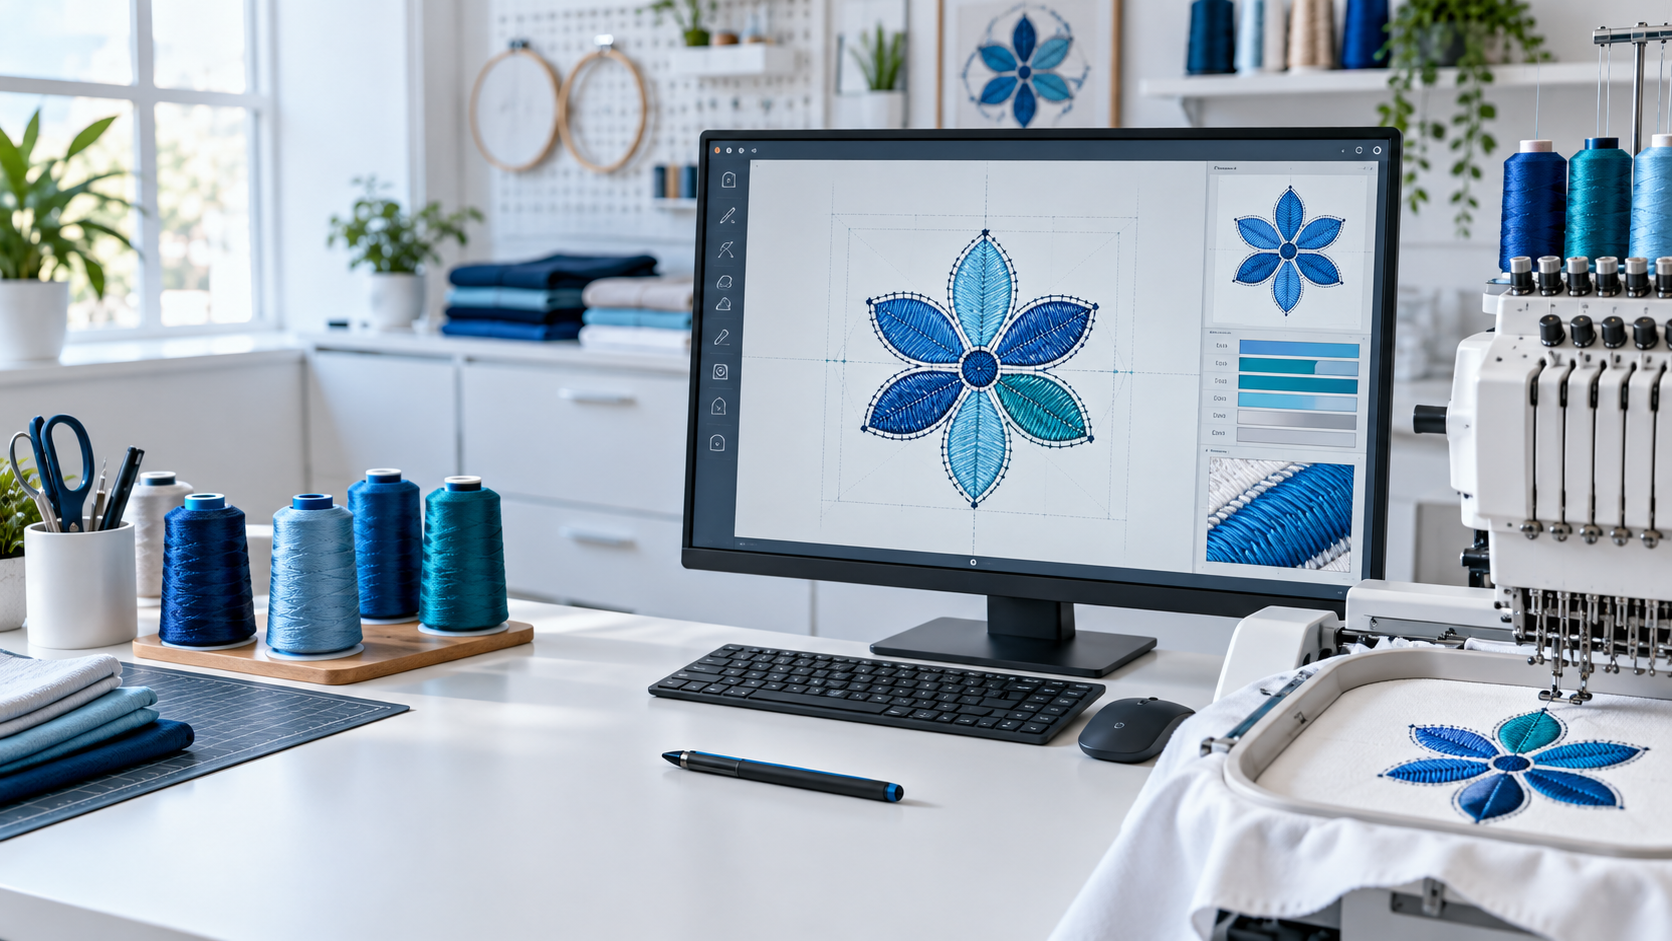
Digitizing is the planning layer between artwork and thread. This course focuses on the connected decisions that determine stability, clarity, texture, and efficient machine movement.
Choose running, satin, and fill stitches for the job each area must do.
Plan underlay, density, direction, sequence, trims, and travel deliberately.
Anticipate push, pull, registration, and fabric movement before sewing.
Run a controlled test sew-out and diagnose what the sample is telling you.
Refine a file for cleaner production instead of chasing the preview alone.
A repeatable method
Seven stages from artwork to approved sew-out
Use the same sequence on every new job. The design may change, but the questions remain dependable.
- 01
Inspect the artwork
Confirm the final size, garment, placement, thread count, small details, open areas, and the visual priority.
- 02
Simplify with purpose
Remove detail that cannot survive at size. Rebuild weak edges and separate shapes by stitch behavior, not by color alone.
- 03
Map stitch objects
Decide which areas become running stitches, satin columns, or fill objects. Set a clear path through the design.
- 04
Build support
Choose underlay that anchors the fabric and supports the top stitches without adding unnecessary bulk.
- 05
Control movement
Set direction, density, compensation, overlaps, entry points, and exits so neighboring objects register cleanly.
- 06
Sequence the design
Order objects to stabilize the garment, reduce trims and jumps, preserve clean edges, and avoid trapping later stitches.
- 07
Test, observe, refine
Sew the intended fabric and stabilizer, inspect the result at normal viewing distance, then change one cause at a time.
Stitch language
Know what each structure contributes
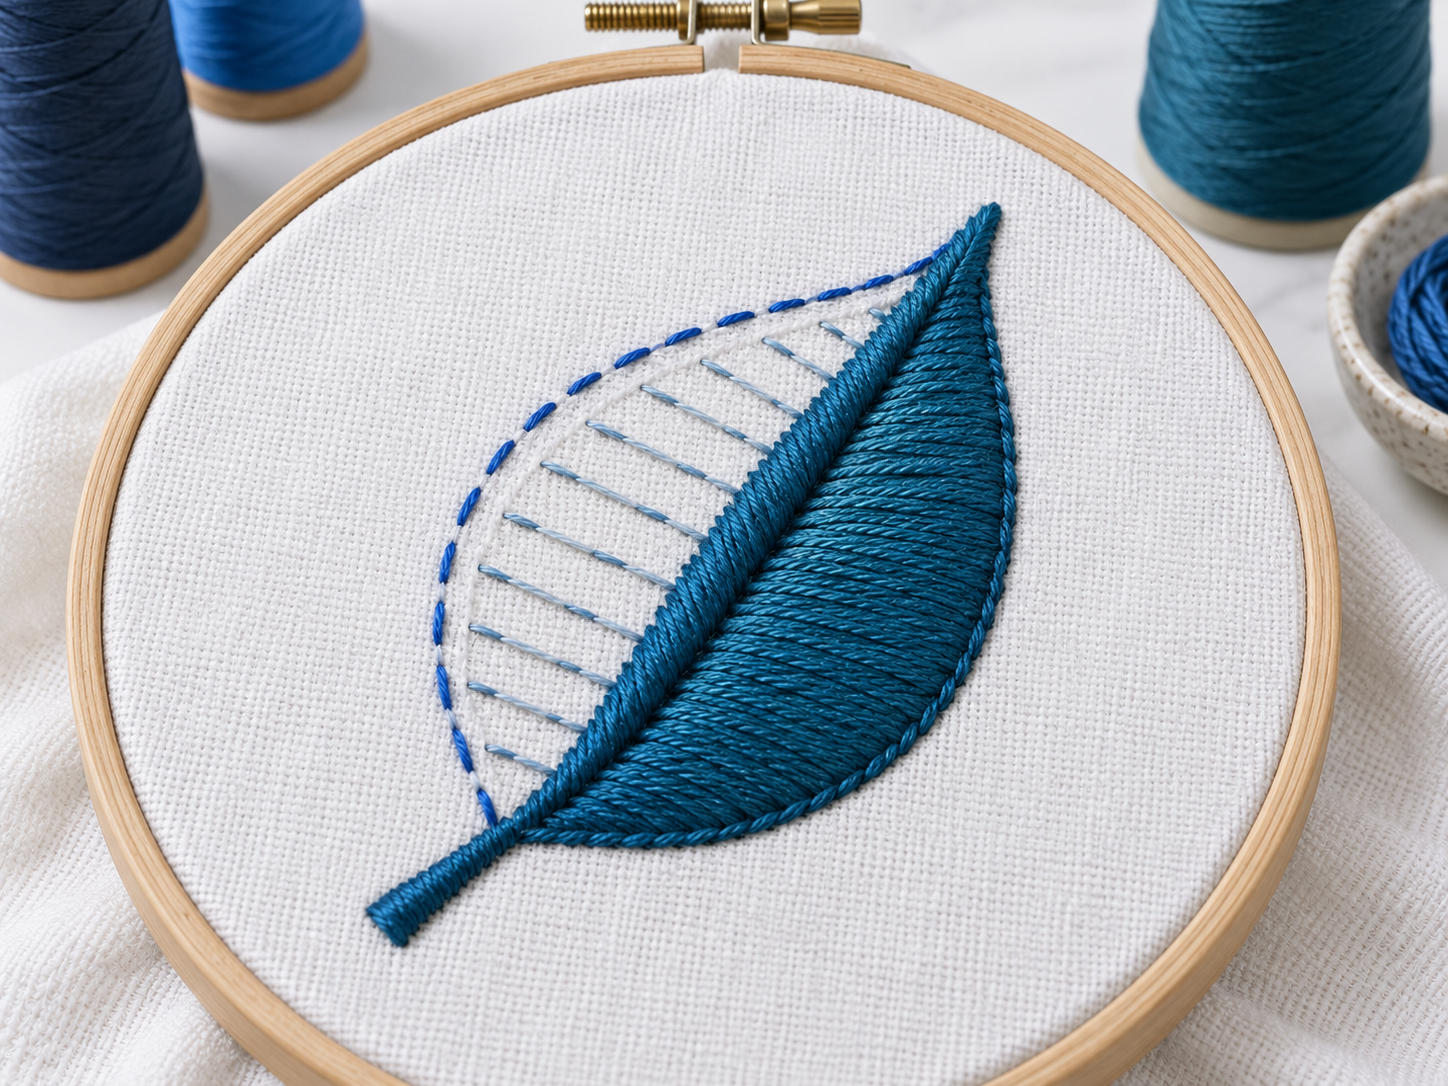
No single stitch type is “best.” The right choice depends on the width, shape, fabric, viewing distance, and job the object must perform.
Running stitch
Best for fine lines, details, travel, and light structure. Watch stitch length around tight curves so the line remains smooth.
Satin stitch
Ideal for borders, columns, and lettering with a polished sheen. Width, angle, underlay, and compensation all affect the edge.
Fill stitch
Covers broader areas through rows of stitches. Direction, density, pattern, and sectioning control texture and fabric distortion.
Underlay
The hidden foundation. It stabilizes the ground, lifts top stitches, defines edges, and reduces the need for excessive top density.
Push and pull
Stitches shorten along their direction and spread across it. Compensation and overlap must respond to this physical movement.
Pathing
Good entry, exit, and object order reduce unnecessary travel while keeping the design stable and easy to run.
Guided curriculum
Work through the foundation in order
Open the module, complete each practical checkpoint, and use your browser-saved progress to return where you stopped.
Module 17 steps
Learn embroidery digitizing
Build the essential workflow through focused explanations, checks, and practical decisions.
0 of 7 steps doneYour ticks are saved in this browser only.
The test sew-out
Let the stitched sample guide the correction
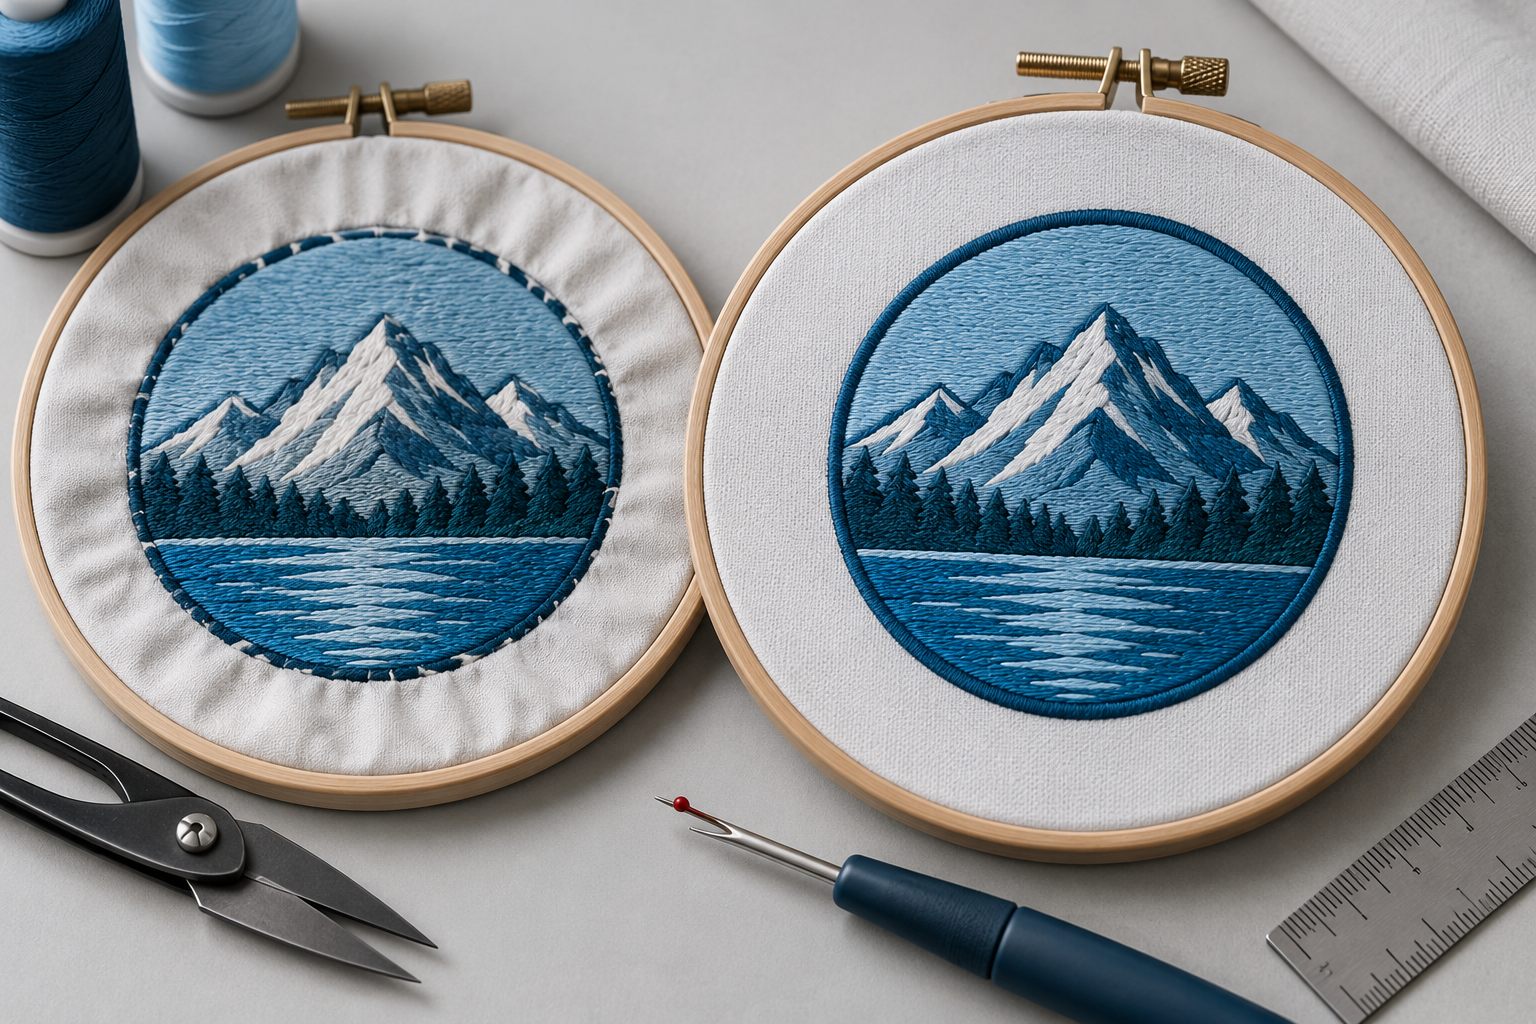
Test on the intended or closest available fabric with the planned stabilizer, needle, and thread. Inspect the result before editing the file.
- Edges: Are outlines centered and columns smooth?
- Coverage: Are gaps caused by density, movement, or weak support?
- Fabric: Is the material flat, or is tension building between sections?
- Registration: Did neighboring objects push apart or overlap too far?
- Production: Are trims, jumps, color changes, and run order sensible?
Avoidable setbacks
Four beginner habits that slow improvement
Digitizing the picture literally
Translate visual intent into stitchable shapes; do not trace every pixel, texture, or tiny corner.
Adding density to solve every gap
Check underlay, compensation, direction, tension, stabilizer, and registration before making the design heavier.
Judging only on screen
A clean preview is not proof of a clean sew-out. Thread, needle, fabric, stabilizer, and machine behavior complete the design.
Changing many settings at once
Make one controlled adjustment, sew again, and record the result so you know which change helped.
Practice deliberately
A useful first practice file
Choose a simple three-color mark with one fine line, one satin-width element, and one medium fill area. Digitize it at a real production size, test it, photograph the result, and keep short notes about every revision.
- Write the fabric, final size, and visual priority.
- Sketch the object order before placing stitches.
- Use only the structure needed for each shape.
- Sew one baseline sample without hiding the flaws.
- Change one variable and compare both samples.
Before you begin
Common course questions
Do I need digitizing software to learn from this course?
You can learn the planning concepts without software. To complete the practical work, use software that can create stitch objects and export a machine format supported by your equipment.
Does the screen preview tell me whether the file is good?
No. The preview helps you inspect structure and sequence, but a controlled sew-out reveals fabric movement, coverage, registration, and production behavior.
Should I start with lettering or a detailed logo?
Start with simple geometric artwork. It makes cause and effect easier to see before you add small lettering, complex overlaps, or highly detailed shapes.
What should I save after each test?
Keep the file version, a photo of the sew-out, the fabric and stabilizer details, and one sentence describing what changed. That record turns trial and error into repeatable learning.
Course completion
Finish the module and claim your certificate
Certificate of completion — not a professional certification