
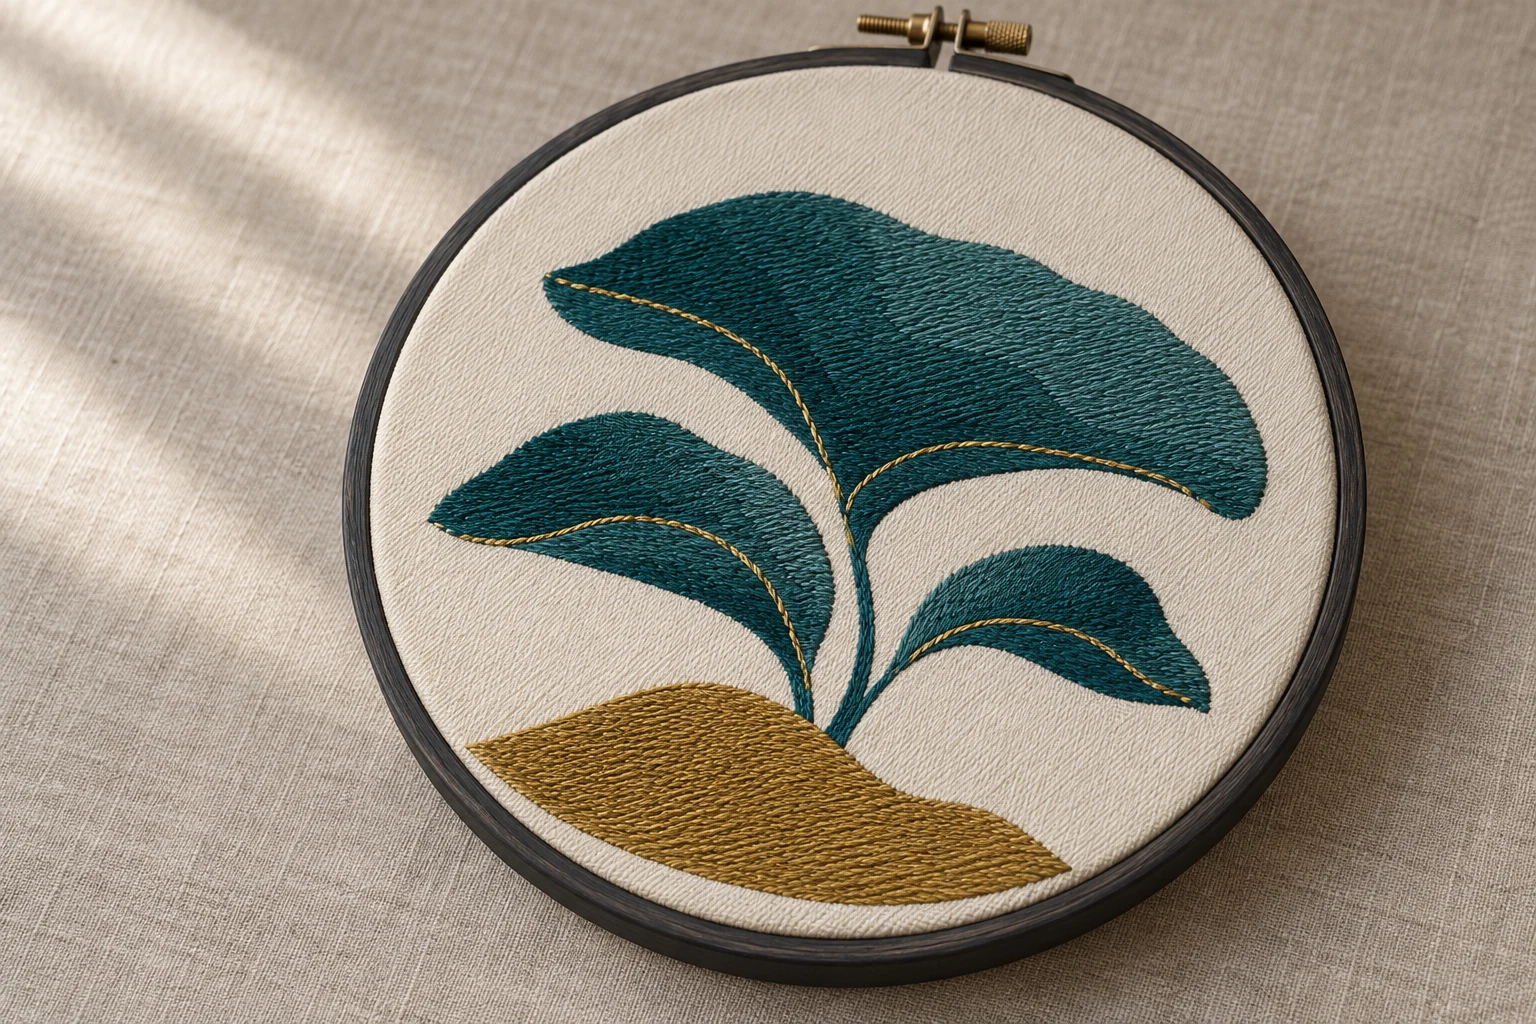
Cover image: AI-generated editorial concept; not a customer project or production proof.
Tatami stitch fills large embroidery shapes with rows of short running stitches. To use it, create or select a fill object, apply Tatami, adjust its spacing and stitch length, choose suitable support and edge settings, then test the design on the intended fabric. Offsets control where needle penetrations fall, helping you produce either an even surface or a visible pattern. Wilcom explains tatami construction.
Where tatami stitch works best
Use tatami for broad logo areas, backgrounds and irregular shapes. For example, an original tree design could use tatami for the canopy and ground, with separate objects for the trunk and finer details. This lets you adjust each area independently.
Tatami can also fill wide lettering. Satin generally suits narrower columns and borders, while running stitches suit fine outlines. Choose by the shape at its finished size: a large letter may accommodate fill stitching even when a smaller version needs a different treatment. A satin border is an optional design choice, rather than a requirement for every tatami object. Wilcom’s stitch reference describes these uses.
How to set up a tatami fill
1. Establish the finished size and fabric
Work at the intended embroidery dimensions. Record the garment material, placement and stabilizer before refining the fill. Wilcom’s fabric settings treat tatami length, spacing, underlay and pull compensation as related choices. See Wilcom’s fabric setup guidance.
For an order placed with a US, Canadian or UK embroiderer, state units explicitly. For example, specify a design as 3 inches wide, or 76.2 mm, rather than sending an unlabeled number.
2. Apply Tatami and adjust stitch values
In Wilcom EmbroideryStudio, select an existing embroidery object and apply Tatami, or choose Tatami while creating a suitable fill object. Right-click the Tatami tool to open its properties. Interface labels can vary by version.
Keep these controls separate:
Setting | What it controls |
|---|---|
Spacing | Separation of fill rows: smaller values increase density; larger values create more open stitching. |
Length | The length used to generate stitches along the fill. |
Minimum length | The shortest stitch the software should generate. |
Adjust one setting at a time so its effect is easier to judge. Wilcom’s tatami density instructions explain these controls.
Do not treat 4 mm as a mandatory minimum stitch length or 0.4 mm spacing as a universal recipe. Wilcom’s e4 documentation illustrates separate values of 4.20 mm length, 0.40 mm minimum length and 0.40 mm spacing; these are illustrated settings, not a specification for every fabric. See the e4 release notes.
3. Set underlay and compensation
Underlay provides a foundation beneath the visible embroidery. It helps support coverage and reduce pulling and puckering, particularly in larger designs. When fabric shows through a solid fill, inspect the foundation before simply adding more top stitches. Wilcom explains the role of underlay.
Pull compensation allows extra stitch coverage to account for distortion. Its appropriate value depends on the fabric, hooping and object dimensions. Avoid applying a fixed 0.2–0.3 mm allowance to every tatami shape; Wilcom provides different guidance for cotton, T-shirts and fleece. See Wilcom’s pull compensation guidance.
4. Review the sequence and sew a sample
Preview how the fill connects to adjacent objects and how later details sit over it. For a background with lettering, inspect the combined stitching instead of assuming that a full background beneath every letter is always appropriate.
As a practical test procedure, sew the design using the intended fabric, thread and stabilizer. Examine coverage, edge alignment, visible travel stitches and the feel of the embroidered area. Record any changes and repeat the sample before approving a production run. For washable apparel, include a care-appropriate wash test in your sample review.
What tatami backstitch means
In Wilcom, tatami backstitch refers to every second row within the fill. It is part of the fill’s construction; it does not mean stitching placed on the back of the garment or a separate underlay layer.
Backstitch type | When to consider it |
|---|---|
Standard | Denser fills where reducing short stitches at the shape’s edge is useful. |
Borderline | More open fills that need a defined edge; also called Trapunto style. |
Diagonal | Turning shapes or jagged-edge effects, with diagonal return rows connecting the forward rows. |
Choose the type for the object and inspect the resulting edge. These distinctions come from Wilcom’s tatami backstitch documentation.
Create textures with Wilcom offset fractions
Offsets shift needle penetration positions between rows. In EmbroideryStudio e4, right-click Tatami, select Offset Fraction, then adjust the A and B fields for the forward and backward rows.
These values are fractions of stitch length, not millimeters: 0.25 means one quarter of the stitch length.
Desired effect | A and B settings to explore |
|---|---|
Even surface | Set both to 0.25. |
Strong horizontal penetration lines | Set both to 0.00, or both to 1.00. |
Lighter horizontal penetration lines | Set both to 0.50. |
Diagonal penetration patterns | Explore other combinations, such as A = 0.30 and B = 0.60. |
The combination matters: Wilcom notes that values totaling 1.0 produce horizontal lines. Preview the result rather than assuming any unfamiliar value produces a diagonal pattern. These controls change the penetration pattern within the fill. Wilcom’s e4 offset tutorial provides the examples.
For more variation, partition lines offer additional offsets, while a random factor distributes needle penetrations less regularly. Use these when they support the artwork’s texture. See Wilcom’s overview of tatami textures.
Use open fills and color blending deliberately
Increasing spacing creates an open fill, which can be useful for backgrounds. Check whether underlay or travel runs become visible through the gaps. Wilcom recommends disabling Auto Underlay for this effect and describes Trapunto as a way to move underlying travel runs toward object edges. See its open-fill guidance.
Color blending requires planned layers and varying coverage. Parallel tatami rows alone do not create a gradient. Wilcom’s Color Blending workflow combines two colors using complementary spacing profiles, mixing more open and denser stitching to create shading. Its documented workflow disables Auto Underlay and applies Trapunto to reduce visible underlying stitches. Treat this as an effect-specific setup, not the default for solid fills. Wilcom explains the color-blending method.
Test blends in the actual thread colors and fabric. Assess whether the transition looks intentional and whether layered areas feel suitable for the garment.
What to send when requesting digitizing
For a useful brief, provide the artwork, finished dimensions, garment material, placement, required machine format and preferred thread colors. Explain whether broad areas should look smooth, patterned or softly blended. Ask how sample feedback and revisions will be handled.
You can use DigitEMB’s logo embroidery digitizing service page to discuss a logo project. Include separate specifications when the same artwork is needed at different sizes or on different fabrics.
Frequently asked questions
Is tatami the same as fill stitch?
Tatami is a type of fill stitch made from repeated rows of running stitches. Software may also offer other decorative fills, so check the selected stitch type rather than relying only on the word “fill.” Wilcom’s fill reference distinguishes the options.
Can tatami be used as underlay?
Yes. Tatami underlay is a separate foundation beneath cover stitching. Its supporting role differs from the visible tatami fill and from tatami backstitch rows. Wilcom includes tatami among its underlay options.
Should every tatami object use the same settings?
No. Set length, spacing, underlay and compensation for the fabric and object, then evaluate a sewn sample. Wilcom allows these values to be configured together in fabric-specific settings.
Practical details for How to Use Tatami Stitch in Embroidery Digitizing
Use the article above as a starting point, then make the production brief specific to your own design. A stitch file is made for a finished size and material, so the artwork alone is only part of the instruction.
Work through these points in order and keep the answers with the artwork or production request. A short written brief makes it easier to compare a proof with the intended result, ask a useful follow-up question and avoid relying on assumptions made from a screen image alone.
The aim is not to add unnecessary steps. It is to identify the choices that change the final result before work begins. If a requirement is unknown, flag it for confirmation rather than guessing; that keeps the approval process focused on the design, material and use that apply to this particular project. Save the approved brief with the project files for future reorders or revisions.
Confirm the finished use
State the item, placement and finished width and height. A chest logo, cap front and jacket back do not use the same sewing area, even when they start from the same artwork.
Protect the smallest details
Review small lettering, narrow gaps, thin outlines and tiny colour changes at the final size. Simplifying a fragile detail before digitizing is often more reliable than trying to force it into a small sew-out.
Match the file to the machine
Tell the production team the embroidery machine or format required, along with the fabric or garment type. This lets them prepare the right export and make choices that suit the material rather than treating every job alike.
Quick questions to check before you proceed
What should I send with my artwork?
Send the clearest original available, the finished dimensions, placement, fabric or garment type and the required machine format if you know it.
Can the same file be used at every size?
Not always. Scaling changes the relationship between stitch length, detail and fabric, so a design may need review when the finished size or placement changes.
What should I check before production?
Confirm the spelling, colours, final size, placement and any details that must remain readable. A proof or sample is the best point to catch a change.