
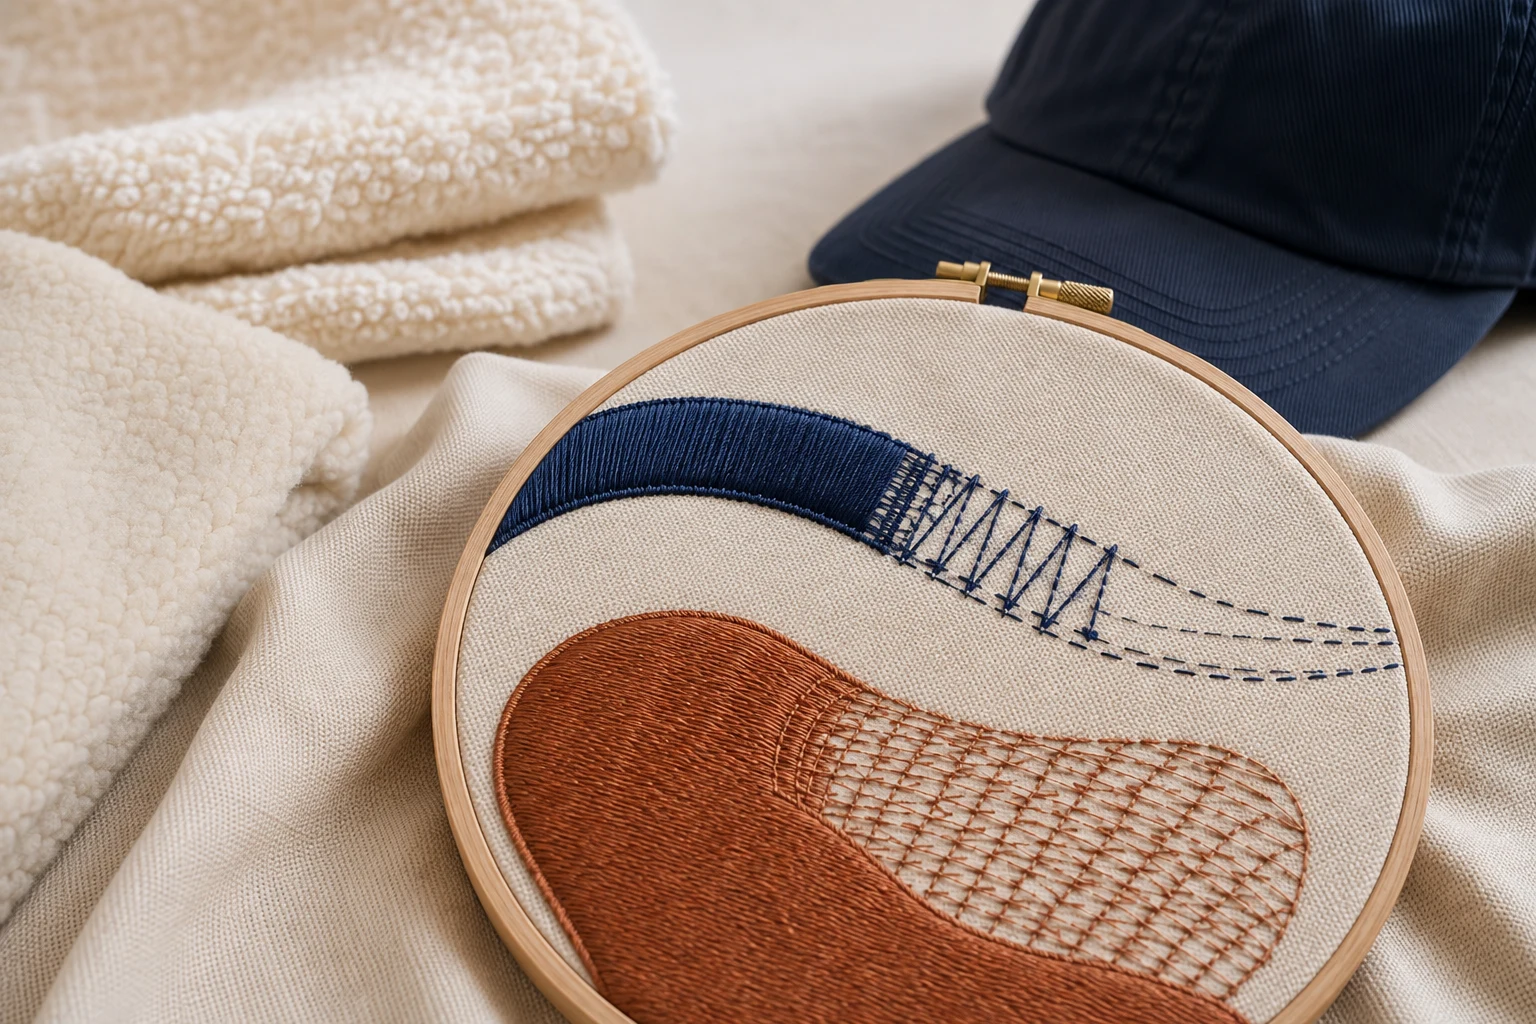
Cover image: AI-generated editorial concept; not a customer project or production proof.
Underlay stitches form the foundation beneath the visible embroidery. They help stabilize stitched shapes and support the top stitches, but they work alongside suitable backing, hooping and digitizing settings. For buyers, the useful test is whether the finished sample has readable details, clean edges and an appropriate feel on the intended garment.
If top stitches are the paint, underlay is the primer. Its contribution matters even though most of it should disappear beneath the finished design. BERNINA’s embroidery glossary explains underlay and the supporting materials used in embroidery.
What the hidden foundation contributes
Underlay helps support individual embroidered shapes. It can stabilize narrow lettering, provide a foundation beneath larger areas and help keep decorative stitching above soft fabric. It does not make fabric movement impossible or guarantee perfect alignment.
Backing is a separate material placed beneath the fabric for support. Underlay is stitching within the design. A file with underlay still needs an appropriate embroidery setup; the two serve related but distinct roles. See BERNINA’s definitions of underlay and backing.
You may hear these names when discussing a file:
Underlay type | What it supports |
|---|---|
Center run | A line through a narrow column, useful for supporting slender lettering strokes. |
Edge run | Stitching around an object’s edge to help stabilize its shape. |
Zigzag | Support across wider columns. |
Tatami | An open foundation of rows beneath larger filled shapes. |
These are general roles, not a prescription for every design. The object’s size, shape and fabric influence the choice, and some objects use combined underlays. Wilcom’s underlay reference describes these applications.
Match the sample to the garment
A piqué polo, fluffy towel, fleece garment and structured cap should each be identified in the digitizing brief. Ask for the foundation to be reviewed for the actual item rather than assuming one file setup suits every product.
For a piqué polo, inspect small lettering and borders on the textured knit. Ask whether the sample used the same garment fabric and backing planned for the order.
For towels and fleece, check whether loops or fibers obscure thin details. Ordinary object underlay may be only part of the solution. A separate knockdown foundation can flatten pile beneath and slightly beyond the design; that surrounding flattened area may remain visible. Embrilliance’s knockdown explanation describes this purpose. Discuss that appearance before approving the sample.
For a structured cap, supply the actual cap style and intended placement. Request a sample on that cap, especially when the design approaches a seam. Review the lettering, outline alignment and overall shape on the curved finished item.
These checks apply the principle that underlay selection depends on the fabric and embroidered objects. They are not fixed density recipes for each garment.
What to inspect before approving a sew-out
A sew-out is a physical test of the embroidery file. Request one at the intended finished size, using the planned fabric, thread and support materials. Madeira recommends testing the design and fabric together, then adjusting stitching and setup as needed. Madeira’s embroidery testing guidance.
Look at the sample after it has been removed from the hoop and finished:
Readability: Can you read the smallest letters without relying on the original artwork?
Edges: Do borders follow the intended shapes, and is foundation stitching peeking out?
Coverage: Are fabric texture or loops obscuring important details?
Alignment: Do adjacent stitched areas meet as intended?
Feel: Is the embroidered area comfortable and flexible enough for its use?
If underlay shows around a curve, ask the digitizer to inspect its path and coverage. Wilcom specifically advises adjusting run lengths so underlay follows curves and remains concealed in the final embroidery. Wilcom’s run-underlay guidance.
Photograph the whole sample and the affected detail. Describe the visible problem—such as “the lower border has a gap”—before requesting a particular technical change. Keep the sample and file version together so revisions can be compared.
Puckering does not identify the cause
Wrinkles, sunken details and wandering borders deserve investigation, but they do not prove that underlay is responsible. Puckering can involve hooping, backing, thread tension, needle choice, stitch density and other factors. Madeira’s puckering guide treats it as a problem with several possible causes.
Ask the embroiderer and digitizer to review the sample together. Adding more foundation stitches should follow a diagnosis and another test, rather than being the default response to every flaw.
What to tell your digitizer
When preparing a request through DigitEMB’s embroidery digitizing service page, include the artwork, garment or fabric description, placement, finished dimensions and required machine file format. Add close-up sample photographs if you are correcting an existing file.
For buyers in the US, Canada or UK, label dimensions explicitly in inches or millimeters. If the same artwork will appear on polos, towels and caps, list those applications separately and ask which need their own file setup or sample.
Useful questions include: Which garment was this file prepared for? Does it include a separate pile-flattening foundation? What changed after the last sample? Agree on the sample appearance before repeating the design across an order.
Frequently asked questions
Should I be able to see underlay in finished embroidery?
Ordinary object underlay is generally intended to be covered. Visible foundation around edges warrants review. A knockdown area on plush fabric is different: it may intentionally extend beyond the decorative stitching.
Does more underlay mean better quality?
No. The foundation must suit the objects and fabric. Judge the complete sew-out rather than the number of underlay layers or the total stitch count.
Can underlay replace backing?
Do not assume so. Underlay is stitched support within the design; backing is a separate supporting material. Confirm both as part of the production setup.
Practical details for Underlay Stitches: The Foundation Nobody Sees
Use the article above as a starting point, then make the production brief specific to your own design. A stitch file is made for a finished size and material, so the artwork alone is only part of the instruction.
Work through these points in order and keep the answers with the artwork or production request. A short written brief makes it easier to compare a proof with the intended result, ask a useful follow-up question and avoid relying on assumptions made from a screen image alone.
The aim is not to add unnecessary steps. It is to identify the choices that change the final result before work begins. If a requirement is unknown, flag it for confirmation rather than guessing; that keeps the approval process focused on the design, material and use that apply to this particular project. Save the approved brief with the project files for future reorders or revisions.
Confirm the finished use
State the item, placement and finished width and height. A chest logo, cap front and jacket back do not use the same sewing area, even when they start from the same artwork.
Protect the smallest details
Review small lettering, narrow gaps, thin outlines and tiny colour changes at the final size. Simplifying a fragile detail before digitizing is often more reliable than trying to force it into a small sew-out.
Match the file to the machine
Tell the production team the embroidery machine or format required, along with the fabric or garment type. This lets them prepare the right export and make choices that suit the material rather than treating every job alike.
Quick questions to check before you proceed
What should I send with my artwork?
Send the clearest original available, the finished dimensions, placement, fabric or garment type and the required machine format if you know it.
Can the same file be used at every size?
Not always. Scaling changes the relationship between stitch length, detail and fabric, so a design may need review when the finished size or placement changes.
What should I check before production?
Confirm the spelling, colours, final size, placement and any details that must remain readable. A proof or sample is the best point to catch a change.