
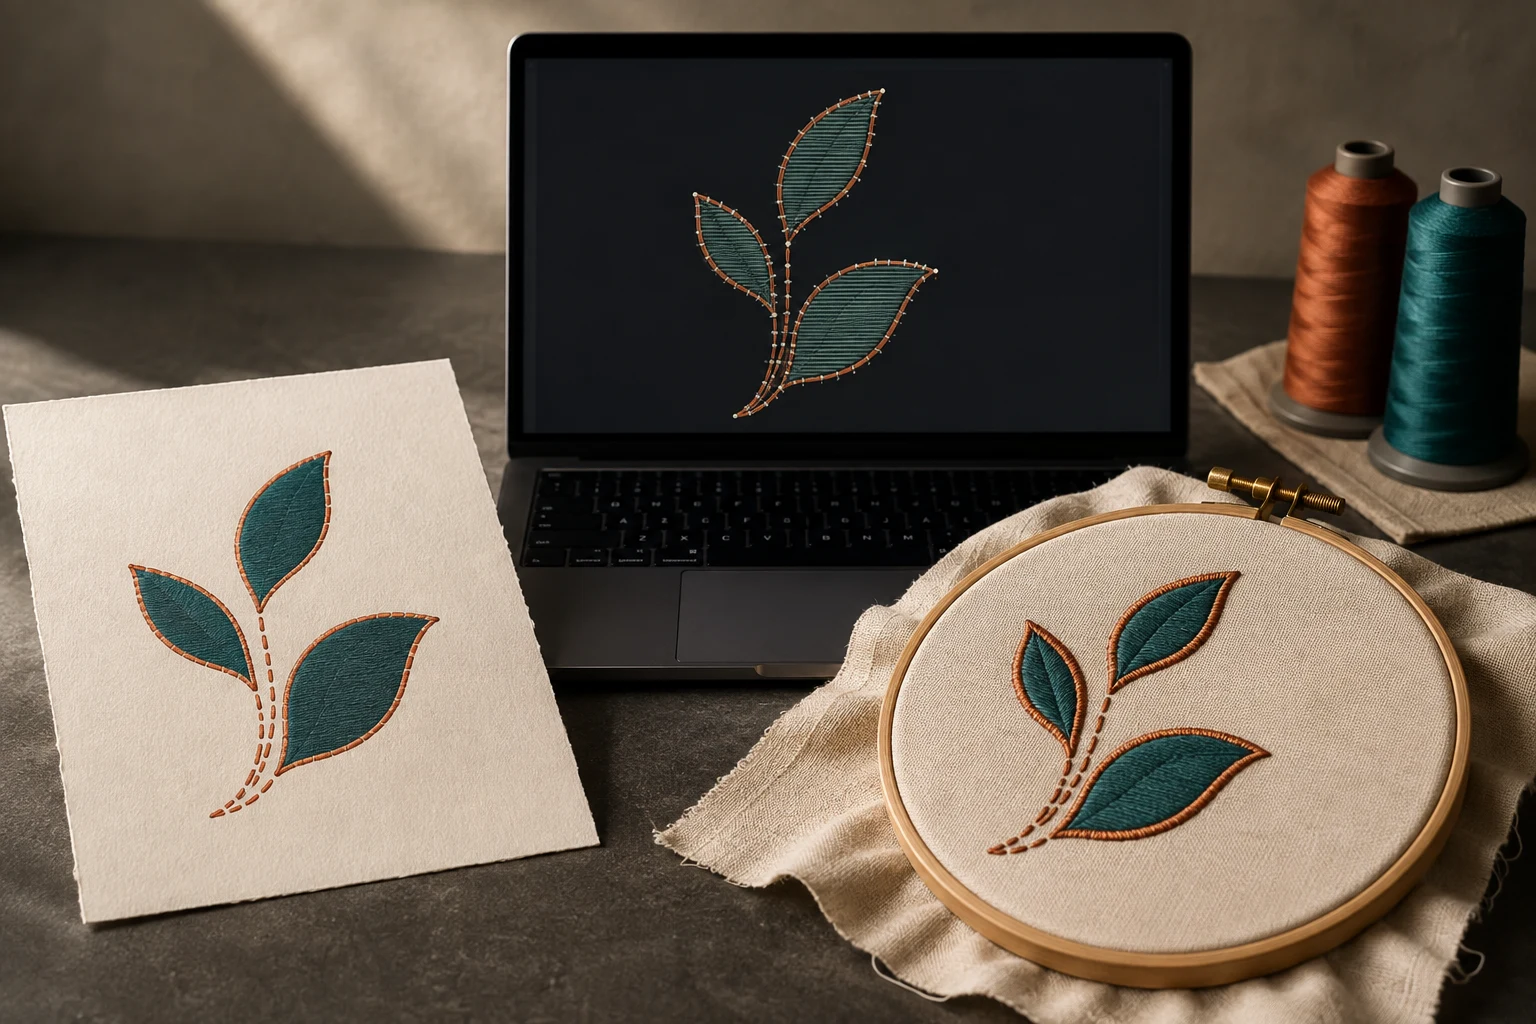
Cover image: AI-generated editorial concept; not a customer project or production proof.
Embroidery digitizing turns artwork into a planned sequence of stitches and machine commands. A digitizer defines shapes, stitch types, direction, spacing and sewing order in embroidery software, then exports a file the embroidery machine can read. The software generates needle positions from those decisions; the digitizer does not necessarily place every stitch individually. Hatch’s guide to saving and exporting designs explains how editable embroidery objects become machine instructions.
The process is closer to translation than tracing. The aim is to preserve what makes the artwork recognizable while adapting it to thread, fabric and the intended finished size.
1. Read the artwork at its finished size
Start with the dimensions and the item being embroidered. A logo intended for a shirt chest needs to be assessed at that size before its smallest details are digitized.
Lettering deserves particular attention. A font that reads clearly when enlarged on screen may become difficult to sew at a small size. Even within one font, lowercase letters can be too small when the capitals remain workable. Hatch provides recommended size ranges for embroidery fonts and advises adjusting small lowercase characters where necessary. Hatch’s embroidery font guidance
For buyers in the US, Canada and UK, a useful brief includes:
The clearest available artwork and the exact wording to reproduce.
Finished width and height, with inches or millimetres explicitly identified.
Garment type, fabric and intended placement.
The embroidery machine model or the format requested by the production shop.
Thread color references and any details that must remain unchanged.
If a tagline or fine detail needs simplifying, agree on that change before proceeding. Keep the original artwork as a reference so that production adjustments remain deliberate.
2. Build the design from embroidery objects
The digitizer divides the artwork into elements and chooses how each should be sewn. Different stitch structures serve different purposes; one logo can use several.
Stitch type | Typical role |
|---|---|
Running stitch | Fine outlines, line details and connecting paths. |
Satin stitch | Narrow shapes, borders and suitable lettering, with stitches crossing the shape. |
Fill or tatami stitch | Larger areas covered by rows of shorter stitches. |
These choices affect the surface texture and how the shape is constructed. Hatch’s documentation describes running, satin and tatami stitches. Its satin fill guidance also explains why wide satin areas need care: machine stitch-length limits and long exposed threads affect the available options.
The digitizer then sets stitch angles and spacing for each element. The artwork supplies the visual shape; the embroidery plan adds the construction needed to reproduce it.
3. Plan underlay and account for fabric movement
Underlay is the supporting stitching beneath the visible embroidery. It helps stabilize shapes and can add lift beneath the top stitches. Its structure should suit the object and fabric: a narrow column and a large filled area do not necessarily need the same foundation. Hatch allows underlay settings to vary with fabric, shape and lettering size. Hatch’s underlay guidance
Fabric also moves as stitches form. Thread can draw it inward at needle penetrations, contributing to gaps between areas or puckering. Pull compensation adjusts the stitched shape to allow for that movement. Appropriate backing, topping and underlay can also help control the push-and-pull effect. Hatch’s pull compensation explanation
This is why the fabric belongs in the original brief. The digitizer needs to consider support, coverage and movement together, rather than treating the outline on screen as the whole job.
4. Choose the sewing order and connections
Each object needs an entry point, an exit point and a place in the sewing sequence. The digitizer reviews how the machine moves between elements, including running connections, jumps and trims.
Shorter connections can improve sewing efficiency and reduce unnecessary trims. Software can assist: Hatch’s closest-join function positions entry and exit points near one another. Its documentation also warns that those relationships need reviewing after objects are moved, edited or resequenced. Hatch’s closest-join guidance
The practical goal is a sequence that preserves the intended layering while avoiding needless movement. Removing every trim is not a useful target if the remaining thread connections spoil the visible design.
5. Review automated digitizing decisions
Automatic digitizing can recognize artwork shapes, assign fills or details and generate embroidery objects. It can be useful with prepared artwork, and the operator can change stitch choices, omit colors and adjust the sequence. Hatch’s auto-digitizing documentation
Automation also extends beyond tracing: fabric presets can apply pull compensation, and connection tools can help reduce travel. The important question is whether those choices suit this artwork at this size on this fabric.
Whether the starting point is manual digitizing, automation or a combination, review the resulting shapes, lettering, connections and sewing order before output. A manual workflow alone does not prove that a file will sew well.
6. Save the editable design and export the machine file
The working design and the production file serve different purposes. An editable design retains information about embroidery objects, allowing their properties to be adjusted later. A machine stitch file retains the needle positions and supported commands needed for sewing.
For example, Hatch recommends saving its editable EMB design before exporting the machine file. The machine receives stitch instructions rather than an editable object described as a satin column. Hatch’s save-and-export explanation
Confirm the required format with the production shop. A familiar extension is not enough to establish compatibility with every machine. Also agree on the accompanying information: finished dimensions, color sequence and thread references make the handoff easier to interpret.
7. Sew a sample and revise where needed
A screen preview helps with review, but a physical sew-out shows how the design and production setup work together. BERNINA recommends testing because fabric and design characteristics vary, even when general stabilizer guidelines have been followed. BERNINA’s stabilizer guide
For a useful production check, ask the embroiderer to test at the intended size using the planned fabric and setup. Review lettering, gaps, outline alignment, visible connections and how the embroidered area feels. Record the materials and settings so that any revision can be assessed against the same conditions.
Treat problems as something to investigate across the file and the sewing setup. Share clear sample photos and production details with the digitizer before requesting changes. Confirm who will perform the sew-out and review revisions before the main run begins.
If you are preparing an order, use DigitEMB’s embroidery digitizing service page to discuss the artwork, finished dimensions, garment and required file format.
Frequently asked questions
Is digitizing the same as converting a JPG to another file type?
Digitizing creates embroidery objects and stitch instructions from artwork. Changing a filename or exporting an ordinary image does not supply that stitch plan. Automatic digitizing software can perform part of the process, but its choices still need review.
Does vector artwork remove the need for digitizing?
No. Vector artwork supplies shapes that embroidery software can use, but those shapes still need stitch types, sewing settings and a sequence. Hatch’s auto-digitizing tools accept both bitmap and vector artwork as inputs to that process.
Can the same design be used on another fabric?
Have it reviewed for the new fabric and test it before production. Underlay and pull compensation can need adjustment when the fabric changes, even if the artwork and finished dimensions remain the same.
What should I approve before production?
Approve the artwork interpretation, wording, dimensions and thread choices, then review the physical sample where a sew-out is part of the agreed workflow. Ask whether a supplied preview shows a software rendering or an actual stitched sample.
Practical details for How Embroidery Digitizing Actually Works, From Art to Stitch File
Use the article above as a starting point, then make the production brief specific to your own design. A stitch file is made for a finished size and material, so the artwork alone is only part of the instruction.
Work through these points in order and keep the answers with the artwork or production request. A short written brief makes it easier to compare a proof with the intended result, ask a useful follow-up question and avoid relying on assumptions made from a screen image alone.
The aim is not to add unnecessary steps. It is to identify the choices that change the final result before work begins. If a requirement is unknown, flag it for confirmation rather than guessing; that keeps the approval process focused on the design, material and use that apply to this particular project. Save the approved brief with the project files for future reorders or revisions.
Confirm the finished use
State the item, placement and finished width and height. A chest logo, cap front and jacket back do not use the same sewing area, even when they start from the same artwork.
Protect the smallest details
Review small lettering, narrow gaps, thin outlines and tiny colour changes at the final size. Simplifying a fragile detail before digitizing is often more reliable than trying to force it into a small sew-out.
Match the file to the machine
Tell the production team the embroidery machine or format required, along with the fabric or garment type. This lets them prepare the right export and make choices that suit the material rather than treating every job alike.
Quick questions to check before you proceed
What should I send with my artwork?
Send the clearest original available, the finished dimensions, placement, fabric or garment type and the required machine format if you know it.
Can the same file be used at every size?
Not always. Scaling changes the relationship between stitch length, detail and fabric, so a design may need review when the finished size or placement changes.
What should I check before production?
Confirm the spelling, colours, final size, placement and any details that must remain readable. A proof or sample is the best point to catch a change.