
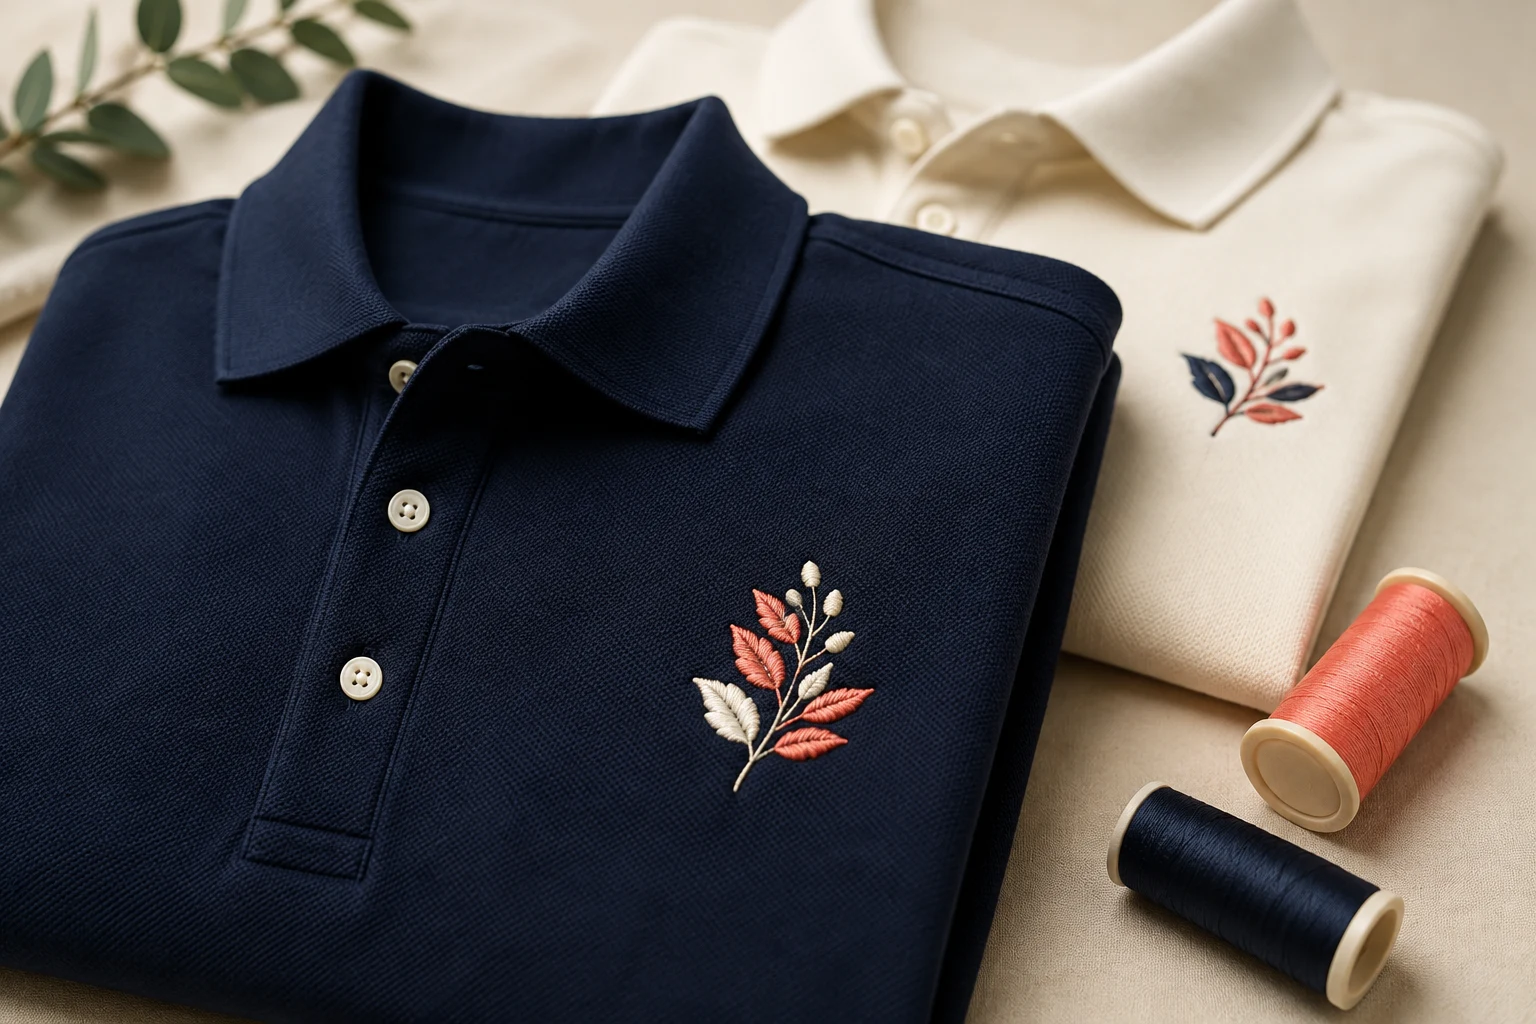
Cover image: AI-generated polo embroidery concept; not a customer project or a verified sew-out.
For a polo shirt logo, start with clear artwork, the finished embroidery dimensions and the exact garment. Agree on essential details and placement, then approve a physical sew-out on the intended polo before production.
Embroidery digitizing turns artwork into a plan of stitches for an embroidery machine. The preparation steps below also help with other garments; the polo examples show how to make the brief specific enough for production.
Send the best artwork you have
Provide the original vector artwork (AI, EPS, PDF or SVG) if available, or a clear, high-resolution PNG or JPG. Avoid tiny screenshots and website thumbnails. Include an approved visual reference, especially if the artwork contains lettering or details that are difficult to distinguish.
Supply the exact wording separately and identify what must remain: the company name, a particular symbol, brand proportions or an essential line of text. Ask to approve any simplification before it becomes part of the stitch file.
A useful submission includes both the artwork and its intended use. For example: “Wearer’s left chest on this polo style; retain the company name; the optional tagline may be removed for approval.”
DigitEMB’s logo embroidery digitizing page provides a relevant starting point for an enquiry. Include your garment details and dimensions with the artwork.
Identify the actual polo fabric
Record the manufacturer, style code, fabric composition, garment colour and fabric weight if available. Add a close photograph of the surface. If the order uses several styles, identify each one separately.
Madeira recommends cut-away backing for polo knits and distinguishes textured piqué from jersey and performance fabrics. For piqué, water-soluble topping can help keep stitches from sinking into the texture. Backing supports the fabric from underneath; topping works on the surface. Madeira E-Zee backing guide, pages 6 and 13–14.
For lightweight performance polos, Madeira advises avoiding overstretching during hooping, choosing lighter designs and considering thin, strong support. Treat these as starting points for the embroiderer’s sample setup. Madeira performance-wear guidance, page 17.
Ask the embroiderer to record the selected backing and any topping. Approval on a cotton piqué polo should not automatically cover a different polyester style.
Set the finished size and placement
Specify the embroidered width and height, with units. “Left chest” identifies an area but leaves the size undecided.
Print the artwork at actual size and place it on a representative shirt. Check the proportions beside the placket, the required wording and the available space. For illustration, 90 mm is approximately 3.54 inches; that is a possible mock-up width, not a standard size for every logo.
A wide wordmark and a tall crest need different decisions. Start with the actual artwork rather than forcing both into the same dimensions.
For placement approval, record:
The wearer’s left or right side.
Whether measurements locate the design centre or an edge.
The named garment reference points used for those measurements.
Which garment styles, sizes and cuts the approval covers.
Photograph the approved mock-up and retain its measurements. Check representative sizes and cuts before applying one placement instruction to the entire order.
Resolve small lettering before digitizing
Ask the digitizer to assess the actual wording at the intended size. A nominal letter height alone does not establish readability.
Wilcom publishes size recommendations for individual embroidery fonts and explains that its recommended heights refer to uppercase letters. Lowercase characters can be smaller and may need adjustment. Those recommendations do not establish one minimum height for every polo logo. Wilcom standard-font guidance.
If an essential line looks too small, request an approved alternative: enlarge the design, increase the lettering relative to the symbol, simplify the lettering treatment or use an authorised compact logo. An optional tagline can be removed only with approval.
Inspect the smallest letters and their internal spaces on the stitched sample. Do not let a clear enlarged screen preview settle that decision.
Let the stitch settings follow the fabric and design
Stitch spacing, underlay and pull compensation work together. Underlay forms a foundation beneath the visible stitches; pull compensation adjusts for fabric drawing inward as stitching forms. Wilcom states that these settings must suit the stitch type, shape and fabric. Wilcom underlay and pull-compensation documentation.
For the buyer, the practical question is: Has this file been assessed for this logo size and polo fabric?
Avoid prescribing a universal density or compensation value. Wilcom’s fabric-setting guidance shows that underlay, compensation and stitch spacing vary with fabric and object size. An existing file therefore needs review when its intended application changes. Wilcom Auto Fabric Assistant.
If a sample has a problem, describe what you can see and supply the production details. “The small letters close up after stitching” is more useful than requesting an arbitrary reduction in every stitch setting.
Prepare one complete production brief
Keep the artwork, garment information and approval decisions together so the digitizer and embroiderer work from the same instructions.
Brief item | Information to supply |
|---|---|
Artwork | Best available original, exact wording and approved visual reference. |
Essential details | Elements that must remain and changes that require approval. |
Garment | Manufacturer, style, fabric, colour and relevant size range. |
Dimensions | Finished embroidery width and height, with units. |
Placement | Wearer’s side, measurement reference points and design centre or edge. |
Thread colours | Preferred thread references if known; request approval against the garment. |
Machine file | Format required by the embroiderer and any existing embroidery file. |
Sampling | Who supplies the polo, stitches the sample and approves it. |
Version control | Approved artwork and stitch-file version, including any revisions. |
For chest placement, DigitEMB’s shirt and left-chest digitizing page is the relevant service destination. Confirm the requested file deliverables and sampling arrangements for your project, including who supplies and embroiders the garments.
Approve a physical sew-out
A sew-out is the design stitched into fabric. Request one on the intended polo using the proposed production setup, then review it after unhooping and finishing, with the garment relaxed.
Agree on acceptance criteria before the full run:
Identity and legibility: Check the wording, symbol and smallest required text at normal viewing distance.
Shape and alignment: Inspect borders, adjacent colours and the spaces between details.
Garment appearance: Check whether the logo area lies acceptably flat and whether backing is visible through the shirt.
Placement and colour: Compare the result with the approved measurements and assess the thread against the actual garment.
Comfort: Inspect the reverse and assess how it feels when worn.
Care: Check a sample after washing and drying according to the garment’s care instructions.
A care check can reveal a problem; it does not establish long-term durability.
Record the garment style, design dimensions, file version and production setup with the approval. If the result needs revision, send clear front and reverse photographs and explain when the issue appears—for example, after unhooping or after washing. Approve the revised sample before releasing production.
Common questions
Can I reuse an existing embroidery file?
Send it with its original dimensions, previous garment details and sample photographs. Identify the new polo and ask the embroiderer to confirm compatibility and whether it needs adjustment. Fabric and object size affect stitch settings. Wilcom fabric-setting guidance.
What is the best size for a left-chest polo logo?
Choose a size that suits the logo’s proportions, required lettering and space on the shirt. Approve an actual-size mock-up, then check the stitched result. One width cannot resolve every design.
Does every polo need topping?
Ask the embroiderer to decide from the surface texture and design. Madeira specifically recommends water-soluble topping for piqué; it has a different role from the backing beneath the garment. Madeira backing guide, page 14.
Is a digital proof enough?
Use it to approve artwork, wording, proposed dimensions and colour references. Request a physical sample to assess the stitched appearance, garment response, placement and reverse-side finish.
Practical details for How to Prepare Your Logo for Embroidery Digitizing: Polo Shirt Guide
Use the article above as a starting point, then make the production brief specific to your own design. A stitch file is made for a finished size and material, so the artwork alone is only part of the instruction.
Work through these points in order and keep the answers with the artwork or production request. A short written brief makes it easier to compare a proof with the intended result, ask a useful follow-up question and avoid relying on assumptions made from a screen image alone.
The aim is not to add unnecessary steps. It is to identify the choices that change the final result before work begins. If a requirement is unknown, flag it for confirmation rather than guessing; that keeps the approval process focused on the design, material and use that apply to this particular project. Save the approved brief with the project files for future reorders or revisions.
Confirm the finished use
State the item, placement and finished width and height. A chest logo, cap front and jacket back do not use the same sewing area, even when they start from the same artwork.
Protect the smallest details
Review small lettering, narrow gaps, thin outlines and tiny colour changes at the final size. Simplifying a fragile detail before digitizing is often more reliable than trying to force it into a small sew-out.
Match the file to the machine
Tell the production team the embroidery machine or format required, along with the fabric or garment type. This lets them prepare the right export and make choices that suit the material rather than treating every job alike.
Quick questions to check before you proceed
What should I send with my artwork?
Send the clearest original available, the finished dimensions, placement, fabric or garment type and the required machine format if you know it.
Can the same file be used at every size?
Not always. Scaling changes the relationship between stitch length, detail and fabric, so a design may need review when the finished size or placement changes.
What should I check before production?
Confirm the spelling, colours, final size, placement and any details that must remain readable. A proof or sample is the best point to catch a change.