
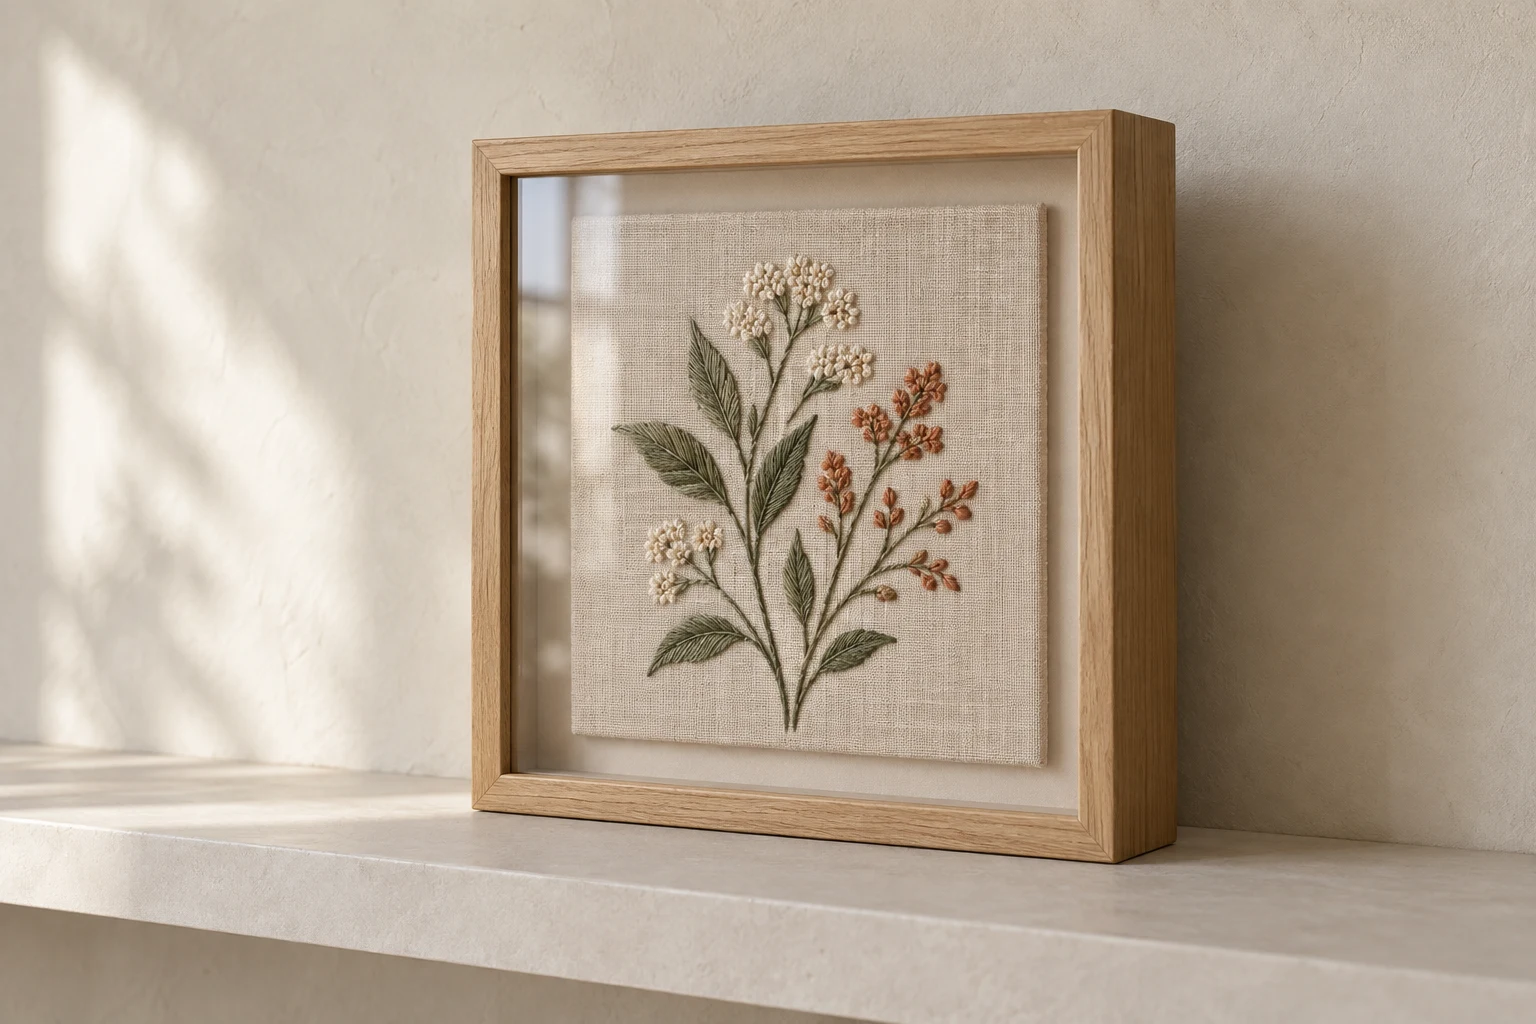
Cover image: AI-generated editorial concept; not a customer project or production proof.
To display embroidery in a frame, prepare the fabric according to its care instructions, center it on a suitable support, and choose a frame deep enough to keep the stitches clear of the glass. Check the assembled fit before securing the backing, then choose a sheltered wall or shelf location.
This guide follows a finished project through preparation, frame fitting and home display. Whether the embroidery was stitched by hand or machine, start with its actual dimensions and condition.
Choose the frame and plan the fit
Lay the embroidery flat and try paper strips around the design to preview different borders. A narrow border creates a close view of the stitching; a wider one gives the design more space. Check that signatures, dates and outer stitches remain visible.
An 8 × 8-inch frame, approximately 20.3 × 20.3 cm, is one possible size—not a standard requirement. Confirm whether the seller’s measurement describes the artwork opening or the outside of the frame. Measure the recess that holds the mounting package, too.
For purchases in the US, Canada or UK, specify inches or millimeters explicitly. A mat, often called a mount in the UK, also has an opening size and an outside size; record both.
A shadowbox can accommodate raised details. A conventional frame can also work if its usable depth accommodates the complete package. Spacers keep glazing away from the stitching, while suitable framing materials help protect the textile. See the Canadian Conservation Institute’s embroidery framing guidance.
Gather your supplies

Have the frame beside you before cutting any board. Gather:
A ruler, pencil and paper for measuring and planning the border.
A suitable mounting support and separate frame backing.
A cutting mat, metal ruler and craft knife if cutting the support yourself.
A fine needle, suitable sewing thread and prepared backing fabric for a sewn mount.
Glazing and spacers or a window mat, as required by the frame design.
Frame fasteners and hanging hardware suited to the finished frame.
For a small, lightweight textile, acid-free matboard covered with prepared cotton or cotton-blend fabric is a conservation mounting option. The CCI guide to mounting small textiles explains support preparation and attachment.
Avoid applying masking tape, glue or peel-and-stick board directly to embroidery you want to preserve. An “acid-free” label alone does not make an adhesive mounting method reversible. CCI explains that adhesives can stain objects and become difficult to remove.
1. Prepare the finished embroidery
Check the fabric, thread and embellishment care instructions before washing or pressing. Do not assume every completed project tolerates the same heat or steam setting.
For suitable washable needlework, DMC recommends pressing lightly with the stitching face down between clean towels to protect its texture. Follow the material-specific instructions, particularly when combining different threads or embellishments. See DMC’s finished needlework care guide.
Let the piece dry completely before assembly. Keep the existing fabric margin until you have settled the mounting method and dimensions. Avoid cutting close to the design simply to make it fit a frame already purchased.
If the textile has tears, powdering threads, mold or old adhesive residues, consult a textile conservator before attempting to mount it. The CCI framing guide identifies these as conditions requiring specialist advice.
2. Size the support before attaching the fabric
Use the frame’s removable backing as an initial template, then verify the fit inside the actual recess. Account for any fabric wrapped around the support; a bare board that fits tightly may become too large once covered.
If cutting board yourself, work on a cutting mat with the embroidery safely elsewhere. Alternatively, ask a framing shop to cut the support to the agreed dimensions.
Dry-fit the support, spacers and backing before attaching the textile. Check the opening from the front rather than relying only on measurements taken from the back.
Fit check | What to look for |
|---|---|
Visible opening | Every intended stitch and border remains visible. |
Support size | The covered support fits without bending or force. |
Frame depth | The full assembly fits without compressing the embroidery. |
Back fasteners | They close securely without catching fabric. |
3. Center and secure the embroidery
Place the prepared support beneath the embroidery and check the design from the front. Compare the surrounding margins and keep the fabric grain straight. Adjust the position before making permanent changes.
For a sewn conservation mount, the textile is attached to the fabric covering the support. Stitch selection depends on the textile’s edges and condition; additional support stitches may be needed within the piece. It should remain in position when upright without puckering. Follow the CCI mounting method, or have a textile framer complete this stage.
Our embroidery framing guide also covers back lacing and hoop finishing. Choose the attachment method before trimming the fabric, and keep preservation requirements in mind when comparing methods.
4. Assemble the frame
Clean the glazing separately and let it dry before bringing it near the embroidery. Inspect the inside for lint before closing the frame.
Install the glazing, spacing components, mounted embroidery and backing in the arrangement intended for your frame. Check that neither the glazing nor the mat presses on raised stitches. Secure the back carefully, keeping brackets clear of the fabric.
If fasteners will not close comfortably, reassess the package depth. Pressing harder is not a useful way to resolve a poor fit.
5. Choose a wall or shelf location
Preview the frame at the intended location before installing hardware. For a wall display, follow the hardware manufacturer’s instructions for the frame’s weight and wall construction. For shelf display, use a frame designed to stand or a suitable picture stand, with enough depth to support it securely.
Avoid direct sunlight, nearby radiators, fireplaces and heating vents, and cold, damp locations. UV-filtering glazing provides only partial protection from light damage. The CCI display recommendations explain these placement considerations.
For a small group of frames, try a paper layout first. Compare spacing and viewing height from the place where you normally sit or stand. Keep the arrangement simple enough that each stitched design can be appreciated.
Frequently asked questions
Can I use an ordinary picture frame?
Yes, if its opening and usable depth suit the mounted embroidery, glazing, spacers and backing. Check the complete assembly before committing to the frame.
What if my embroidery is too small for the frame?
Preview a wider surrounding border or a suitable window mat. You can also choose a smaller frame. Avoid stretching the fabric just to fill the opening.
Should I iron every embroidery project?
No. Follow the care instructions for all its materials. For compatible needlework, gentle pressing from the reverse with protective towels can help; uncertain or fragile pieces need individual advice.
Do I need digitizing to frame finished embroidery?
No. Framing starts with the stitched textile. If you are planning a new machine-embroidered design, DigitEMB’s services page lists embroidery digitizing separately from the physical mounting and framing work.
Practical details for How to Display Embroidery in a Frame: Fit, Finish and Placement
Use the article above as a starting point, then make the production brief specific to your own design. A stitch file is made for a finished size and material, so the artwork alone is only part of the instruction.
Work through these points in order and keep the answers with the artwork or production request. A short written brief makes it easier to compare a proof with the intended result, ask a useful follow-up question and avoid relying on assumptions made from a screen image alone.
The aim is not to add unnecessary steps. It is to identify the choices that change the final result before work begins. If a requirement is unknown, flag it for confirmation rather than guessing; that keeps the approval process focused on the design, material and use that apply to this particular project. Save the approved brief with the project files for future reorders or revisions.
Confirm the finished use
State the item, placement and finished width and height. A chest logo, cap front and jacket back do not use the same sewing area, even when they start from the same artwork.
Protect the smallest details
Review small lettering, narrow gaps, thin outlines and tiny colour changes at the final size. Simplifying a fragile detail before digitizing is often more reliable than trying to force it into a small sew-out.
Match the file to the machine
Tell the production team the embroidery machine or format required, along with the fabric or garment type. This lets them prepare the right export and make choices that suit the material rather than treating every job alike.
Quick questions to check before you proceed
What should I send with my artwork?
Send the clearest original available, the finished dimensions, placement, fabric or garment type and the required machine format if you know it.
Can the same file be used at every size?
Not always. Scaling changes the relationship between stitch length, detail and fabric, so a design may need review when the finished size or placement changes.
What should I check before production?
Confirm the spelling, colours, final size, placement and any details that must remain readable. A proof or sample is the best point to catch a change.