
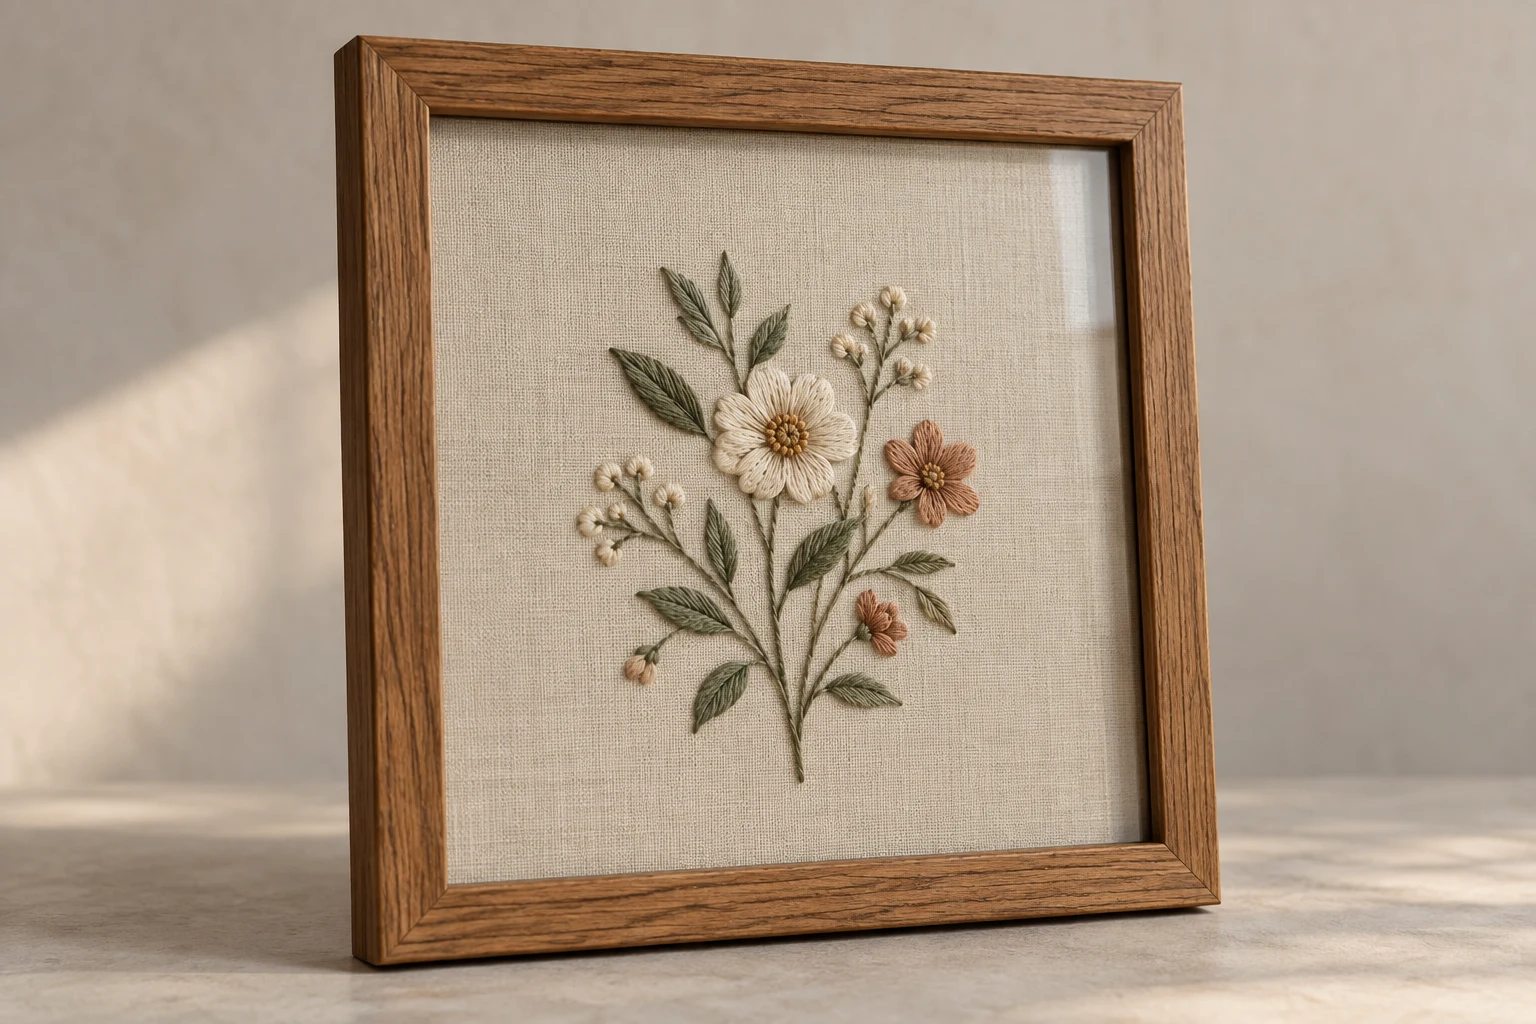
Cover image: AI-generated editorial concept; not a customer project or production proof.
To frame embroidery, center the finished fabric on a suitable support, secure it with even tension, and fit it into a frame deep enough to accommodate the stitches. For a simple decorative finish, keep the work in a hoop and gather the surplus fabric behind it. If using glass or acrylic, leave clearance above the embroidery so the surface is not compressed.
The right method depends on the fabric’s condition, the height of the stitching and whether you want an open display or a protective glazed frame.
Choose a framing method
Framing option | What to consider |
|---|---|
Picture frame with a mounted textile | A useful choice for square or rectangular designs. Check the opening and usable depth before mounting. |
Embroidery hoop | A simple circular display for contemporary work. The stitching remains exposed. |
Deep frame or shadow box | Allows room for raised stitches and spacers beneath glazing. Check clearance at the tallest part of the design. |
Decorative surround for a hoop | Keeps the embroidery in its hoop. Confirm the exact hoop dimensions and attachment system before buying. |
A mat, commonly called a mount in the UK, provides a border around the design. Its opening determines how much fabric remains visible. For orders in the US, Canada or UK, specify dimensions in inches or millimeters and distinguish the visible opening from the frame’s outside measurements.
Gather your materials

For a contemporary embroidery piece in sound condition, gather:
A frame with suitable opening dimensions and depth.
Rigid mounting board specified for textile framing.
A needle and strong cotton thread for lacing.
A ruler, scissors and clean temporary pins if needed.
Suitable backing and, for glazed framing, a mat or spacers.
Keep roughly 2–3 inches (5–7.5 cm) of spare fabric around the intended mounted area where possible. This is a planning allowance, not a universal requirement: the board thickness and finished dimensions determine how much must wrap behind it. Test the folds before trimming. DMC’s fabric preparation guidance also emphasizes leaving generous fabric around a design for finishing.
Foam board can be convenient for temporary pinning, but ordinary craft board and conservation mounting materials are not interchangeable. Ask a framer to identify the board’s composition and suitability; small suitable offcuts may be enough for a small project. The Wandering Threads framing tutorial demonstrates wrapping, temporary pinning and lacing over foam board.
For delicate or valuable work, consider a fabric-covered support with sewn attachment. The Canadian Conservation Institute describes this approach in Mounting Small, Light, Flat Textiles.
Prepare the embroidery before mounting
Check the fabric, threads and embellishments before deciding whether to wash or press. Washing is not automatically necessary. Follow the care instructions for every material involved, including any transfer marks that need removal.
DMC explains that cleaning choices depend on both thread and fabric in its finished needlework care guide. If the materials are unknown, avoid experimenting on the finished piece. Test an equivalent stitched scrap when available, and let any washed work dry completely before enclosing it.
Do not try to correct tears, powdering threads, unstable dyes or old adhesive damage by stretching the piece. These conditions call for specialist advice, as described in the Canadian Conservation Institute’s conservation framing guidance.
How to mount and lace embroidery for a picture frame

Use this method for a sound contemporary textile with enough unstitched fabric to wrap around the support.
Check the fit. Measure the frame recess. Size the support to allow for the wrapped fabric; test it before committing to the mount.
Center the design. Place the embroidery over the support and check the visible border on all sides. Keep the fabric grain straight.
Fold the first pair of sides. Turn the piece carefully onto a clean, cushioned surface. Fold opposite margins behind the board, keeping pressure off raised stitches.
Lace across the back. Sew between the opposite folded margins, catching sound fabric away from the raw edges. Work outward from the center, adjusting gradually.
Finish the remaining sides. Fold the corners neatly and lace the second pair of margins. Keep the tension balanced.
Inspect the front. Correct any slant or ripples before securing the thread ends. The board should remain flat.
Wild Olive’s illustrated lacing tutorial shows how to work between opposing margins and check alignment as you go.
If temporary pins helped hold the position, remove them after lacing. Check the wrapped assembly in the frame again. Avoid forcing the backing shut; reduce bulky folds or choose a deeper frame if necessary.
Add glazing without flattening the stitches
Glass or acrylic helps protect embroidery from dust and accidental soiling. Spacers hold the glazing above the textile; a shallow frame may lack room for the complete assembly. UV-filtering glazing offers some protection, but it does not eliminate light damage. These principles are explained in the Canadian Conservation Institute’s framing guide.
Check clearance over knots, beads and raised elements before closing the frame. If a mat overlaps the textile, ensure its edge does not press into the embroidery. Choose a display location away from strong direct light.
An open frame shows the texture without reflections, but leaves the surface exposed. Decide on that tradeoff before buying the frame.
How to frame embroidery in a hoop

For a contemporary decorative piece, a hoop provides a simple finish:
Center the design over the inner ring and fit the outer ring, placing the screw where you want it displayed.
Adjust the fabric until it looks smooth and straight, then tighten the screw without distorting the design.
Keep enough fabric to gather behind the hoop. About 1 inch (2.5 cm) is a common starting point; check before cutting.
Sew a running stitch around the surplus fabric, pull the thread to gather it inward, and secure the ends.
If desired, sew a fitted felt circle over the back, attaching it to the folded fabric.
The maker’s Wandering Threads hoop-finishing tutorial illustrates gathering the margin and sewing on a felt backing. This approach leaves the finish accessible without hot glue. Keep a larger margin if you may want to reframe the piece later.
Using a decorative frame around a hoop

If you prefer a shaped wooden border, look for a surround designed to accept an embroidery hoop. Before ordering, ask the seller to confirm the supported hoop diameter, thickness, screw clearance and retaining mechanism. Nominal hoop size alone may not describe the complete fit.
Follow the instructions supplied with that specific frame. Do not assume every surround uses elastic bands or includes glazing. Check that its opening leaves the design visible and that its attachments hold the hoop securely without pressing on the stitching.
Common framing questions
Can I frame embroidery without glass?
Yes, for an open decorative display. The fabric remains exposed to dust and handling. For more protection, choose glazing with enough space above the stitches.
Can I pull out wrinkles while lacing?
Lacing can smooth loose fabric, but excessive tension can distort the design or bow the support. If wrinkles persist, release the tension and reassess preparation and alignment.
What if I trimmed the fabric too close?
Stop before stretching or gluing it. A framer may be able to suggest a sewn support or a different visible opening. The solution depends on the remaining margin and the textile’s condition.
Is framing part of embroidery digitizing?
Framing concerns the finished physical textile. Digitizing prepares artwork for machine embroidery. If you are planning a new machine-stitched piece, explore DigitEMB’s embroidery and vector services and state the intended stitched dimensions before arranging the frame.
Practical details for How to Frame Embroidery: Picture Frames, Hoops and Shadow Boxes
Use the article above as a starting point, then make the production brief specific to your own design. A stitch file is made for a finished size and material, so the artwork alone is only part of the instruction.
Work through these points in order and keep the answers with the artwork or production request. A short written brief makes it easier to compare a proof with the intended result, ask a useful follow-up question and avoid relying on assumptions made from a screen image alone.
The aim is not to add unnecessary steps. It is to identify the choices that change the final result before work begins. If a requirement is unknown, flag it for confirmation rather than guessing; that keeps the approval process focused on the design, material and use that apply to this particular project. Save the approved brief with the project files for future reorders or revisions.
Confirm the finished use
State the item, placement and finished width and height. A chest logo, cap front and jacket back do not use the same sewing area, even when they start from the same artwork.
Protect the smallest details
Review small lettering, narrow gaps, thin outlines and tiny colour changes at the final size. Simplifying a fragile detail before digitizing is often more reliable than trying to force it into a small sew-out.
Match the file to the machine
Tell the production team the embroidery machine or format required, along with the fabric or garment type. This lets them prepare the right export and make choices that suit the material rather than treating every job alike.
Quick questions to check before you proceed
What should I send with my artwork?
Send the clearest original available, the finished dimensions, placement, fabric or garment type and the required machine format if you know it.
Can the same file be used at every size?
Not always. Scaling changes the relationship between stitch length, detail and fabric, so a design may need review when the finished size or placement changes.
What should I check before production?
Confirm the spelling, colours, final size, placement and any details that must remain readable. A proof or sample is the best point to catch a change.