
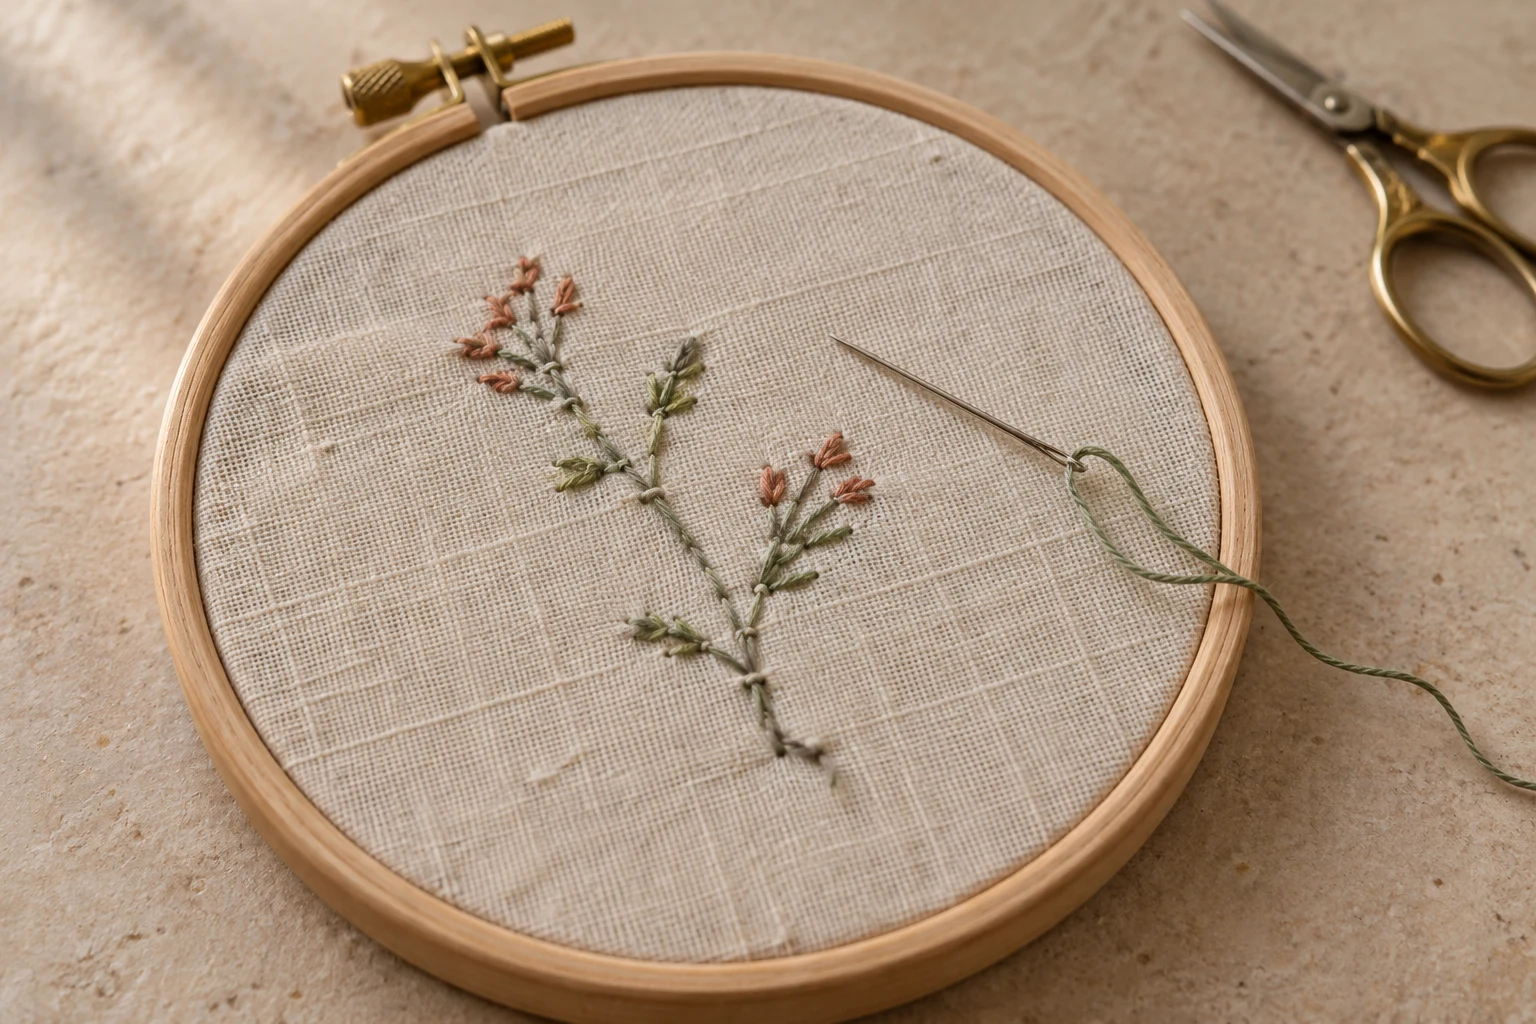
Cover image: AI-generated editorial concept; not a customer project or production proof.
To end a hand embroidery thread, bring the needle to the back, weave the thread under several nearby stitches, then trim the excess after checking that it holds. This is a useful default when finishing a section, changing color or replacing a short thread. DMC’s thread-securing guide describes this approach.
You do not need to tie off after every individual stitch. Finish the working thread when you are ready to stop using it. The methods below cover woven ends, small loop knots and tiny concealed anchoring stitches for hand embroidery on clothing, household linens and decorative projects.
Why finishing the thread matters

A secure finish holds the end in place while keeping the reverse manageable. Consider how the item will be used: a framed picture, shirt and scarf have different needs for appearance and comfort.
Large knots can create bumps, which is why DMC generally recommends knot-free securing methods. On an item with a visible reverse, inspect both sides before choosing where to finish. A tidy back need not look identical to the front. DMC’s guidance on securing thread.
Before your thread becomes difficult to handle, stop with enough length to pass the needle comfortably beneath the existing stitches. Keep small, sharp scissors nearby and turn the work so you can see exactly what you are securing.
Method 1: Weave under existing stitches

Use this method when there is a suitable group or line of stitches close to the ending point.
Complete the last stitch with the needle on the back.
Slide the needle beneath two or three nearby stitch backs without piercing through to the front.
Pass back beneath the last stitch you crossed to help anchor the thread, then continue beneath a few more stitches.
Draw the thread through gently. Check that the front has kept its shape.
Trim the excess without cutting the supporting stitches or fabric.
Mary Corbet demonstrates this anchoring variation in her photo tutorial on ending embroidery thread.
Method 2: Make a small loop knot
A small knot around an existing stitch is another option when a little bulk on the reverse is acceptable.
Bring the needle to the back beside a nearby stitch.
Pass beneath that stitch without catching the fabric, leaving a loop of working thread.
Pass the needle through the loop and draw it snug around the stitch.
Repeat around the same stitch to secure the finish.
Trim the surplus, leaving a small tail instead of cutting directly against the knot.
Sarah’s Hand Embroidery demonstrates this knotted finish, including why trimming too closely can let the knot open. Keep the knot compact; repeated knots stacked in one place add unnecessary bulk.
Method 3: Use tiny concealed anchoring stitches

Tiny anchoring stitches can help when you have an area that will subsequently be covered with embroidery. Calling these “micro-stitches” does not mean they are automatically invisible or suitable for every delicate fabric.
Work about three tiny backstitches or stab stitches close together within the area that later stitching will cover. Secure and trim the thread there, then conceal the anchors as you complete the design. Mary Corbet explains this option in her thread-ending tutorial and author replies.
Plan the location before making extra needle holes. A single tiny surface stitch followed by trimming is not the complete anchoring method. If the area will remain exposed, choose another finish.
Choose a finish for your project
Project situation | Practical starting point |
|---|---|
Nearby rows or filled areas | Weave beneath the existing stitch backs. |
Hidden reverse where a small knot is acceptable | Use a compact loop knot around a nearby stitch. |
An area that will receive more embroidery | Consider tiny anchors that later stitches will cover. |
Scarf or linen with a visible reverse | Plan a discreet woven finish and inspect both sides. |
Thin or delicate fabric | Test on a matching scrap and check for visible bumps or needle marks. |
These are starting points for a sample, rather than guarantees for every fabric and thread combination. For a purchased or commissioned piece, ask to see the reverse and request care instructions appropriate to its materials.
Common finishing mistakes to avoid

Cutting before securing. Complete the chosen finish and check it before reaching for the scissors.
Pulling until the fabric gathers. Ease the thread into place and inspect the front as you work.
Trimming against a knot. Leave a small tail so the knot has room to hold.
Crossing a large empty area to find an anchor. Plan to finish nearer the last stitched section, especially when working dark thread on pale fabric.
Covering the back before inspecting it. Check the ends while they are still accessible.
For clothing and washable household items, practice the finish on a matching sample and follow the fabric and thread care instructions. Finishing the thread does not establish that the whole item is machine washable.
Securing thread ends is also a separate task from gathering fabric and adding backing to a display hoop. Continue with the embroidery hoop finishing guide when the stitching itself is complete.
Frequently asked questions
Can I end embroidery without a knot?
Yes. Weaving beneath nearby stitch backs is a standard option. DMC recommends it when stopping a thread or changing color; see its thread-securing instructions.
What if my thread is too short to finish comfortably?
Undo a few stitches to recover working length, secure the end, and resume with a new thread. On your next section, stop before the remaining thread becomes difficult to control.
Do these instructions apply to machine embroidery?
These steps are for hand embroidery. For a machine project, use the instructions for your machine and embroidery software. If you are commissioning a machine file, review DigitEMB’s embroidery and vector services and explain the item, fabric and intended design size.
How do I know whether the finish is neat enough?
Look at the front for changed stitch shapes or gathering, then inspect the reverse for unsecured tails and uncomfortable lumps. Judge the finish against the item’s intended use and whether the back will remain visible.
Practical details for How to End an Embroidery Stitch: Simple, Secure Finishes
Use the article above as a starting point, then make the production brief specific to your own design. A stitch file is made for a finished size and material, so the artwork alone is only part of the instruction.
Work through these points in order and keep the answers with the artwork or production request. A short written brief makes it easier to compare a proof with the intended result, ask a useful follow-up question and avoid relying on assumptions made from a screen image alone.
The aim is not to add unnecessary steps. It is to identify the choices that change the final result before work begins. If a requirement is unknown, flag it for confirmation rather than guessing; that keeps the approval process focused on the design, material and use that apply to this particular project. Save the approved brief with the project files for future reorders or revisions.
Confirm the finished use
State the item, placement and finished width and height. A chest logo, cap front and jacket back do not use the same sewing area, even when they start from the same artwork.
Protect the smallest details
Review small lettering, narrow gaps, thin outlines and tiny colour changes at the final size. Simplifying a fragile detail before digitizing is often more reliable than trying to force it into a small sew-out.
Match the file to the machine
Tell the production team the embroidery machine or format required, along with the fabric or garment type. This lets them prepare the right export and make choices that suit the material rather than treating every job alike.
Quick questions to check before you proceed
What should I send with my artwork?
Send the clearest original available, the finished dimensions, placement, fabric or garment type and the required machine format if you know it.
Can the same file be used at every size?
Not always. Scaling changes the relationship between stitch length, detail and fabric, so a design may need review when the finished size or placement changes.
What should I check before production?
Confirm the spelling, colours, final size, placement and any details that must remain readable. A proof or sample is the best point to catch a change.