
Cover image: AI-generated editorial concept; not a customer project or production proof.
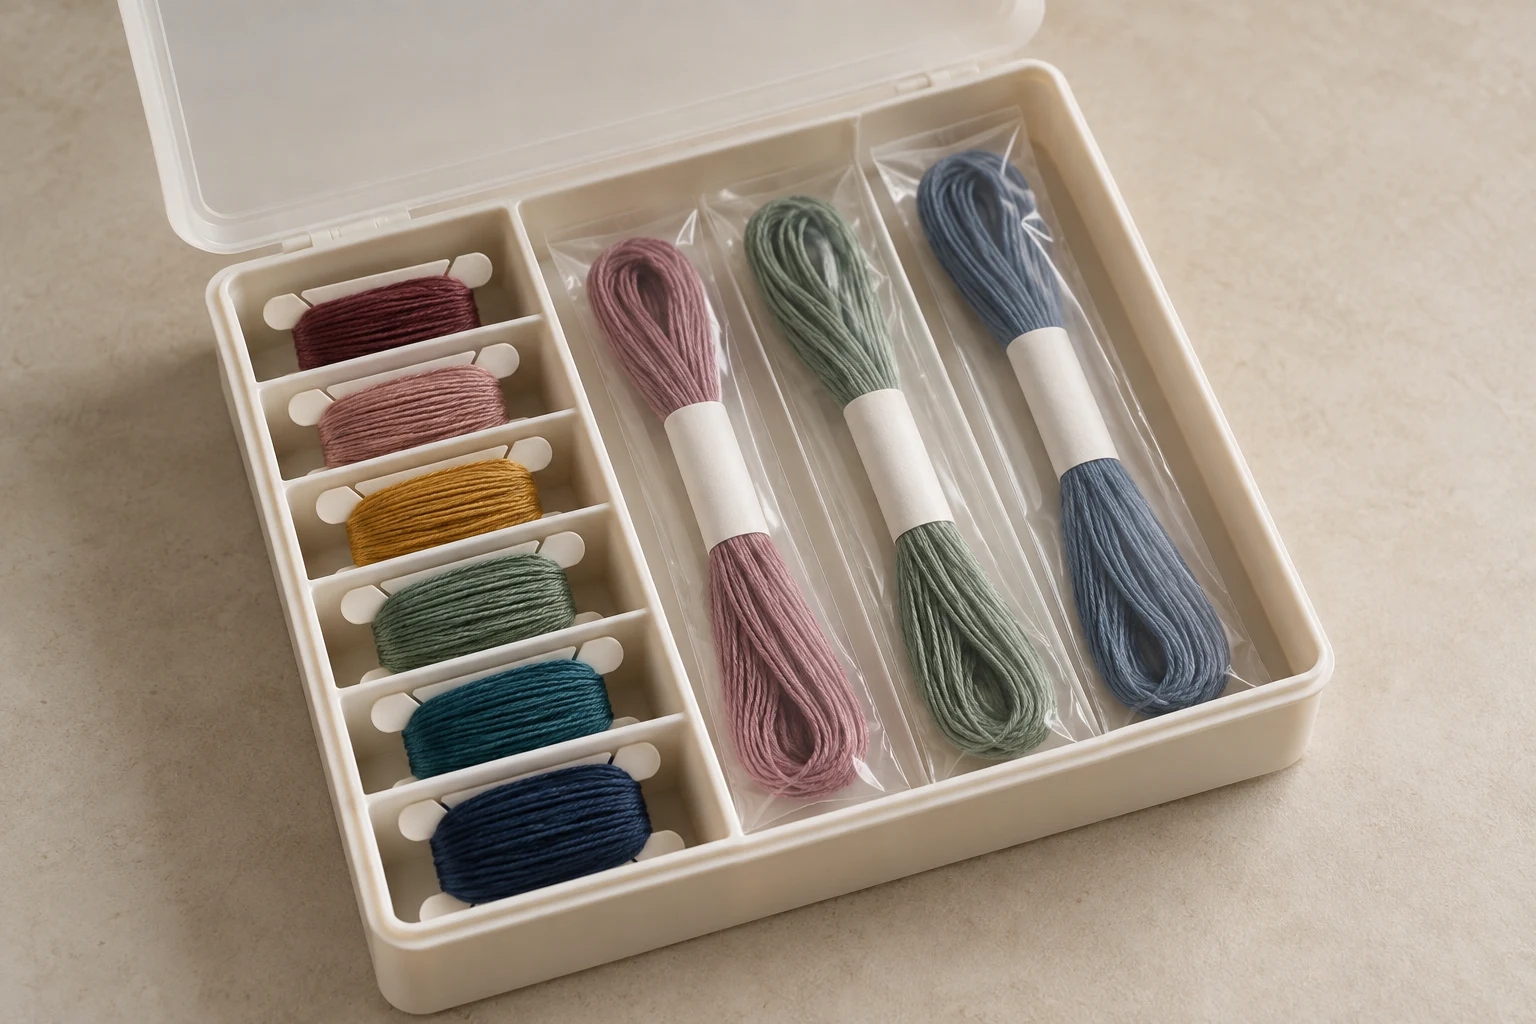
Store embroidery floss by keeping each color separate, retaining its brand and color number, and placing it in a clean, dry container away from direct sunlight. Bobbins in divided boxes offer compact storage; labeled bags or drawer compartments let you keep skeins without winding them first.
The most useful system is one you can maintain after every stitching session. You can combine methods: keep spare skeins in drawers, opened floss in a box and the colors for your current project in a small pouch.
Choose storage that fits your collection
Storage method | When it is useful and what to check |
|---|---|
Bobbins in a divided box | Compact rows of opened floss; check that wound bobbins fit beneath the closed lid. |
Individual bags | Whole skeins and matching leftovers without rewinding; keep labels visible and file bags upright. |
Binder pockets | Browsing a collection or carrying a project; check pocket size, closure and ring spacing. |
Drawers | Larger collections and spare skeins; add dividers so colors stay separate. |
Lidded bins | Grouping smaller organizers or storing bulk supplies; use trays or bags inside. |
Hanging holders | Easy access to current project colors; choose a sheltered location and protect from dust. |
Before buying supplies in the US, Canada or UK, compare the organizer's internal dimensions with your actual skeins, wound bobbins or thread holders. Check whether measurements are in inches or centimeters. Binder sizes and hole arrangements vary, so confirm that inserts fit your binder before ordering a full set.
Sort and label before you start
Gather your floss in one place and separate it by brand and thread range. Keep stranded floss, pearl cotton and specialty threads in distinct sections so similar colors do not cause mix-ups.
Retain the original paper bands whenever possible. If you transfer floss to another holder, copy its brand, range and color number first. Keep any dye-lot information supplied on the packaging with the thread.
Choose an order that matches how you work:
By number within each brand and range: convenient when following a pattern's thread list.
By color family: convenient when choosing your own palette; retain the numbers for replacement purchases.
By project: useful for active work, with a separate home for unused stock.
A notebook or spreadsheet can record the thread reference, approximate quantity, storage location and project assignment. Mark partial skeins as partial instead of counting them as full replacements.
Hang floss for easy project access

A small pegboard, rail or ring of labeled floss holders can keep current colors within reach. Use smooth holders, leave space between bundles and position loose ends where they will not catch on nearby objects.
Clothespins or homemade cards can serve as simple organizers if their surfaces are clean and smooth. Test one first for snagging, and attach identification to the holder rather than relying on memory.
For an open display, choose a spot away from windows and cover or put away the thread between projects. The Canadian Conservation Institute identifies light, humidity, pests and pollutants among the factors that damage textiles; light can also change or fade dyes. These textile-care principles support keeping a working floss collection sheltered. See its textiles and environment guidance.
Store whole skeins and leftovers in bags

Use one labeled bag for each color within a particular brand and range. Keep the skein's paper band inside, with the number facing outward. Matching leftover lengths can go in the same bag on a small separate card.
File the bags upright in a box with dividers. This makes individual colors easier to retrieve than stacking loose bags in a deep pile. A mesh pouch can hold the complete project kit, while individual inner bags keep colors apart; mesh alone does not exclude dust.
For everyday storage, put only clean, completely dry floss into clean resealable bags and keep them in a dry indoor location. A closed bag cannot correct damp contents or a damp storage space. Do not treat ordinary household bags as archival packaging for valuable historic threads.
Use binders for a browsable collection

Binder pockets let you turn through colors without emptying a box. Choose pockets that hold the loaded thread holder comfortably and keep it from sliding out when the binder moves.
Purpose-made systems are one option. For example, DMC describes a mini binder insert supplied with its StitchBow Mini Needlework Travel Bag. Check the specific holder, insert and bag compatibility instead of assuming every product in a storage range fits together.
If repurposing coin or slide sleeves, test the fit with one wound bobbin before filling a binder. Avoid stretching pockets around bulky thread bundles. Add page labels or dividers, and leave enough room for pages to turn without pressing against the rings.
Keep larger collections in drawers

Shallow drawers make it easier to see skeins without digging. Use removable trays or dividers to separate color groups, and give duplicate unopened skeins their own compartment.
A drawer system also works when you prefer to leave floss in its original packaging. Label the front of each drawer with the brand, range or number group stored inside.
Inspect repurposed furniture for dust, rough edges, strong odors and surfaces that might snag thread. Keep floss in suitable inner containers rather than against unfinished wood. Check that no loose ends cross the drawer runners or closing edge.
Organize bobbins in boxes and bins

A divided box gives each group of bobbins a defined space. DMC's thread storage box for bobbins is a manufacturer example of this arrangement; check dimensions when combining boxes and holders from different suppliers.
To transfer a skein to a bobbin:
Write its identifying information on the bobbin before removing the paper bands.
Unwind a little at a time, stopping if a loop catches.
Wrap evenly without pulling the floss tight or overfilling the holder.
Secure the free end in the holder's notch and place it with the label visible.
A compatible bobbin winder can help with repeated winding, but winding is optional. Try a few skeins before converting your entire collection.
Use larger lidded bins to group bags, trays or smaller boxes. Avoid leaving different colors loose together. Pearl cotton balls or other bulky supplies may need a separate tray with more clearance than flat bobbins.
Protect the collection and keep it usable
Choose a dry indoor cupboard or drawer away from direct sunlight, radiators and likely leaks. Avoid storage areas that become damp or experience large temperature swings. Keep lids closed between uses and check occasionally for dust, moisture or pest activity.
The Canadian Conservation Institute's basic textile care guidance explains the risks of excess humidity and recommends protective storage. For ordinary craft supplies, the practical priority is a clean, stable location rather than an elaborate display.
Keep active project colors together and note where you borrowed them from. At the end of a session, secure loose ends and return unused thread to its labeled place. Store usable separated strands on their own card with the color reference and strand count, so you can distinguish them from the remaining full floss.
Frequently asked questions
Do I have to wind every skein onto a bobbin?
No. Whole skeins can stay in labeled bags, divided drawers or compatible skein holders. Wind only if bobbins suit your storage space and stitching routine.
Are bags less organized than boxes?
No. Individual labeled bags filed in order can be easy to use. A box becomes less helpful if its bobbins are unlabeled or its compartments are overcrowded.
Should I organize floss by color or number?
Use numbers within each brand and range when you regularly follow patterns. Color families can be more convenient for choosing palettes. Either way, retain the original thread references.
Can different thread types share one container?
Yes, if they have separate labeled sections and enough room. Keep packaging and care information with specialty threads, and avoid combining visually similar threads in one loose bundle.
How should I store short leftover lengths?
Keep usable lengths on a small labeled card or in their matching color bag. Identify separated strands and their strand count. Keep unidentified leftovers separate from numbered stock so they are not mistaken for an exact match.
Practical details for How to Store Embroidery Floss: Bobbins, Bags, Binders and More
Use the article above as a starting point, then make the production brief specific to your own design. A stitch file is made for a finished size and material, so the artwork alone is only part of the instruction.
Work through these points in order and keep the answers with the artwork or production request. A short written brief makes it easier to compare a proof with the intended result, ask a useful follow-up question and avoid relying on assumptions made from a screen image alone.
The aim is not to add unnecessary steps. It is to identify the choices that change the final result before work begins. If a requirement is unknown, flag it for confirmation rather than guessing; that keeps the approval process focused on the design, material and use that apply to this particular project. Save the approved brief with the project files for future reorders or revisions.
Confirm the finished use
State the item, placement and finished width and height. A chest logo, cap front and jacket back do not use the same sewing area, even when they start from the same artwork.
Protect the smallest details
Review small lettering, narrow gaps, thin outlines and tiny colour changes at the final size. Simplifying a fragile detail before digitizing is often more reliable than trying to force it into a small sew-out.
Match the file to the machine
Tell the production team the embroidery machine or format required, along with the fabric or garment type. This lets them prepare the right export and make choices that suit the material rather than treating every job alike.
Quick questions to check before you proceed
What should I send with my artwork?
Send the clearest original available, the finished dimensions, placement, fabric or garment type and the required machine format if you know it.
Can the same file be used at every size?
Not always. Scaling changes the relationship between stitch length, detail and fabric, so a design may need review when the finished size or placement changes.
What should I check before production?
Confirm the spelling, colours, final size, placement and any details that must remain readable. A proof or sample is the best point to catch a change.