
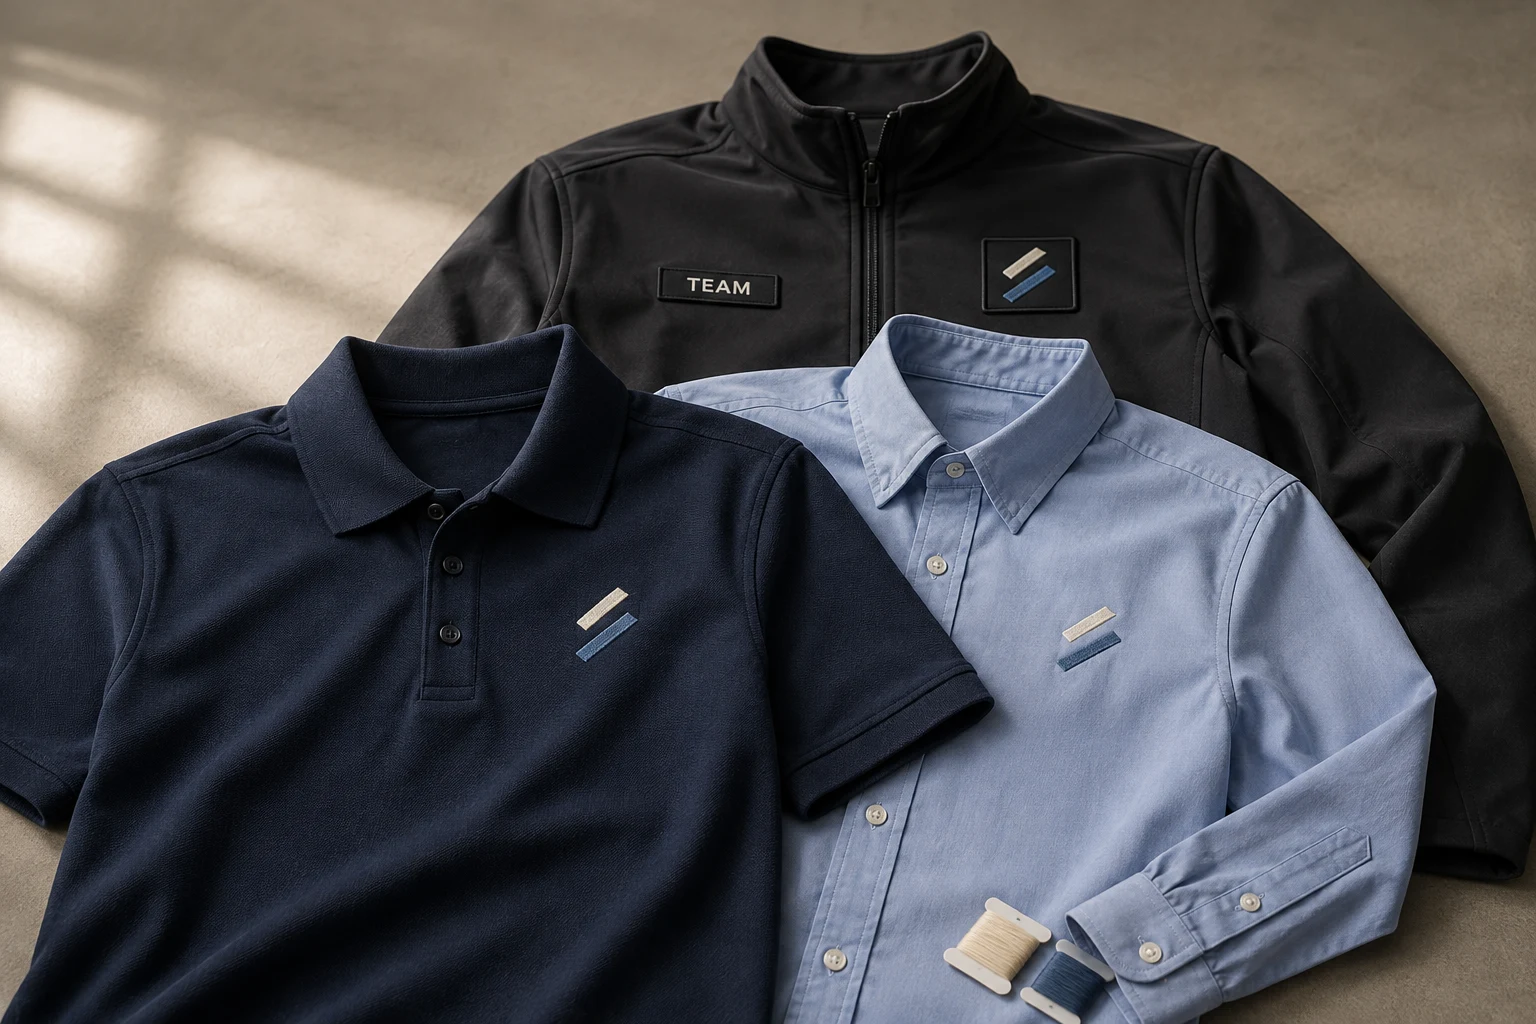
Cover image: AI-generated editorial concept; not a customer project or production proof.
Corporate uniform embroidery works best when a readable design, suitable garment and consistent placement are planned together. For fixed company branding, consider direct embroidery; for names or roles that change, consider separate patches with an appropriate attachment system. Approve a finished sample on the actual uniform before authorizing the full order.
A coordinated uniform can help customers identify staff and give different teams a shared appearance. Its usefulness also depends on fit, comfort, practical pockets and straightforward care. Start with those everyday needs before choosing decorative details.
Plan a consistent look around the work
Decide what the uniform needs to communicate: the organization, the wearer’s role, their name, or a combination. Give the most useful information visual priority. A visitor looking for assistance may need to read “RECEPTION” more readily than a small personal name.
Keep the main logo, approved colors and placement approach consistent across the range, while allowing garment styles to suit different jobs. Invite employees to assess fit, movement and comfort during a wear trial. A coordinated appearance does not require everyone to wear the same cut or fabric.
These are possible design directions, rather than customer examples:
Uniform setting | Embroidery idea to evaluate |
|---|---|
Office and client meetings | A restrained chest logo on a polo or button-front shirt. |
Reception and hospitality | A clear organization mark with a separate name or role identifier. |
Retail teams | A recognizable logo with enough contrast to identify staff at a glance. |
Facilities and service teams | Fixed company branding with a replaceable department or wearer label. |
Staff outerwear | A coordinated jacket design checked alongside the shirt worn underneath. |
Avoid filling every available panel. One clear logo and a useful identifier may serve the uniform better than several competing messages.
Compare direct embroidery, appliqué and patches
Direct embroidery for fixed branding
Direct embroidery stitches the design into the garment. Consider it when the organization’s identity will remain unchanged and you want the logo integrated into the clothing.
Digitizing is the preparation of the machine embroidery design, rather than a separate alternative to direct embroidery. It establishes stitch instructions from artwork. A logo image alone is not a production stitch file: Wilcom’s documentation distinguishes artwork, embroidery designs and machine files, and explains that fabric-related settings need checking before production. Wilcom’s digitizing explanation
Appliqué for a deliberate fabric effect
Appliqué incorporates a separate fabric shape secured with stitching. It is worth discussing for a larger emblem or lettering where the fabric itself contributes to the design. Wilcom’s appliqué tools use staged stitching, including guide, tack and cover stitches. Ask to see a comparable finished example before selecting this approach for a uniform. Wilcom’s appliqué documentation
Patches for separate identification
A patch carries the design on a separate piece attached to the garment. A fixed company patch and a separate name or role patch can make sense when garments are reassigned. If all details remain fixed, a single combined patch may be simpler to manage.
For changing roles, discuss hook-and-loop attachment and account for both the patch and the matching garment-side receiving panel. Confirm who supplies and attaches each component. Trial the intended replacement process; do not assume that removing a sewn or bonded patch will leave the garment unmarked.
Choose garments and thread around comfort and cleaning
Select the garment before finalizing its embroidery. Provide the decorator with the make, model, fabric composition, available decoration area and intended cleaning process. Request a separate assessment when moving the design between a polo, woven shirt and jacket.
During a sample fitting, assess the inside of the decorated area as well as its appearance. Check whether the embroidery and its supporting materials feel comfortable against the wearer or an underlayer. Include normal reaching, sitting and bending in the trial.
Thread choice should reflect the laundry routine. For example, Madeira identifies its Polyneon polyester thread as suitable for heavily laundered uniforms. That product guidance does not establish the cleaning tolerance of the entire garment, backing or attachment. Obtain instructions for the complete decorated item. Madeira’s embroidery thread guide
For protective or specialist clothing, ask the garment manufacturer to confirm the permitted decoration method and position before ordering.
Make logos and lettering readable
Start with approved artwork and the proposed finished dimensions. Print a mock-up at actual size, measure it and place it on the garment. Check it from the distance at which staff normally interact with customers.
Use clear contrast, uncomplicated lettering and enough space between elements. When the layout looks crowded, remove secondary wording or reconsider its size before shrinking every letter. Compare physical thread samples when color matching matters, and record the chosen thread references.
Small lettering depends on production choices as well as the artwork. Madeira describes finer threads for small text alongside specific needle and digitizing recommendations. Those examples are product-specific, so they should not be treated as a universal minimum letter size. Ask the producer to assess the actual design and text. Madeira’s thread and lettering guidance
For personalized uniforms, approve the naming policy before producing variations. Preserve spelling, punctuation and accented characters, and review the longest name alongside a typical one. Agree how unusually long names will be handled.
For patch-specific artwork preparation, see DigitEMB’s guide to designing artwork that works as a patch.
Record placement on each garment style
Use the actual uniform rather than relying solely on a generic shirt illustration. Check pockets, seams, buttons, zippers and the outer layers worn during work.
Define placement from a repeatable garment feature and specify that left and right mean the wearer’s perspective. Include a marked photograph and dimensions. For orders involving US, Canadian or UK teams, state the units explicitly; if both inches and millimeters appear, identify which measurement controls production.
Check the smallest and largest garment sizes in the order. Confirm that the design remains visible, sits comfortably and leaves pockets and fastenings usable. Retain the same visual identity across garments while approving placement for each style.
For patches, discuss attachment before production:
Sew-on: Ask the installer to check access behind the chosen area so stitching does not close a pocket or catch an unintended layer.
Heat-applied: Obtain instructions for the exact backing and garment combination, and arrange a trial using that combination.
Hook-and-loop: Specify both mating parts, panel placement and the intended removal and cleaning routine.
Move from artwork to an approved uniform
Agree on the approval process with the supplier before placing the full order.
Define the requirement. Provide garment details, artwork, quantities, sizes, name variations, placement and cleaning requirements.
Review the design. Confirm dimensions, colors, spelling and any simplification needed for embroidery.
Prepare the stitch design. Have the digitizer assess the artwork for the chosen garment and finished size. Wilcom specifically advises checking fabric settings such as underlay, density and pull compensation before production. Wilcom’s production considerations
Inspect a finished sample. Assess readability, shape, placement, comfort and the reverse of the decorated area. Include the most demanding name or layout.
Trial the intended care. Record the cleaning conditions and inspect for changes in appearance, shape or attachment. A limited trial informs the order but does not guarantee service life.
Approve and receive the batch. Keep the approved sample as a reference, then check delivered quantities, sizes, names and decoration against the order.
A digital proof is useful for layout approval. A finished garment provides the evidence needed to judge wear and cleaning performance.
Choose a supplier and compare complete quotes
Ask prospective suppliers for examples using similar garments and designs. Review relevant work and independently available feedback, then clarify who is responsible for artwork preparation, garment supply, embroidery, patch attachment and final inspection.
Compare quotes on the same scope. Request separate identification of setup, garments, decoration, personalization, samples, attachment and shipping where applicable. Confirm the currency and destination for US, Canadian or UK orders, and ask whether any destination charges are included.
Provide the required arrival date and request a feasible schedule covering proof approval, sampling, production and transit. Confirm how corrections, garment substitutions and later reorders will be handled.
DigitEMB’s embroidery digitizing service is an enquiry destination for preparing embroidery files. Its custom patch service provides a separate destination for patch projects. State whether you need a stitch file, patches, garment supply or attachment work so the proposed scope can be confirmed.
Keep care and replacement orders consistent
Give staff the agreed care instructions for the finished uniform. Where a laundry service is involved, obtain its requirements before selecting decoration and trial the uniform through the intended process.
Maintain a reorder record containing the garment reference, artwork version, stitch-file reference, thread colors, placement measurements, approved sample and exact name or role text. Nominate one person to approve changes so replacement orders retain a consistent appearance.
For purchasing decisions involving environmental goals, request evidence for specific material claims and consider garment suitability, care and replacement needs together. Avoid assuming that embroidery alone makes a uniform sustainable.
Frequently asked questions
Should a corporate logo be embroidered directly or made as a patch?
Consider direct embroidery for fixed branding and patches when separate identification or planned replacement is useful. Compare samples on the actual uniform before deciding.
What size should a chest logo or name label be?
Start with the available garment space and required reading distance. Check an actual-size mock-up and a finished sample, including the longest name. There is no single size suitable for every garment and design.
Can the same embroidery file be used on shirts and jackets?
Ask the digitizer to review each garment and proposed design size. Fabric settings may need adjustment, and each style should have an approved sample.
Is iron-on backing suitable for work uniforms?
It depends on the specified backing, garment and cleaning process. Obtain the exact application instructions and trial the complete combination before applying it across an order.
How can a uniform order stay within budget?
Compare complete quotes and ask how changes to design size, decoration locations and personalization affect the total. Preserve readability and sample approval when simplifying the specification.
Practical details for Embroidery Ideas for Professional Corporate Uniforms
Use the article above as a starting point, then make the production brief specific to your own design. A stitch file is made for a finished size and material, so the artwork alone is only part of the instruction.
Work through these points in order and keep the answers with the artwork or production request. A short written brief makes it easier to compare a proof with the intended result, ask a useful follow-up question and avoid relying on assumptions made from a screen image alone.
The aim is not to add unnecessary steps. It is to identify the choices that change the final result before work begins. If a requirement is unknown, flag it for confirmation rather than guessing; that keeps the approval process focused on the design, material and use that apply to this particular project. Save the approved brief with the project files for future reorders or revisions.
Confirm the finished use
State the item, placement and finished width and height. A chest logo, cap front and jacket back do not use the same sewing area, even when they start from the same artwork.
Protect the smallest details
Review small lettering, narrow gaps, thin outlines and tiny colour changes at the final size. Simplifying a fragile detail before digitizing is often more reliable than trying to force it into a small sew-out.
Match the file to the machine
Tell the production team the embroidery machine or format required, along with the fabric or garment type. This lets them prepare the right export and make choices that suit the material rather than treating every job alike.
Quick questions to check before you proceed
What should I send with my artwork?
Send the clearest original available, the finished dimensions, placement, fabric or garment type and the required machine format if you know it.
Can the same file be used at every size?
Not always. Scaling changes the relationship between stitch length, detail and fabric, so a design may need review when the finished size or placement changes.
What should I check before production?
Confirm the spelling, colours, final size, placement and any details that must remain readable. A proof or sample is the best point to catch a change.