
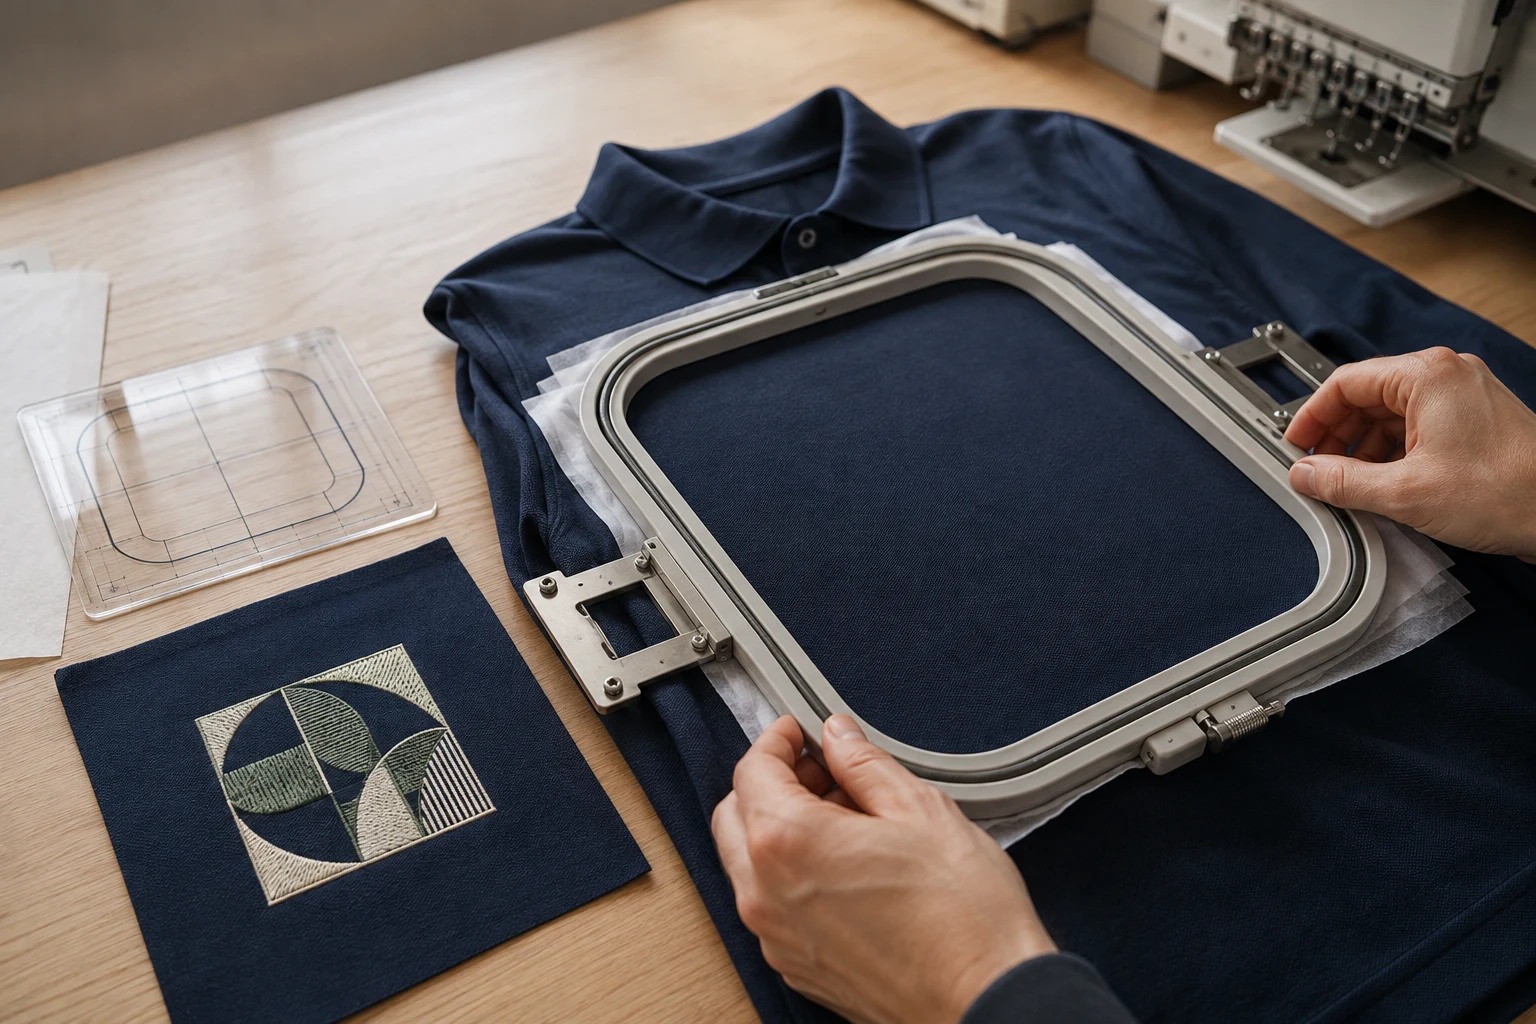
Cover image: AI-generated editorial concept; not a customer project or production proof.
For stable, flat embroidery, hold the garment and backing securely in a suitable hoop without stretching the fabric. Keep the sewing area smooth, check placement and inspect underneath before stitching. Melco’s garment hooping guidance warns that overstretching knits can distort the sew-out.
Choose the hoop and backing together
Use the smallest compatible hoop that accommodates the design with clearance. Check the machine’s usable embroidery area rather than judging by the hoop’s outside dimensions. Melco recommends avoiding unnecessary fabric inside an oversized hoop in its hooping instructions.
Backing, also called stabilizer or stabiliser, supports the fabric underneath the stitches. Choose it for the fabric’s stability and the design’s size and density; one backing weight will not suit every garment. Madeira’s cut-away guidance explains these selection factors.
Fabric or project | Starting point for backing |
|---|---|
T-shirts, polos and other stretchy knits | Cut-away backing provides support that remains after embroidery. |
Lightweight or loosely woven fabric | Consider cut-away where the fabric needs lasting support. |
Stable, tightly woven canvas or denim | Tear-away can provide temporary support when the fabric can support the finished design. |
These are starting points for a sample, not fixed recipes. Madeira’s backing selection guide distinguishes permanent cut-away support from temporary tear-away support and relates backing weight to design demands.
Hoop the garment step by step
The following workflow is for a conventional inner-and-outer-ring garment hoop. Follow the equipment instructions for your particular frame.
Prepare a flat surface. Smooth the garment and backing before assembling the hoop.
Set the hoop opening. Adjust it for the combined thickness; if insertion is too difficult or the grip too loose, remove the garment and reset it.
Position the layers. Place the outer ring inside the garment with backing behind the intended sewing area. Keep the opposite garment panel out.
Seat the inner ring evenly. Capture fabric and backing together without stretching the knit.
Inspect both sides. Check for wrinkles, trapped garment sections and backing that misses the hoop’s grip. Rehoop if necessary.
This sequence follows Melco’s garment hooping instructions.
For accurate placement, mark the intended design center and use the hoop template to align it. Keep the garment square rather than twisting it to match the frame. Remove the template before stitching. The bernette deco 340 manual, page 18 demonstrates template alignment and setting the hoop for fabric thickness before final hooping.
Check placement before pressing start
Attach the hoop according to your machine’s instructions. Confirm the design’s orientation and position, then use the machine’s boundary or trace function, if available, to check its extent. Leave room for carriage movement. The bernette manual, pages 19 and 37 describes carriage clearance and tracing the design boundary without stitching.
For a repeat order, make a sample using the intended garment, backing and design. Examine it after unhooping, and record the combination you tested so the next operator can reproduce it.
If you are buying digitizing for a US, Canadian or UK production job, provide the garment fabric, placement, finished dimensions and machine format. State whether dimensions are in inches or millimeters. You can use DigitEMB’s embroidery digitizing service page when preparing that request. Include photographs of any sample concerns so the setup and file can be discussed together.
Frequently asked questions
How tight should embroidery fabric be?
Aim for a smooth, secure surface without stretching the garment. A drum sound alone is not a useful acceptance test; also inspect the fabric’s shape and backing grip.
Should I tighten the screw after hooping?
Follow your hoop’s instructions. For the conventional hoops described above, set the opening for the material thickness before final hooping instead of repeatedly tightening around the garment.
Which backing should I try for a polo shirt?
Cut-away is a sensible starting point for a stretchy knit polo. Select its weight for the fabric and design, then test the combination. Madeira lists polos among the applications in its cut-away stabilizer guide.
Practical details for Hooping 101: Getting Stable, Flat Sew-Outs
Use the article above as a starting point, then make the production brief specific to your own design. A stitch file is made for a finished size and material, so the artwork alone is only part of the instruction.
Work through these points in order and keep the answers with the artwork or production request. A short written brief makes it easier to compare a proof with the intended result, ask a useful follow-up question and avoid relying on assumptions made from a screen image alone.
The aim is not to add unnecessary steps. It is to identify the choices that change the final result before work begins. If a requirement is unknown, flag it for confirmation rather than guessing; that keeps the approval process focused on the design, material and use that apply to this particular project. Save the approved brief with the project files for future reorders or revisions.
Confirm the finished use
State the item, placement and finished width and height. A chest logo, cap front and jacket back do not use the same sewing area, even when they start from the same artwork.
Protect the smallest details
Review small lettering, narrow gaps, thin outlines and tiny colour changes at the final size. Simplifying a fragile detail before digitizing is often more reliable than trying to force it into a small sew-out.
Match the file to the machine
Tell the production team the embroidery machine or format required, along with the fabric or garment type. This lets them prepare the right export and make choices that suit the material rather than treating every job alike.
Quick questions to check before you proceed
What should I send with my artwork?
Send the clearest original available, the finished dimensions, placement, fabric or garment type and the required machine format if you know it.
Can the same file be used at every size?
Not always. Scaling changes the relationship between stitch length, detail and fabric, so a design may need review when the finished size or placement changes.
What should I check before production?
Confirm the spelling, colours, final size, placement and any details that must remain readable. A proof or sample is the best point to catch a change.