
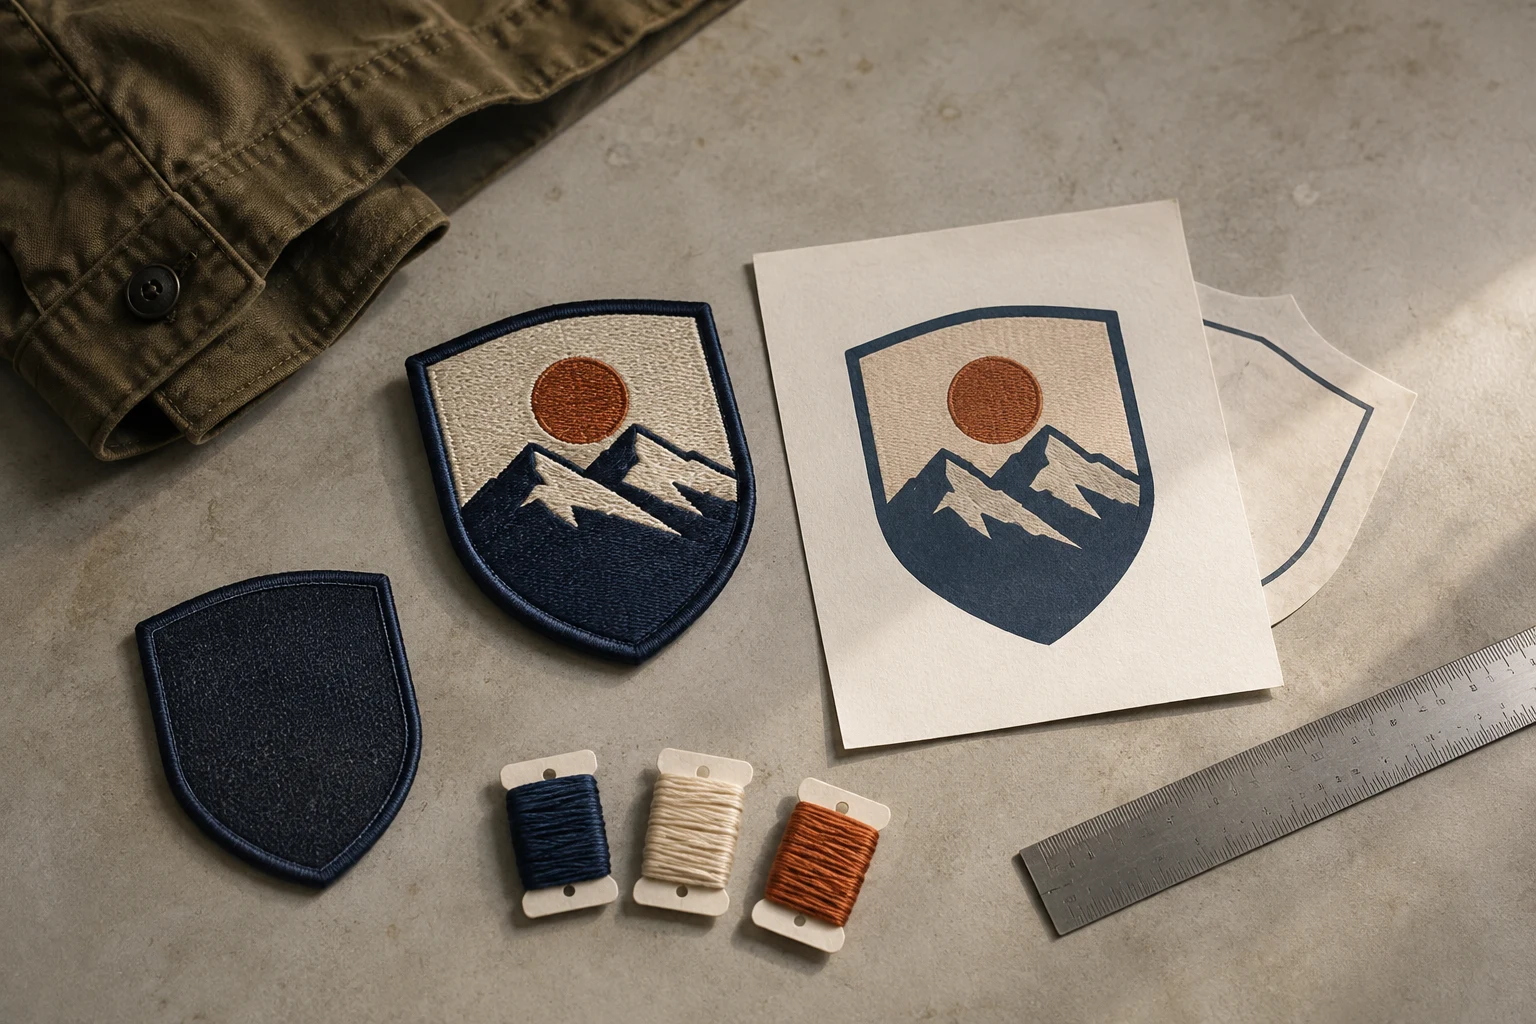
Cover image: AI-generated editorial concept; not a customer project or production proof.
Before approving a custom patch, confirm the artwork version, finished dimensions, wording, colors, border and backing against a written specification. Review the design at actual size, and use a physical sample to resolve questions about texture, color or attachment that a digital proof cannot establish.
A useful proof connects your design to its intended use: where the patch will sit, what people need to recognize and how it will attach. The steps below cover both preparing the artwork and recording a clear production approval.
Start with the patch’s actual job
Before revising your artwork, record:
Placement: a hat panel, jacket sleeve, uniform chest or bag.
Available width and height, including nearby seams or other features.
Words, symbols and design elements that must remain.
Intended patch material and attachment method, if chosen.
How the item will be worn and cleaned.
Specify both width and height, with units, and ask whether the dimensions include the finished border. For orders involving US, Canadian or UK buyers and suppliers, make the measurement convention explicit. If you provide inches and millimeters, identify one as the controlling measurement so rounded conversions do not become competing specifications.
Print an outline at the intended dimensions with automatic “fit to page” scaling disabled. Check it with a ruler and place the paper template on the item. This helps assess proportion and placement, although it cannot show how the finished patch will bend or attach.
For example, if a shield design fits a jacket but its lower wording becomes unreadable at hat size, consider a larger patch, shorter wording or a separate simplified version. Record the chosen change before finalizing the proof.
Prepare artwork that works at finished size
Keep the original artwork and create a separate production version. This preserves the full design while making changes for the patch easy to review.
Supply the best source file available, a reference preview and the exact wording as text. Include editable vector artwork if you have it, and ask which formats the producer accepts. If a small image is your only source, identify unclear letters or shapes and request a redraw where needed. Have the rebuilt artwork assessed for the chosen patch construction before approving it.
Simplify colors deliberately
Use clearly distinguishable colors and identify the relationships that matter, such as light lettering against a dark background. Ask the proof to distinguish thread colors, exposed base fabric and border color.
Embroidery can create blended color effects. Wilcom documents a method that combines layers with variable stitch spacing. Ask whether the proposed blend will remain useful at your patch’s intended size. Wilcom: Color Blending.
If shading is decorative, consider a simpler solid-color version. If it carries essential information, request a sample or discuss another construction before removing it.
Check lettering, outlines and gaps
Review the smallest words at finished size as well as enlarged. Examine enclosed spaces in letters, punctuation, thin outlines and gaps between neighboring shapes.
Ask for the proposed letter height and confirmation that it suits the selected thread, typeface and construction. Madeira’s guidance describes finer 60-weight thread for small lettering and detail, together with changes to production settings. Its examples should not become a universal minimum letter size for every patch. Madeira: Embroidering with 60 Weight Thread.
When detail is doubtful, request a specific alternative: larger text, wider spacing, a simpler typeface, fewer words or a larger patch. Compare those options against what the wearer needs to recognize.
Design the edge alongside the artwork
Ask the proof to identify the finished outline, border method, border width and clearance around important content.
A merrowed border does not imply one fixed width or profile. Merrow lists standard, narrow, wide and flat emblem-edge configurations. Confirm the actual finish proposed for your order. Merrow: Emblem Edging Applications.
For deep notches, narrow projections or sharp corners, ask whether the proposed edge can retain those features. If the outline needs changing, approve the revised silhouette explicitly.
Identify the type of proof
Ask the producer to label what you are reviewing:
Artwork proof: A layout for checking content, dimensions, color assignments and construction notes.
Stitch simulation: A software representation of the planned embroidery.
Sample photograph: A view of a manufactured sample; confirm that it shows your exact revision.
Physical preproduction sample: An actual patch you can inspect and, where appropriate, test on the intended item.
Use each proof for decisions it can support. A layout cannot demonstrate attachment performance, and a photograph cannot let you assess stiffness by touch.
For color-sensitive work, agree on a physical reference and record the selected thread range and color codes. Madeira cautions that monitor and paper reproductions may differ from actual thread colors and recommends a physical color card for precise matching. Madeira: Resources and Color Cards.
Custom patch proof approval checklist
Keep this checklist with the proof and written order specification. Request clarification for any unanswered item before approving the work it affects.
Check | Confirm before approving |
|---|---|
Proof identity | Order reference, revision number and date |
Wording | Spelling, punctuation, dates, numbers and capitalization |
Finished dimensions | Width, height, units and whether the border is included |
Shape and orientation | Outer silhouette, top edge and viewing direction |
Patch construction | Specified material and production method |
Small detail | Smallest lettering, thin lines and gaps at final size |
Colors | Material-specific references, base color and border color |
Embroidery coverage | Areas to be stitched and areas exposing base fabric |
Border | Method, width, color and clearance around the design |
Backing | Exact attachment type and included components |
Variants | Separate sizes, names, colorways and quantities |
Sample and release | What has been sampled and what approval authorizes |
Check backing against the actual item
Include the garment or accessory details in the review. Request attachment and care instructions for the particular patch supplied.
For heat-applied patches, confirm compatibility with the item and application equipment. STAHLS’ publishes different settings for different press configurations and specifies compatible materials for its embroidered patches. This illustrates why application conditions must be product-specific; obtain instructions for your own supplied patch. STAHLS’: Embroidered Patches, User Guide.
For hook-and-loop attachment, confirm whether the order includes the patch-side component, the matching garment-side component or both. Establish how the garment-side piece will be attached.
For sew-on attachment, ask where the stitching should run and whether it will cross visible artwork. Resolve questions about coatings, linings or the item manufacturer’s decoration restrictions before approval.
Decide whether you need a physical sample
Consider requesting a sample when an unresolved question involves:
Small lettering or closely spaced details.
A color requiring physical comparison.
A complex outline or unusual border.
Fit on a curved or restricted placement.
Attachment to an unfamiliar fabric or finish.
A construction you have not previously approved.
Confirm sample availability, any charge and its effect on the schedule. Also confirm whether it will use the intended production materials, dimensions, border and backing.
Inspect the sample at normal viewing distance, then examine the front, reverse and edge. Where attachment or cleaning matters, agree on a suitable trial using the intended item and supplied instructions. Record what was tested and observed; one successful trial does not establish a general durability guarantee.
If you proceed without a sample, record which properties remain unverified.
Approve the exact version and production stage
Consolidate feedback into one revision request. Specific directions such as “restore the apostrophe,” “increase the lower line of text” or “confirm whether the matching loop piece is included” are easier to resolve than “make it clearer.”
After a revision, check the whole proof again, including dimensions, wording, color assignments and placement. Keep the approval record with the final proof and specification.
A useful approval message can follow this format:
Order reference: [reference]
Approved proof: [filename, revision and date]
Finished dimensions: [width × height, units, including/excluding border]
Construction: [patch type, color references, border and backing]
Variants and quantities: [list or attached schedule]
Sample reviewed: [sample identifier, or none]
Approval scope: [sample manufacture only / production]
Choose one approval scope. If a sample or revised proof is still required, state that requirement and obtain confirmation that the order remains at that stage before releasing production.
For a custom patch inquiry with DigitEMB, prepare your artwork, finished dimensions, quantity, placement and backing preference together. Identify the details you are willing to simplify and those that must remain.
Frequently asked questions
What file should I send for custom patch artwork?
Send your best source artwork, a reference preview, exact wording and finished dimensions. Include editable vector artwork if available, and confirm accepted formats with the producer. Request clarification wherever a low-resolution image leaves details uncertain.
Is there one minimum text size for embroidered patches?
Ask the producer to assess your actual lettering, thread and construction at finished size. A minimum quoted for one production setup may not suit another. Request a sample when small text is essential and legibility remains uncertain.
Can I approve colors from a digital proof?
Use the proof to confirm which color goes where. For precise matching, agree on physical material references and record the selected codes; screen appearance alone is insufficient. Madeira’s color guidance explains this limitation.
Does approving a digital proof mean I have approved a physical sample?
Make the scope explicit in writing. Identify the proof revision, any sample reviewed and whether you authorize sample manufacture or production. Confirm the next stage with the producer.
Practical details for Custom Patch Artwork and Proof Approval Checklist
A patch works best when its artwork, size, border and attachment method are chosen together. Use the guidance in this article to create a production brief that is clear enough for a proof review.
Work through these points in order and keep the answers with the artwork or production request. A short written brief makes it easier to compare a proof with the intended result, ask a useful follow-up question and avoid relying on assumptions made from a screen image alone.
The aim is not to add unnecessary steps. It is to identify the choices that change the final result before work begins. If a requirement is unknown, flag it for confirmation rather than guessing; that keeps the approval process focused on the design, material and use that apply to this particular project. Save the approved brief with the project files for future reorders or revisions.
Choose the patch type for the artwork
Consider whether embroidered, woven, chenille or PVC construction best suits the amount of detail, texture and finish you want. Fine lettering and small shapes should be assessed at the real patch size.
Set the size and edge treatment
Give the finished width and height, including any outline or border. A merrowed edge, hot-cut edge or shaped outline changes the usable design area and how the patch reads from a distance.
Select the backing for the use case
Iron-on, sew-on, hook-and-loop and other backings serve different garments and applications. Confirm the item surface and whether the patch must be removable before approving the proof.
Quick questions to check before you proceed
What should be on a patch order brief?
Include the artwork, finished size, quantity, patch type, border preference, backing choice and the product or garment where it will be used.
Why can small text change on a patch?
Patch construction has physical limits. At a small size, very thin lettering or tight spaces may need adjustment so the finished patch stays legible.
When should I approve the proof?
Approve only after checking spelling, dimensions, border, colours, backing and every detail that must be visible in the finished patch.