
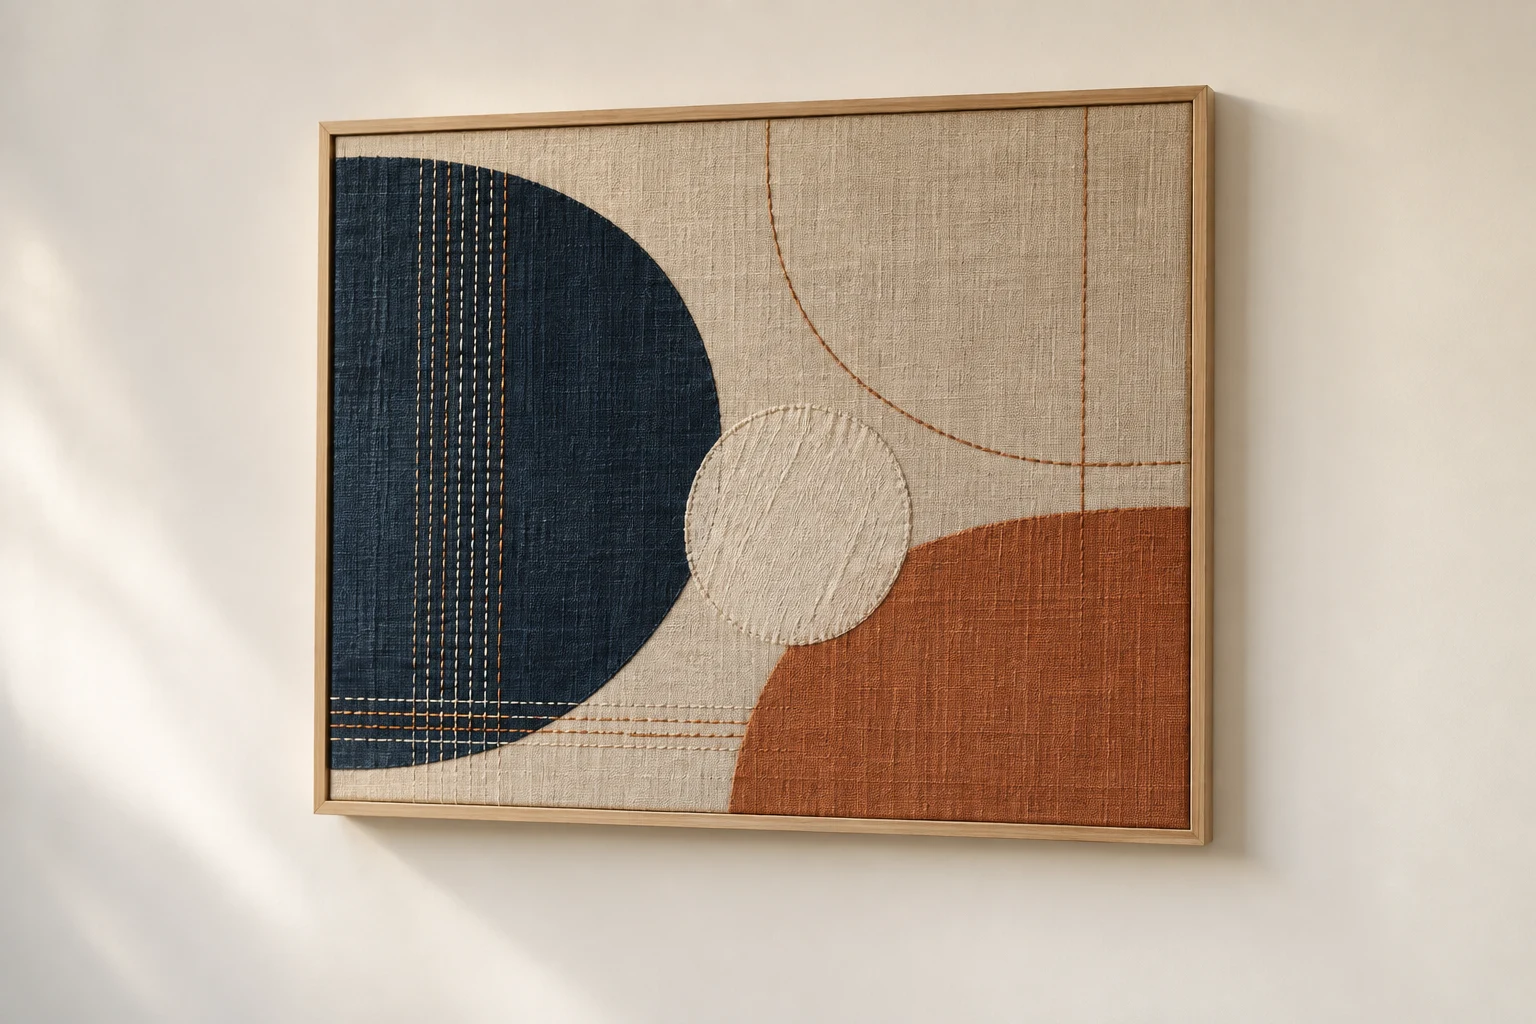
Cover image: AI-generated editorial concept; not a customer project or production proof.
An embroidery art exhibition brings stitched works together around a theme, technique or story. A useful exhibition plan covers artwork selection, presentation, supporting information and textile care, with digital design services commissioned only where the project needs them.
For artists, apparel designers, organizers and buyers in the US, Canada and UK, the first decision is what visitors should understand about the work. That purpose should guide both the physical display and its online presentation.
What embroidery exhibitions can show
Embroidery offers color, surface texture and detail that invite close looking. An exhibition can explore personal narratives, cultural traditions, contemporary experimentation or the relationship between hand and machine processes. The V&A’s embroidery collection provides examples of embroidery across different cultural and artistic contexts.
A display might bring together small stitched studies, embroidered garments, monograms, patches and larger textile panels. Mixed-media pieces can place thread alongside photographs, painted surfaces or other materials. Explain how these elements contribute to the artist’s intention rather than treating technical complexity as the only measure of quality.
For work discussing reuse or environmental themes, describe the actual materials and choices. Reclaimed fabric can be part of the story without establishing that the whole project is sustainable.
Start with a curatorial plan
Write a short statement explaining the exhibition’s subject and intended audience. Then choose pieces that develop that idea, giving visitors enough variation to compare scale, texture and approach.
Record each work’s title, maker, date, materials, dimensions and relevant process notes. Ask artists to explain cultural references in their own words and review the accompanying descriptions before they are used.
Plan the visitor sequence as well as the individual pieces. A close-up study might introduce a technique before visitors encounter a larger work using it. Leave enough visual space for detailed embroidery to be examined without competing displays overwhelming it.
Match outside support to the deliverable
Artwork preparation, embroidery production and exhibition organization are separate tasks. Specify what you need before requesting a quote.
Support needed | What to agree before commissioning |
|---|---|
Embroidery digitizing or editing | Intended size, fabric, machine format, permitted design changes and sample review. |
Vector artwork | Which graphic needs redrawing, its print or digital use and required files. |
Patches or monograms | Artwork, dimensions, placement, quantity and whether the order includes physical production. |
Curatorial support | Selection, interpretation, layout and the person responsible for final decisions. |
Photography and online presentation | Overall views, detail images, captions, credits and image approval. |
Display preparation | Object condition, suitable support and installation responsibilities. |
Do not assume a supplier offering design files also provides framing, curation, gallery installation or finished garments. Confirm each service separately.
Use digitizing and vector artwork where they fit
For a newly commissioned machine-embroidered piece, digitizing develops the embroidery information used to produce stitches. The editable working design and exported machine file serve different purposes. Hatch’s saving and exporting guidance explains this distinction.
When commissioning edits, identify the artistic features that must remain: wording, proportions, texture or intentional irregularity. Agree who will produce and review a stitched sample before the final piece is made. Existing hand embroidery does not need digitizing simply to be exhibited.
Vector artwork can support exhibition identities, illustrated motifs and printed graphics. Vector shapes can scale without the pixelation associated with enlarging raster artwork, while photographs remain useful for recording actual thread and fabric detail. Adobe’s image essentials guide explains these image types. Redrawing a motif as vectors creates an interpretation; it does not preserve every characteristic of the original textile.
For relevant file preparation, explore DigitEMB’s embroidery and vector services and raster-to-vector conversion. Describe the intended output and confirm the scope before commissioning work.
Plan display around the textile
Consider condition, weight and construction before choosing how a piece will be displayed. Ask the venue or a textile conservator to assess fragile, historic or unusually heavy works rather than selecting a mount solely for appearance.
Light can fade colors and weaken fibers, and the damage accumulates with exposure. Handling also increases the potential for damage. The Canadian Conservation Institute’s textile environment guidance explains these risks.
Discuss lighting and exhibition duration with the venue. Avoid inviting visitors to touch original works unless handling has been explicitly planned and approved. Separate purpose-made samples can offer a tactile experience while the exhibited pieces remain protected.
Use enlarged detail photographs to help visitors inspect stitches without approaching or handling delicate surfaces.
Build a useful online exhibition
Give each work an overall photograph and selected detail views. Include dimensions so viewers can understand its scale, along with materials, maker credits and a concise explanation of its significance.
Short process videos or artist interviews can explain decisions that a photograph cannot. Add captions to videos and descriptive alternative text to images. Keep navigation simple so visitors can move between individual works and the exhibition’s wider theme.
Review images for faithful color and texture. Avoid retouching that removes stitch irregularities or changes the apparent quality of the work. Agree with artists which images and descriptions may be used before sharing them publicly.
Prepare a clear project brief
For commissions and exhibition support in the US, Canada or UK, include:
The exhibition theme, audience and physical or online format.
Artwork references and the exact deliverables required.
Finished dimensions, clearly labeled in inches or millimeters.
Fabric, placement and machine requirements for new embroidery.
The person responsible for approving artwork, samples and captions.
Installation dates, review milestones and any physical delivery destination.
Ask quotes to separate artwork preparation, samples, production, photography and installation where applicable. Confirm currency and delivery arrangements for physical items. Keep the approved files and descriptions together so later revisions use the correct versions.
Frequently asked questions
Does every embroidery exhibition need vector conversion?
No. It can help with scalable graphics or redrawn motifs. Photographs are more appropriate for documenting the appearance of finished embroidery.
Can hand and machine embroidery appear together?
Yes. Explain the processes and artistic choices so visitors can understand their relationship to the exhibition’s theme.
Are patches and monograms suitable exhibition pieces?
They can be standalone works or elements within a larger display. Explain their symbolism, context or construction rather than presenting personalization alone as their significance.
Does an online exhibition replace a physical one?
It offers another way to explore the work. Detail images and commentary can aid understanding, while physical viewing provides a different sense of scale, surface and presence.
Does ordering digitizing include exhibition management?
Do not assume it does. Confirm file preparation, physical production, display work and curatorial support as separate deliverables.
Practical details for Embroidery Art Exhibitions: Planning, Design and Digital Presentation
Use the article above as a starting point, then make the production brief specific to your own design. A stitch file is made for a finished size and material, so the artwork alone is only part of the instruction.
Work through these points in order and keep the answers with the artwork or production request. A short written brief makes it easier to compare a proof with the intended result, ask a useful follow-up question and avoid relying on assumptions made from a screen image alone.
The aim is not to add unnecessary steps. It is to identify the choices that change the final result before work begins. If a requirement is unknown, flag it for confirmation rather than guessing; that keeps the approval process focused on the design, material and use that apply to this particular project. Save the approved brief with the project files for future reorders or revisions.
Confirm the finished use
State the item, placement and finished width and height. A chest logo, cap front and jacket back do not use the same sewing area, even when they start from the same artwork.
Protect the smallest details
Review small lettering, narrow gaps, thin outlines and tiny colour changes at the final size. Simplifying a fragile detail before digitizing is often more reliable than trying to force it into a small sew-out.
Match the file to the machine
Tell the production team the embroidery machine or format required, along with the fabric or garment type. This lets them prepare the right export and make choices that suit the material rather than treating every job alike.
Quick questions to check before you proceed
What should I send with my artwork?
Send the clearest original available, the finished dimensions, placement, fabric or garment type and the required machine format if you know it.
Can the same file be used at every size?
Not always. Scaling changes the relationship between stitch length, detail and fabric, so a design may need review when the finished size or placement changes.
What should I check before production?
Confirm the spelling, colours, final size, placement and any details that must remain readable. A proof or sample is the best point to catch a change.