
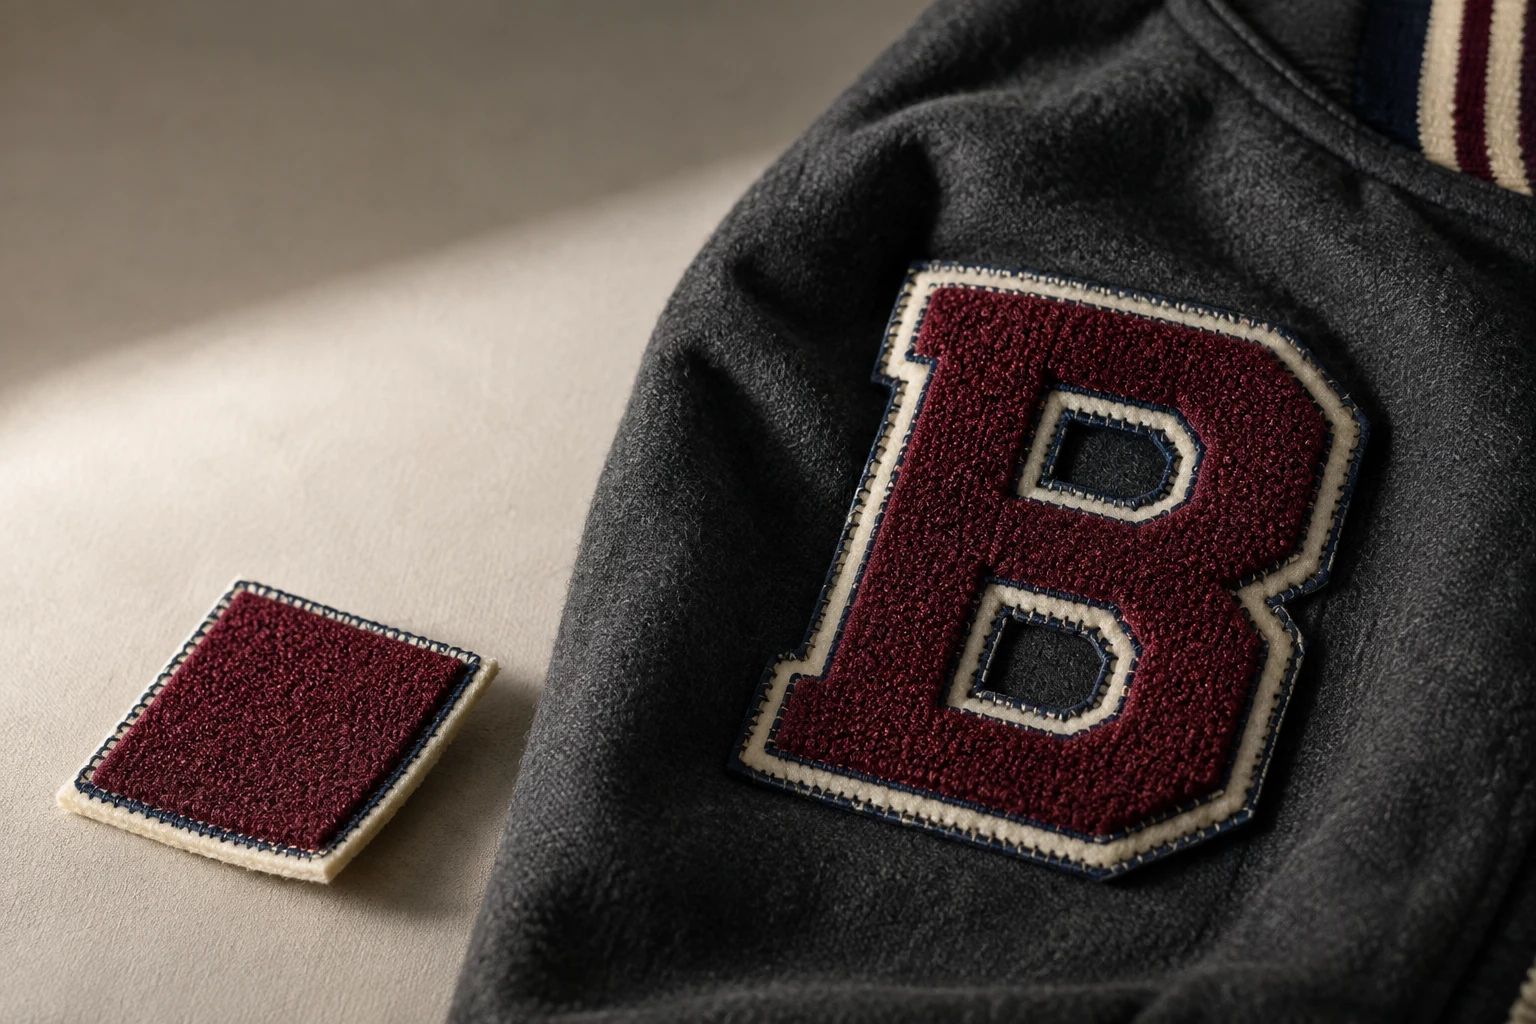
Cover image: AI-generated editorial concept; not a customer project or production proof.
A great chenille patch has even, plush texture, a recognizable design, clean edges and an attachment method suited to its garment. The best result balances all four: extra height alone does not make a patch better.
Cover image: AI-generated concept of a chenille varsity letter and felt-backed sample. It illustrates texture and framing; it is not a customer project, production proof or technical stitch diagram.
Chenille gives varsity jackets and streetwear their familiar fuzzy lettering. When choosing a patch for a jacket, sweatshirt or bag, judge both its appearance and how it sits on the intended item.
Start with bold, readable artwork
Large letters, simple mascot silhouettes and bold icons are good starting points. Wilcom’s technical documentation identifies simple shapes as especially suitable for the raised moss stitching used in chenille. Wilcom: chenille stitch types
Review the artwork at the finished patch size. Check whether letter openings remain clear and whether adjacent shapes are easy to distinguish. If a small slogan or detailed face is essential, ask which parts should use conventional embroidery. STAHLS offers direct embroidery alongside chenille specifically to achieve sharper detail. STAHLS: chenille patches
For example, a large initial can carry the plush texture while a smaller name sits in an embroidered area. Ask to see that combination in a sample before approving it.
Look for controlled pile and defined outlines
Chenille uses two basic stitch types: moss, which creates raised loops, and chain, which can outline shapes or add finer detail. Moss can be worked at different needle heights, with lower outlines and higher fills. It is not inherently a cut-pile finish. Wilcom: moss and chain construction
On a physical sample, look for consistent coverage within each intended texture area. Check for unintended bare spots, stray loops and outlines that disappear into the pile. View it from the side as well as straight on: any height changes should look deliberate.
Ask how the producer secures the stitching. Wilcom explains that unsecured moss stitches can loosen during washing; chain borders or an appropriate heat-and-press backing process can help secure them. Wilcom: securing chenille stitching
Give the felt and outer edge equal attention
A felt base and visible felt edge are established chenille patch options; satin-stitched borders are another available finish. STAHLS documents both felt-edge and satin-border constructions. STAHLS: chenille construction options
Choose the frame as part of the design. A contrasting felt margin can help separate the main shape from the garment. Ask the producer to confirm whether a proposed merrowed or embroidered outer border suits your particular outline, especially around tight corners.
Inspect the sample for a consistent visible margin and neatly finished corners. Distinguish the patch’s outer edge from the stitching that outlines or secures the chenille inside it; they serve different purposes.
Match the backing to the garment
Separate the base material, which supports the patch design, from the attachment method, which holds it to the garment. DigitEMB’s chenille service page lists raw felt for sewing and other backing options. Confirm the construction for your order through the custom chenille patch service.
For a substantial patch on regularly worn outerwear, discuss sewing it on, or adding sewing to a compatible heat-applied construction. Check a sample on the actual garment to assess weight, flexibility and whether the surrounding fabric hangs naturally.
Heat application needs product-specific instructions. STAHLS, for example, specifies different settings for different press configurations and identifies compatible fabrics for its own chenille product. Those settings should not be treated as a universal recipe for another supplier’s patch. STAHLS: application instructions and fabric compatibility
Before applying a patch, confirm that the garment tolerates the required process. Obtain care instructions for the finished garment-and-patch combination.
Approve a sample that answers practical questions
A digital proof helps establish layout, spelling and color placement. A physical sample lets you assess texture, edge finishing and garment fit.
What to review | What to confirm |
|---|---|
Finished size | Width and height include the outer felt or border. |
Readability | Letters and important shapes remain recognizable at actual size. |
Pile | Coverage looks even wherever the texture is intended to match. |
Edge finish | Corners are tidy and the visible margin follows the approved outline. |
Garment fit | The attached patch sits comfortably without unwanted pulling or drooping. |
Attachment and care | Written instructions cover the chosen backing and garment. |
For orders in the US, Canada or UK, state dimensions with units rather than relying on labels such as “large.” For example, specify 4 inches wide, approximately 102 mm, and say whether that measurement includes the border. Include the garment material, placement, quantity and intended cleaning method in your brief.
If a physical sample is available, agree on it before committing to the full run. A useful approval decision covers the finished patch and its intended application together.
Frequently asked questions
Is thicker chenille always better?
No. Judge whether the height supports the design, whether coverage is consistent and whether the finished patch suits the garment. Request a side-view photo or physical sample when texture is important.
Can a chenille patch include small lettering?
Ask for the small lettering to be assessed separately from the plush areas. A combination of chenille and conventional embroidery may suit the artwork; approve the lettering at its actual finished size.
Do all chenille patches need sewing?
No. Heat-applied chenille products exist, but suitability depends on the specific backing, garment and application equipment. Follow the patch supplier’s instructions and confirm the garment is compatible. STAHLS: heat-applied chenille patches
What should I send with a chenille patch inquiry?
Send clear artwork, finished dimensions, quantity, garment material, placement and preferred attachment method. Identify any lettering or details that must remain readable, and ask which features need simplifying before production.
Practical details for What Makes a Great Chenille Patch
A patch works best when its artwork, size, border and attachment method are chosen together. Use the guidance in this article to create a production brief that is clear enough for a proof review.
Work through these points in order and keep the answers with the artwork or production request. A short written brief makes it easier to compare a proof with the intended result, ask a useful follow-up question and avoid relying on assumptions made from a screen image alone.
The aim is not to add unnecessary steps. It is to identify the choices that change the final result before work begins. If a requirement is unknown, flag it for confirmation rather than guessing; that keeps the approval process focused on the design, material and use that apply to this particular project. Save the approved brief with the project files for future reorders or revisions.
Choose the patch type for the artwork
Consider whether embroidered, woven, chenille or PVC construction best suits the amount of detail, texture and finish you want. Fine lettering and small shapes should be assessed at the real patch size.
Set the size and edge treatment
Give the finished width and height, including any outline or border. A merrowed edge, hot-cut edge or shaped outline changes the usable design area and how the patch reads from a distance.
Select the backing for the use case
Iron-on, sew-on, hook-and-loop and other backings serve different garments and applications. Confirm the item surface and whether the patch must be removable before approving the proof.
Quick questions to check before you proceed
What should be on a patch order brief?
Include the artwork, finished size, quantity, patch type, border preference, backing choice and the product or garment where it will be used.
Why can small text change on a patch?
Patch construction has physical limits. At a small size, very thin lettering or tight spaces may need adjustment so the finished patch stays legible.
When should I approve the proof?
Approve only after checking spelling, dimensions, border, colours, backing and every detail that must be visible in the finished patch.