
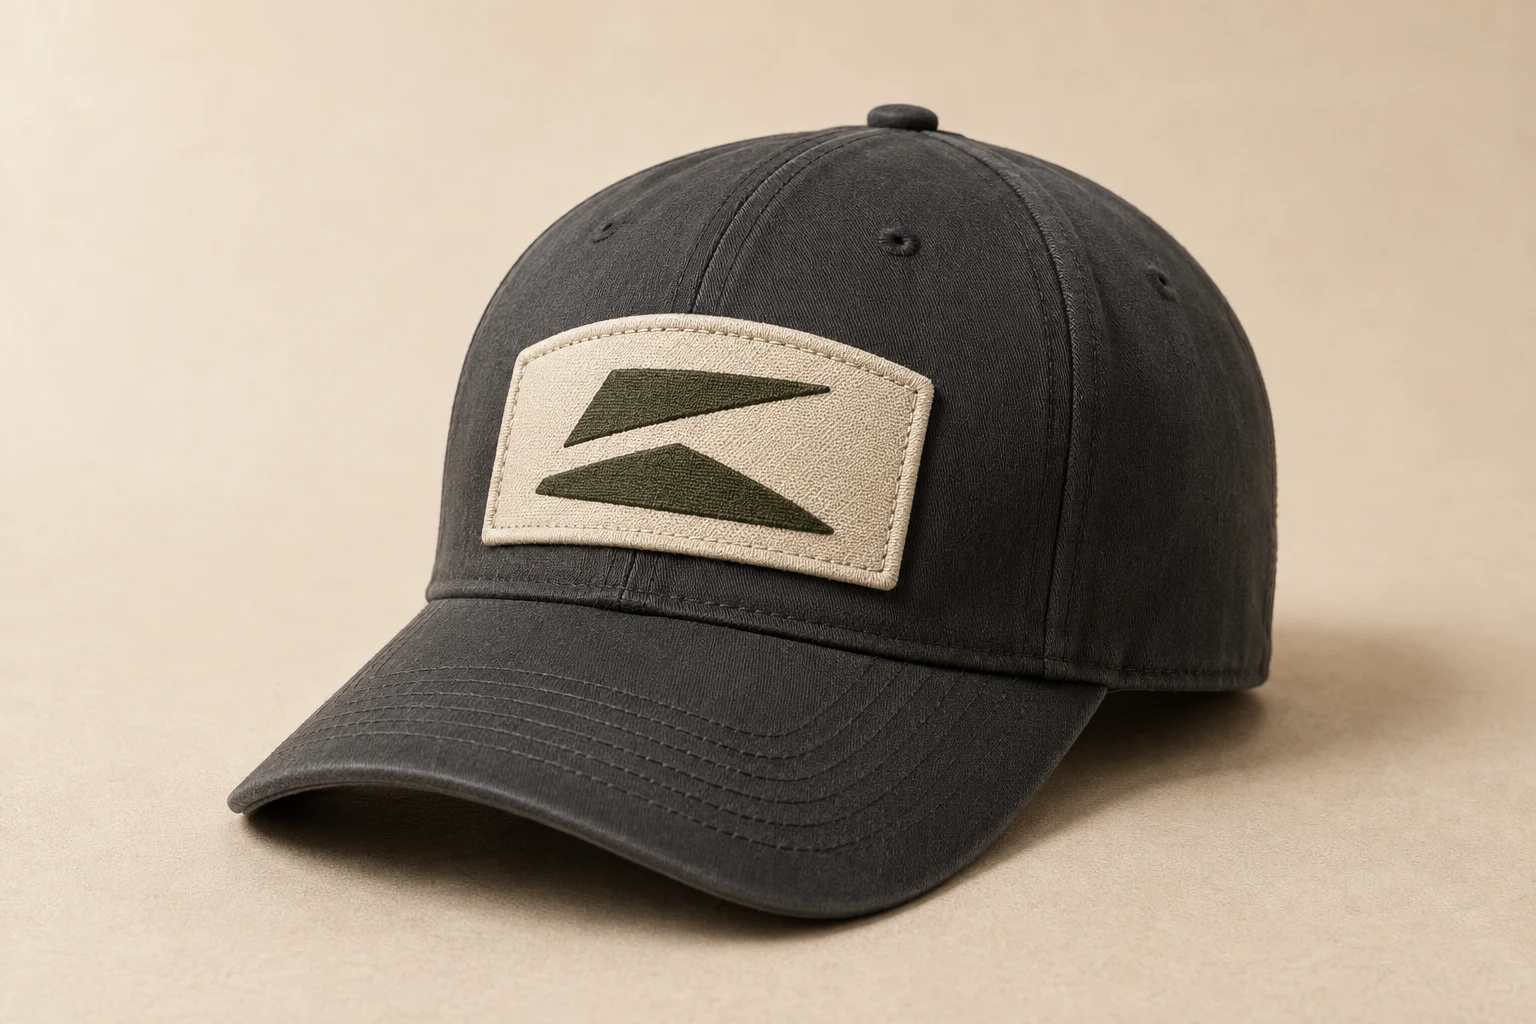
Cover image: AI-generated editorial concept; not a customer project or production proof.
Position a custom patch on the exact cap, supported in its normal worn shape. For front placement, check alignment against the crown and brim, leave enough room for the complete attachment area, and approve an attached sample before repeating the position across an order.
Choose patch dimensions and placement together. The cap’s shape, seams, patch construction and attachment equipment all need checking before a preferred position becomes a production instruction.
Choose the cap before sizing the patch
Examine the cap from the front, sides, back and inside. Record its model, size, fabric and panel layout. Locate the center seam, eyelets, mesh, decorative rope, sweatband and adjustment opening.
Check whether the proposed patch looks balanced when worn and whether the decorator can reach and support its entire attachment area. A position can pass one check and fail the other.
Equipment dimensions also need context. STAHLS’ publishes a heat-printing area for its Hotronix 360 IQ hat press. That specification describes the machine’s working limits; it does not establish a suitable patch size for every cap. Ask the decorator to check your cap and patch against the equipment being used. Hotronix 360 IQ specifications
Compare front, side and rear positions
Position | Placement checks |
|---|---|
Front center | Compare alignment with the crown and brim. Check the center seam and access along the lower patch edge. |
Front offset | Specify wearer’s left or right. Check the outer edge against panel transitions. |
Side panel | Locate eyelets, mesh and existing decoration. Confirm access behind the full attachment area. |
Rear above closure | Keep the patch and attachment clear of the opening and fastener throughout adjustment. |
View a front patch straight on and from both sides. Use the center seam as a reference, then compare it with the brim and overall crown before approving alignment.
For side placement, write “wearer’s left” or “wearer’s right.” A photograph labeled only “left” can be interpreted from the viewer’s perspective.
Measure the selected position
Use a full-size outline to establish the preferred location, then record it so the decorator can reproduce it.
Print the finished outline at actual size. Include the border, disable automatic page scaling and check the print with a ruler.
Support the crown naturally. Avoid flattening or stretching the cap to make the outline fit.
Inspect the whole perimeter. Pay particular attention to corners, panel transitions and the edge nearest the brim.
Identify the measurement points. For a front patch, mark a point on the brim-to-crown joining seam and the corresponding point on the finished lower patch border.
Record horizontal position and rotation. State whether the patch is centered or offset, and show its intended angle in a straight-on photograph.
Define the measurement method. Specify whether the distance follows the cap surface or runs straight between points. Use the same method throughout the order.
For an irregular outline, mark the exact border point used for the brim-gap measurement. “Measure to the bottom” can be ambiguous when the patch has several projections or curves.
For orders involving US, Canadian or UK suppliers, state inches or millimeters explicitly. If providing both, identify one controlling unit so rounded conversions do not become competing instructions.
A paper outline helps judge scale and position. Use the actual patch to assess flexibility and edge contact. If the decorator cannot reach the lower attachment area, try moving the patch higher, reducing its height or selecting another cap. Recheck the appearance after each change.
Check seams and mesh with the actual patch
A center seam does not automatically rule out patch placement. STAHLS’ says the dimensional emblems discussed in its manufacturer Q&A can be applied over six-panel cap seams. That statement applies to those products and does not establish compatibility for every patch or adhesive. STAHLS’ emblems and patches Q&A
Inspect an attached sample from the front and side. Look for a visible ridge, lifted edges, twisting or an unwanted change in crown shape. If the result is unsuitable, discuss another position, patch construction or cap with an uninterrupted front area.
Treat mesh separately from solid fabric. In its response to a reader’s mesh-cap question, STAHLS’ recommends testing the application. Ask the decorator to assess your particular mesh and attachment method before approving that position. STAHLS’ mesh application guidance
Confirm attachment access
For sew-on patches, have the decorator check access behind the entire sewing path, especially near the brim. Agree which cap layers the stitching will pass through. Inspect the inside afterward for comfort and confirm that the sweatband and adjustment system function as intended.
For heat-applied patches, obtain instructions for the exact patch and adhesive. Have the decorator confirm compatibility with the cap fabric, proposed position and press. STAHLS’, for example, recommends a heated lower platen for its dimensional embroidered patches and links to instructions for other methods. This is product-specific guidance, not an application setting for DigitEMB patches. STAHLS’ embroidered patch application guidance
If considering DigitEMB’s iron-on patches, provide the cap model and marked placement and request application guidance for that combination.
For hook-and-loop patches, compare the patch with the receiving panel’s dimensions and shape. Confirm how that panel is secured to the cap. Check the assembled result for exposed hook material, inside comfort and interference with the closure.
Approve and record the attached position
Before repeating the placement, inspect a sample made with the intended cap, patch and attachment process. After any specified cooling or curing period, check the complete border, crown shape, inside finish and closure movement.
Keep these placement details with the approved sample:
Exact cap model, size and color.
Finished patch width and height, including the border.
Position, wearer’s-left/right orientation and intended angle.
Reference points, offsets and measurement method.
Attachment method and who will perform it.
Placement tolerance agreed with the decorator.
Front, side and inside photographs.
If cleaning performance matters, agree on a sample check using care instructions compatible with both the cap and patch. Reassess the position when changing the cap model, patch construction or attachment process.
When contacting DigitEMB about custom patches, include your artwork, cap details, photographs, proposed dimensions, marked placement and quantity. State whether you need loose patches or are asking about attachment to caps. Confirm who supplies the caps and performs installation, and include the destination country and required date for the project to be assessed.
Frequently asked questions
How far above the brim should a patch sit?
Choose the gap on the actual cap after checking visual balance and attachment access. Record the distance between identified points on the brim-to-crown seam and finished patch border, then have the decorator confirm it.
What size patch should I order for a cap?
Test a full-size outline on the chosen cap. Check the complete border, design readability and attachment access together. Approve dimensions for that cap model rather than carrying over a measurement from another style.
Can the patch cover the center seam?
Possibly, depending on the patch and attachment process. Ask for an attached sample and inspect the seam area and patch edges before approving the order.
Is a digital placement mockup enough?
A mockup communicates the intended appearance. An attached sample lets you inspect edge contact, crown shape, inside comfort and attachment on the actual cap.
Practical details for Custom Patch Placement on Caps: Front, Side and Back
A patch works best when its artwork, size, border and attachment method are chosen together. Use the guidance in this article to create a production brief that is clear enough for a proof review.
Work through these points in order and keep the answers with the artwork or production request. A short written brief makes it easier to compare a proof with the intended result, ask a useful follow-up question and avoid relying on assumptions made from a screen image alone.
The aim is not to add unnecessary steps. It is to identify the choices that change the final result before work begins. If a requirement is unknown, flag it for confirmation rather than guessing; that keeps the approval process focused on the design, material and use that apply to this particular project. Save the approved brief with the project files for future reorders or revisions.
Choose the patch type for the artwork
Consider whether embroidered, woven, chenille or PVC construction best suits the amount of detail, texture and finish you want. Fine lettering and small shapes should be assessed at the real patch size.
Set the size and edge treatment
Give the finished width and height, including any outline or border. A merrowed edge, hot-cut edge or shaped outline changes the usable design area and how the patch reads from a distance.
Select the backing for the use case
Iron-on, sew-on, hook-and-loop and other backings serve different garments and applications. Confirm the item surface and whether the patch must be removable before approving the proof.
Quick questions to check before you proceed
What should be on a patch order brief?
Include the artwork, finished size, quantity, patch type, border preference, backing choice and the product or garment where it will be used.
Why can small text change on a patch?
Patch construction has physical limits. At a small size, very thin lettering or tight spaces may need adjustment so the finished patch stays legible.
When should I approve the proof?
Approve only after checking spelling, dimensions, border, colours, backing and every detail that must be visible in the finished patch.