
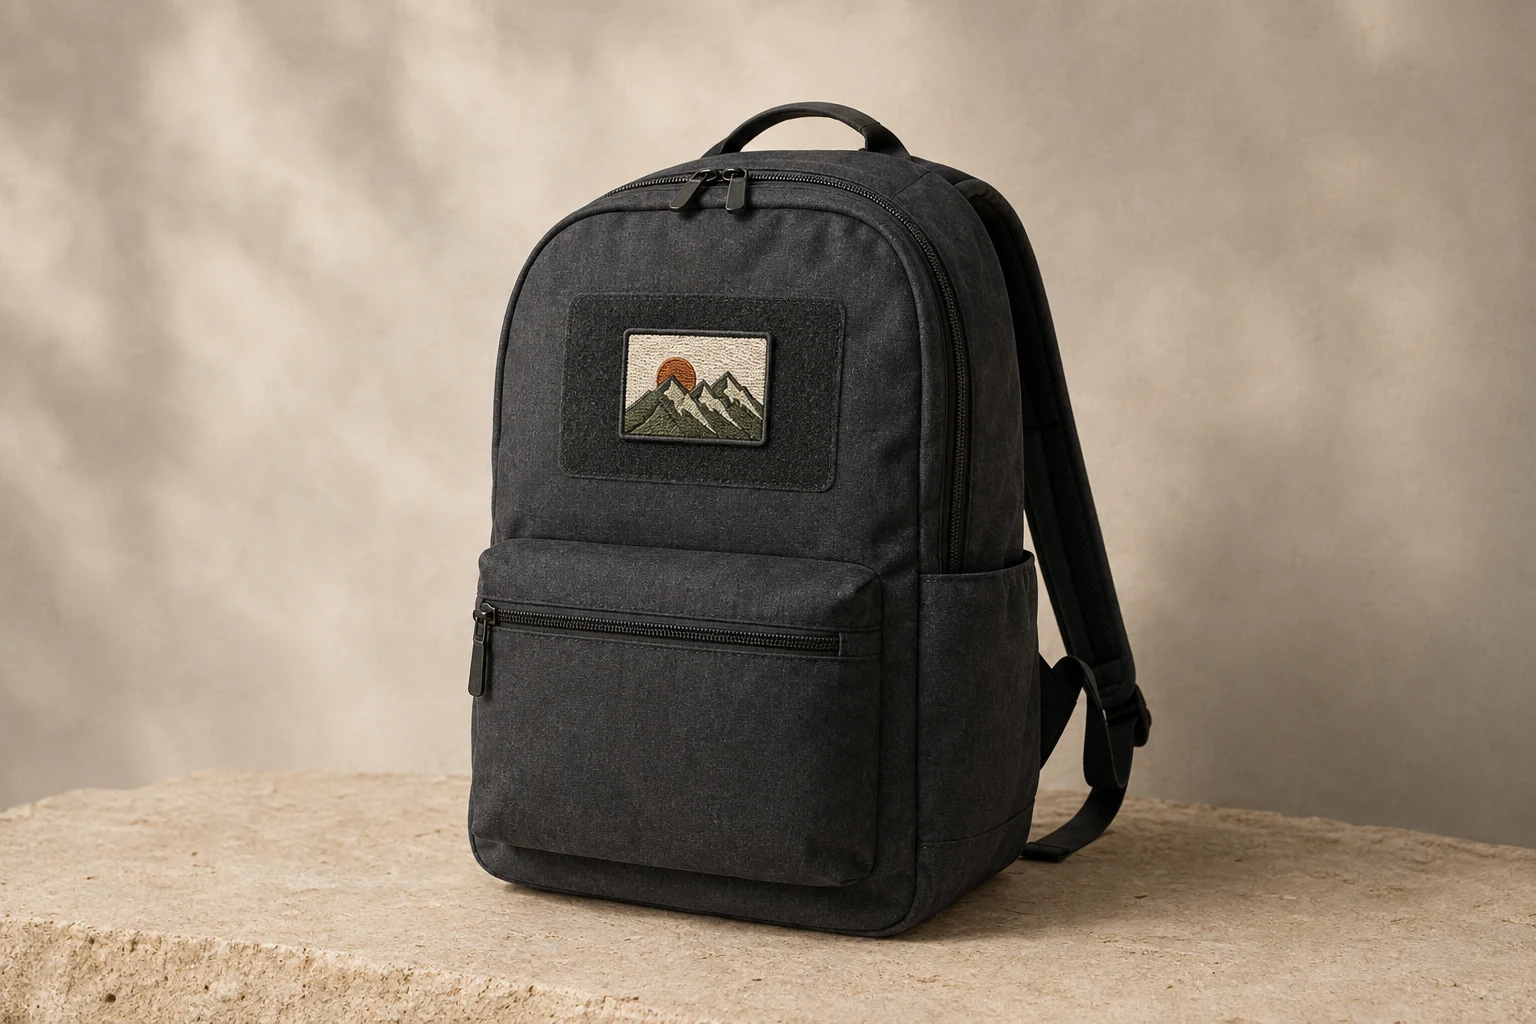
Cover image: AI-generated editorial concept; not a customer project or production proof.
Choose the position and attachment method before ordering a custom backpack patch. Test a full-size paper template on the packed bag, check access behind the panel and follow the backpack’s care instructions. An existing loop panel can accept a compatible hook-backed patch; sewing needs suitable fabric and access; iron-on backing needs confirmed heat compatibility.
Good backpack decoration keeps the design visible while pockets open fully and straps remain easy to adjust. Start with the bag’s usable space, then develop the artwork to fit it.
Inspect the backpack before choosing a patch
Empty the bag and inspect the proposed position from both sides. Look for lining, padding, coatings and internal compartments behind the outer fabric. Read the care label and model information: a fabric name alone does not establish whether the finished backpack can tolerate heat or stitching.
Decide whether you want permanent decoration or patches you can swap. If the construction is unclear, ask the bag manufacturer or a sewing professional to assess the intended area. A removable fabric accessory can also carry decoration without modifying the backpack itself.
Plan a layout that leaves room to function
Start with one focal patch, such as an original mountain motif, a favorite animal or a simple geometric emblem. For a collection, try two or three related designs with visible fabric between them. Repeating a color or shape can connect the arrangement, while an empty area leaves room for future additions.
Pack the bag as you normally carry it before judging placement. Open nearby zippers fully, insert your usual bottle and adjust the straps. Keep decoration clear of reflective details, buckles and other functional features.
Proposed position | Practical check |
|---|---|
Front pocket face | Can you reach behind the outer fabric without catching the lining or stitching the pocket shut? |
Existing loop panel | Does the entire patch fit within the receiving area? |
Main front panel | Does the design remain visible when the filled bag curves? |
Side pocket | Can a bottle slide in and the opening stretch freely? |
Strap or padded back | Could the patch rub against the wearer or obstruct adjustment? |
Bottom panel | Will the patch contact the floor when the bag is set down? |
A clear front panel is a useful starting point. Let the actual backpack determine the final position.
Test the finished size with paper
Measure the space between seams and hardware. Record the patch’s finished width and height, including its border, and cut a paper template to those dimensions.
For example, 3 × 2 inches is approximately 76 × 51 mm. This is a size to test, not a standard for every backpack. Hold the template against the packed bag, photograph it and check the arrangement from a normal viewing distance. Move or reduce it if it crowds a zipper or wraps awkwardly around the panel.
Test all templates together when planning a collection. A layout that appears balanced on an empty backpack may look crowded once its pockets are full.
If the available space requires a smaller patch, remove secondary wording before shrinking every detail. Keep the main symbol prominent. DigitEMB’s patch artwork guide explains artwork simplification and edge planning in more detail.
Match attachment to the chosen panel
An existing loop panel allows interchangeable decoration
Hook-and-loop fastening works by engaging hooks on one surface with loops on the other. The rough side is the hook; the softer, fuzzy side is the loop. Velcro Companies explains the fastening system.
For a backpack with a loop panel, request a compatible hook-backed patch. Ordinary backpack fabric should not be assumed to provide the receiving surface. Keep the patch within the panel’s edges and check engagement across its backing.
If the bag has no loop panel, installing one is a separate modification. Confirm which fastening components the order includes and how any receiving piece would attach to the backpack.
Sewing requires access behind suitable fabric
Consider sewing when the bag’s construction permits it and you can reach behind the intended panel. Keep pocket layers separated so stitches do not catch a lining or internal sleeve.
Sewing punctures the material. For coated or weather-protective panels, ask the backpack manufacturer whether the modification is suitable and how it could affect the panel’s protection. Hidden linings and thick padding are reasons to seek a professional assessment.
Obtain sewing guidance appropriate to the patch edge and bag material instead of applying a universal needle or stitch setting.
Iron-on backing needs compatible instructions
JanSport advises checking the backpack label before applying iron-on patches and avoiding this method on nylon, rayon or leather. Its guidance does not establish heat compatibility for every other finished backpack. JanSport’s backpack decoration guidance.
Compare the backpack’s restrictions with the specific backing’s required temperature, pressure, application time and cooling instructions. If they conflict, or the bag’s heat tolerance is unknown, choose another approach. A pressing cloth does not establish that the bag can tolerate the process.
Adhesive needs a separate surface check
Craft glue, self-adhesive patch backing and adhesive-backed fastening tape are different products. Before choosing one, obtain the exact manufacturer’s supported surfaces, preparation, curing and removal instructions. Ask whether the product is suitable for the backpack’s coating and intended cleaning routine. Do not assume a no-sew attachment will come off without marks.
Prepare the design and order together
Choose a main motif that reads clearly against the backpack’s color or pattern. Keep essential details away from the border and use short wording where text is needed. For a child’s bag, a symbol provides personalization without displaying a full name.
Review the proposed artwork at the finished dimensions. A digital proof helps check spelling and proportions; a physical sample, if available, lets you assess texture and how the patch sits against the bag.
For an inquiry through DigitEMB’s custom patches service, include:
Artwork, finished dimensions and quantity for each design.
A full backpack photograph and a close-up of the intended panel.
The bag model and care-label information.
Whether a receiving loop panel already exists.
Whether the decoration should be permanent or interchangeable.
Your destination country and required arrival date.
For US, Canadian and UK orders, state measurement units clearly and confirm the quote currency. If supplying both inches and millimeters, identify which dimensions control production. Ask what the order includes, including backing components, sampling and shipping. Confirm backpack installation separately and have the supplier assess the requested arrival date.
Plan care before permanent attachment
Choose a cleaning routine permitted by the backpack, patch and attachment instructions together. Resolve conflicting requirements before permanent installation.
For example, Osprey’s cleaning guide describes using mild soapy water, thorough rinsing and drying. Use this only as manufacturer-specific guidance; follow the instructions for your own backpack and decoration. Osprey backpack cleaning guide.
Periodically inspect for lifting edges, loose stitches or incomplete fastening. Identify the cause before adding adhesive or applying more heat.
Frequently asked questions
Can I decorate a backpack without sewing or ironing?
Yes, if it already has a compatible loop panel for a hook-backed patch. Without that receiving surface, adhesive or panel installation needs its own compatibility assessment. A removable fabric accessory is another place to display a patch.
What size patch looks best on a backpack?
Start with the usable space. Test a paper template with the backpack packed, then check visibility, panel curvature and zipper clearance. There is no universal best size.
Can a decorative patch cover a tear?
It may conceal damage, but decoration alone should not be relied on as a repair. Have the underlying area assessed first, especially near a strap attachment or seam.
Can I change the design later?
A compatible loop panel allows patch changes. Before choosing a sewn or adhesive attachment, establish what removal would involve and whether holes, residue or a visible outline could remain.
Practical details for Custom Patches for Backpacks: Design, Placement and Attachment
A patch works best when its artwork, size, border and attachment method are chosen together. Use the guidance in this article to create a production brief that is clear enough for a proof review.
Work through these points in order and keep the answers with the artwork or production request. A short written brief makes it easier to compare a proof with the intended result, ask a useful follow-up question and avoid relying on assumptions made from a screen image alone.
The aim is not to add unnecessary steps. It is to identify the choices that change the final result before work begins. If a requirement is unknown, flag it for confirmation rather than guessing; that keeps the approval process focused on the design, material and use that apply to this particular project. Save the approved brief with the project files for future reorders or revisions.
Choose the patch type for the artwork
Consider whether embroidered, woven, chenille or PVC construction best suits the amount of detail, texture and finish you want. Fine lettering and small shapes should be assessed at the real patch size.
Set the size and edge treatment
Give the finished width and height, including any outline or border. A merrowed edge, hot-cut edge or shaped outline changes the usable design area and how the patch reads from a distance.
Select the backing for the use case
Iron-on, sew-on, hook-and-loop and other backings serve different garments and applications. Confirm the item surface and whether the patch must be removable before approving the proof.
Quick questions to check before you proceed
What should be on a patch order brief?
Include the artwork, finished size, quantity, patch type, border preference, backing choice and the product or garment where it will be used.
Why can small text change on a patch?
Patch construction has physical limits. At a small size, very thin lettering or tight spaces may need adjustment so the finished patch stays legible.
When should I approve the proof?
Approve only after checking spelling, dimensions, border, colours, backing and every detail that must be visible in the finished patch.