
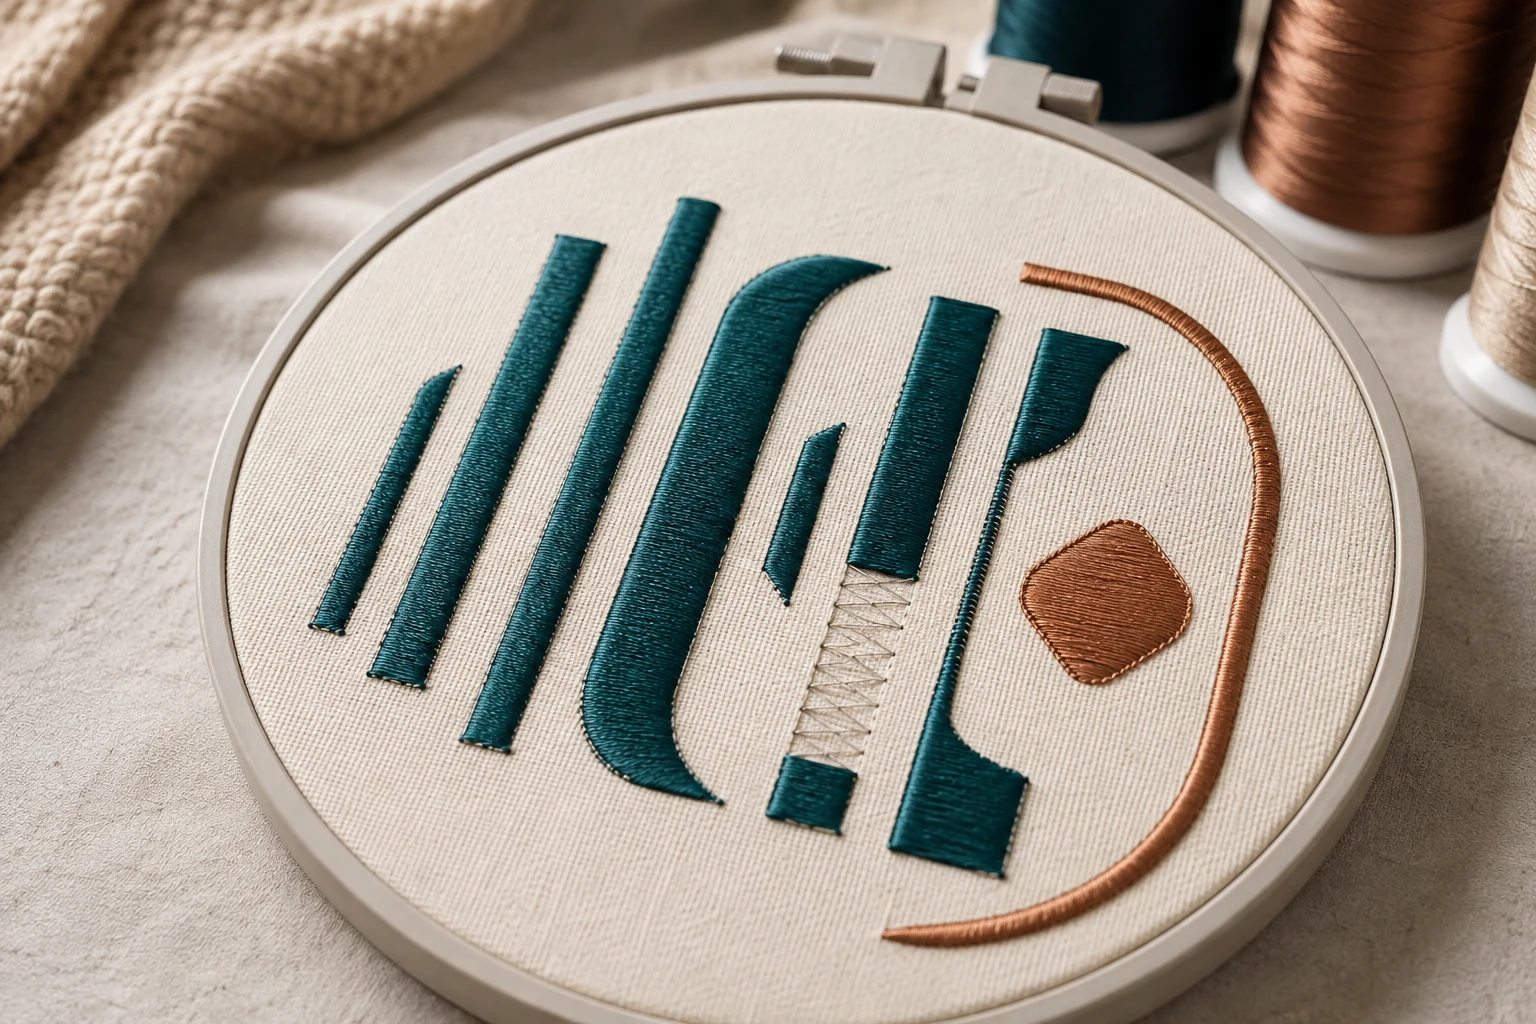
Cover image: AI-generated editorial concept; not a customer project or production proof.
Satin stitch is a machine embroidery stitch that places closely spaced threads across a narrow shape, creating a smooth, often glossy surface. It is commonly used for letter strokes, monograms and borders. Each stitch spans the column, with needle penetrations along its edges rather than throughout the middle. Hatch’s satin-fill guide explains this structure and its visual effect.
How satin stitch works
The needle alternates between opposite edges as stitching progresses along the shape. On a straight column, the threads lie almost parallel; around a curve, their direction turns with the shape. The digitizer defines the shape and settings that control the resulting stitches.
Suitable applications include narrow logo elements on clothing, monogram strokes on accessories and decorative borders on home textiles. The shape’s width matters more than the overall size of the design: a large design can still contain narrow satin details.
Satin stitch width and its limits
There is no single width range that works for every machine, thread and fabric. Check the machine’s supported stitch length and the digitizing software’s output settings before using wide satin areas.
Hatch documents that maximum stitch length varies by machine type. Its Auto Split feature divides long satin stitches into shorter stitches, distributing the new needle penetrations to avoid a straight split line. Splitting changes the uninterrupted surface, so inspect the result before production. Hatch’s explanation of satin limits and automatic splits.
For narrow details, discuss whether the selected thread and needle can reproduce the intended stroke. For wide areas, ask whether split satin or a different fill would suit the artwork and its use. Avoid treating a software preview as proof that a design will sew successfully.
Why satin stitch needs underlay
Underlay is supporting stitching sewn before the visible top stitches. Its settings should reflect the column’s size and the fabric. A firm woven shirt and a stretchy garment may require different support even when they carry the same artwork.
Underlay type | Role beneath satin stitching |
|---|---|
Center run | Supports narrow columns with a running-stitch foundation through the center. |
Edge run | Supports the perimeter of larger shapes, including letter strokes. |
Zigzag | Provides support across wider satin columns. |
Combinations can be useful, but adding every underlay type is not a universal recipe. Hatch identifies center run for narrow columns, edge run for larger shapes and zigzag for wide columns; it also explains that larger areas and stretchy fabrics generally need more support than smaller areas and firm fabrics. Hatch’s automatic-underlay guidance.
Density, thread and fabric work together
Density describes how closely stitches are packed. Select it alongside the thread and needle rather than copying a setting from an unrelated design. Madeira describes its density and needle recommendations as starting points that need adjustment for variables such as fabric. Madeira’s density guidance.
Pull compensation addresses another issue: embroidery stitches can draw fabric inward, making a sewn column narrower than its digitized outline. Compensation extends the stitching to account for that movement. Fabric, backing and design characteristics influence the adjustment. Hatch’s pull-compensation guide.
Keep these decisions separate when reviewing a sample. A narrow column does not automatically need more density, and visible fabric does not automatically mean the thread tension should be tightened.
Practical tips for a cleaner sample
Start with a sew-out on the intended fabric using the planned backing, thread and needle. Check it after removing it from the hoop so you can assess the finished surface.
Inspect the edges: Look for exposed underlay, uneven boundaries and gaps beside adjoining elements.
Check the fabric: If it puckers, review hooping, backing, tension and stitch density together.
Watch for thread breaks: Check the needle and thread path as well as dense or overlapping stitch areas.
Record revisions: Change one setting at a time and compare samples at the same finished size.
Madeira’s troubleshooting guidance identifies excessive density, unsuitable underlay, tension and fabric support among the factors that can affect embroidery quality. Madeira’s embroidery FAQ.
What to send when ordering digitizing
For buyers in the US, Canada and UK, a clear brief should include the artwork, finished dimensions, garment fabric, placement, machine model and required file format. Label dimensions explicitly as millimeters or inches.
Point out lettering and borders that must remain recognizable. Ask the digitizer to flag details that need widening, simplification or another stitch treatment, and arrange a sample review before a production run.
You can use DigitEMB’s embroidery digitizing service page to discuss those requirements. Include any available photographs of earlier sew-outs so the conversation addresses the actual fabric result.
Frequently asked questions
What is satin stitch best used for?
Narrow shapes, borders and letter strokes where a smooth surface is desired. Suitability depends on the individual stroke width and sewing setup. Hatch’s satin-fill guide.
Does every satin column need the same underlay?
No. Choose support according to the shape, size and fabric; narrow columns and wide columns have different needs. Hatch’s underlay guidance.
Will increasing density always improve coverage?
No. Density needs to match the thread, needle and fabric. Review those variables and test an adjustment before applying it across the design. Madeira’s density guidance.
Practical details for What Is Satin Stitch? Basics of Embroidery Digitizing
Use the article above as a starting point, then make the production brief specific to your own design. A stitch file is made for a finished size and material, so the artwork alone is only part of the instruction.
Work through these points in order and keep the answers with the artwork or production request. A short written brief makes it easier to compare a proof with the intended result, ask a useful follow-up question and avoid relying on assumptions made from a screen image alone.
The aim is not to add unnecessary steps. It is to identify the choices that change the final result before work begins. If a requirement is unknown, flag it for confirmation rather than guessing; that keeps the approval process focused on the design, material and use that apply to this particular project. Save the approved brief with the project files for future reorders or revisions.
Confirm the finished use
State the item, placement and finished width and height. A chest logo, cap front and jacket back do not use the same sewing area, even when they start from the same artwork.
Protect the smallest details
Review small lettering, narrow gaps, thin outlines and tiny colour changes at the final size. Simplifying a fragile detail before digitizing is often more reliable than trying to force it into a small sew-out.
Match the file to the machine
Tell the production team the embroidery machine or format required, along with the fabric or garment type. This lets them prepare the right export and make choices that suit the material rather than treating every job alike.
Quick questions to check before you proceed
What should I send with my artwork?
Send the clearest original available, the finished dimensions, placement, fabric or garment type and the required machine format if you know it.
Can the same file be used at every size?
Not always. Scaling changes the relationship between stitch length, detail and fabric, so a design may need review when the finished size or placement changes.
What should I check before production?
Confirm the spelling, colours, final size, placement and any details that must remain readable. A proof or sample is the best point to catch a change.