
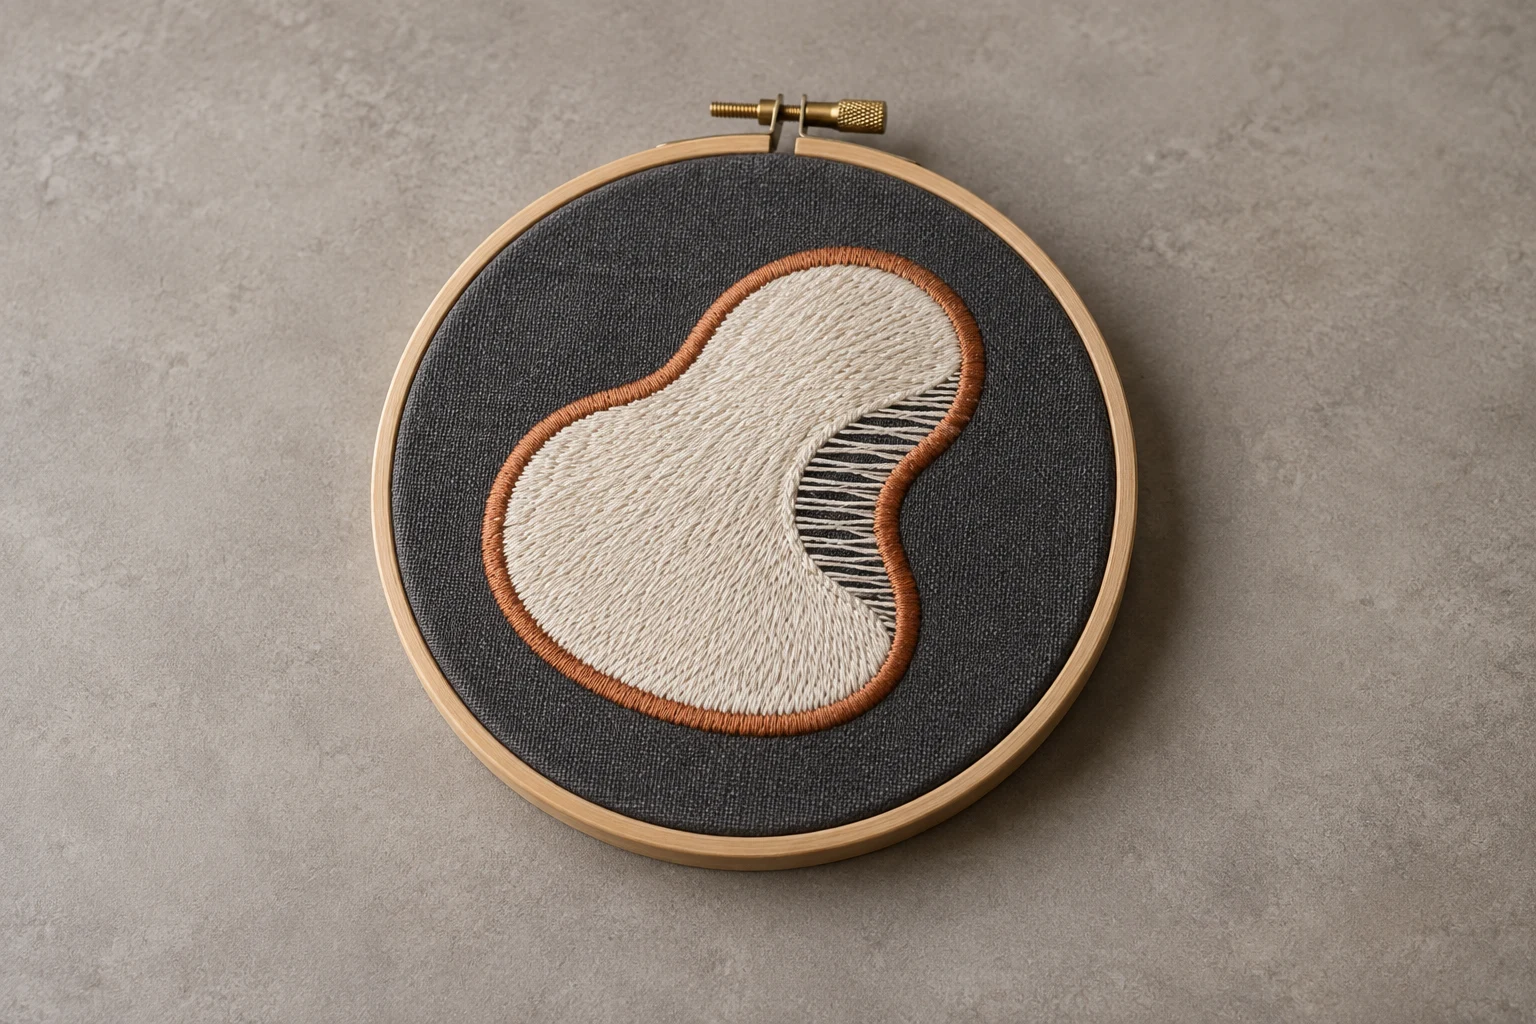
Cover image: AI-generated editorial concept; not a customer project or production proof.
Embroidery underlay is supporting stitching sewn beneath an embroidery object’s visible top stitches. It helps stabilize the fabric, supports coverage and can raise stitches above a soft or textured surface. The digitizer chooses its type and settings for the object’s shape, finished size and fabric. Wilcom’s underlay guide explains these functions.
This guide covers how to select and adjust underlay for satin columns, filled shapes, lettering and complex artwork, then assess the result in a physical sample.
Underlay, backing and topping
Underlay is part of the stitch design. Backing and topping are separate materials used during embroidery.
Support | What it does |
|---|---|
Underlay stitches | Form a stitched foundation beneath the visible embroidery. |
Backing or stabilizer | Sits beneath the fabric to support it during stitching. |
Topping | Sits on the fabric surface to help keep stitches above texture or pile. |
For example, Madeira describes a backing placed beneath the garment during hooping and a water-soluble topping used above textured fabrics. Underlay selection should therefore be considered alongside the material support. See Madeira’s backing instructions and topping guidance.
Main types of embroidery underlay
Different parts of one design may need different foundations. Software names and available combinations vary.
Underlay type | Typical role |
|---|---|
Center run | A running line along a narrow column’s center, providing support where space is limited. |
Edge run | Running stitches around an object’s perimeter, with a margin that keeps them beneath the cover stitching. |
Zigzag | An open pattern across a wider column, supporting the satin stitches above it. |
Double zigzag | Additional zigzag support that can also add loft to suitable lettering. |
Tatami | Widely spaced rows supporting a larger filled shape; often combined with edge run. |
These are starting points based on Wilcom’s automatic underlay reference and lettering underlay guidance. A column-width threshold alone does not determine the right combination.
Choose underlay for the fabric and object
Stable woven fabrics
Assess the actual shape and top stitch type first. A narrow satin detail and a broad filled area can need different underlays even when both sit on the same woven fabric. Use the fabric profile as a starting point and inspect the resulting object settings. Wilcom’s fabric settings documentation treats narrow satin, wide satin, fills and lettering separately.
Stretchy or soft fabrics
Review underlay together with top-stitch density and pull compensation. Wilcom describes double tatami with edge run as an option to try for extra support on very soft or elastic fabrics. It is an option for testing, rather than a requirement for every thin garment. Wilcom’s tatami underlay settings.
For a lightweight shirt, include flexibility and comfort in the sample review. Do not judge the result only by how solid the embroidery looks.
Fleece and terry cloth
Underlay can help flatten nap and support the top stitches. A suitable topping can also help prevent pile from interfering with the design. Madeira specifically identifies fleece and terry cloth as applications for water-soluble toppings. Madeira’s topping guide.
Check whether small details remain visible after the topping is removed according to its instructions. Do not assume every high-pile fabric needs the densest possible underlay.
Light thread on dark fabric
Inspect coverage before increasing top-stitch density. Underlay can improve the foundation beneath the visible stitching, but the finished sample must establish whether coverage is adequate. Wilcom cautions against treating increased top density as the first solution to fabric showing through. Wilcom’s stabilization guidance.
Underlay settings that matter
There is no single stitch length, spacing or angle to apply to every object. Review each control in relation to the selected underlay and the top stitching.
Setting | What to review |
|---|---|
Stitch length | Whether running stitches follow curves closely enough and stay hidden. |
Stitch spacing | How open the tatami foundation is; assess support alongside the total stitching in that area. |
Stitch angle | How the underlay direction relates to the cover stitches. Wilcom advises tatami underlay to run counter to them. |
Margin or inset | Whether the underlay remains inside the covered area, especially at curves and narrow sections. |
Number of layers | Whether an additional layer provides useful support in the sample. |
Wilcom documents adjustable running-stitch length and curve following in its run underlay settings, and spacing, angle and margins in its tatami underlay settings.
When comparing samples, record the settings and change one variable at a time. Keep the fabric, backing, thread and finished dimensions consistent so the comparison is useful.
Underlay for lettering
Start with the width of each letter stroke at the final embroidery size. Letter height is useful context, but two fonts at the same height may have very different stroke widths.
For narrow satin lettering, consider a center run or edge run that fits beneath the strokes. Larger lettering may accommodate another layer for support or loft. Very small text needs particular care: inspect whether the foundation remains covered and whether the letter openings stay readable.
Wilcom provides size-based rules of thumb, including omitting underlay below 5 mm in its documented lettering workflow. Treat those figures as software guidance to evaluate for the chosen font and fabric, rather than a universal rule for all lettering. Wilcom’s lettering underlay reference.
For a buyer reviewing a name or small logo, request a sample at the intended size. An enlarged screen preview makes fine details easier to see but cannot establish their stitched legibility.
Underlay for complex artwork and jacket backs
Break the design into its working parts: large fills, satin borders, letters and small details. Select support for each part instead of assigning one heavy underlay to the entire design because the artwork looks complex.
For example, a broad background may suit edge run with tatami, while a narrow satin detail may suit center run. These choices follow the object-based approach in Wilcom’s underlay selection guidance.
During stitch playback, inspect where objects overlap and how each foundation relates to its cover stitching. Then check those areas in the sample for coverage, alignment and excessive thickness. A large jacket-back design should be evaluated at its intended dimensions rather than assumed to behave like a smaller chest version.
Automatic and manual underlay control
Automatic underlay generates a foundation from the object and its settings. It still allows the digitizer to select types, combine layers and adjust properties. Manually digitized support gives direct control over a particular stitch path, but it also needs review whenever the artwork changes.
Automatic underlay is not inherently inferior. For example, Wilcom supports lettering underlay calculated by shape or by segment; its documentation explains how the shape option can reduce bunching and travel stitching. Review the available controls before assuming the entire foundation must be drawn manually. Wilcom’s lettering controls.
Use playback to inspect the sequence, then verify the design on fabric. Choose the workflow that produces appropriate support for the actual object.
Review a sew-out before production
A sew-out is a physical stitched sample. Ask for it to use the intended fabric and production setup, particularly when the design includes small text, large fills or textured garments.
Confirm the final dimensions and artwork version.
Check for exposed underlay around borders, curves and letter openings.
Inspect coverage, alignment and detail visibility.
Feel the stitched area and assess whether its thickness suits the garment.
Record any problems with close photographs and the material details before requesting revisions.
If underlay is visible, review its margin and path as well as the cover stitching. Wilcom specifically recommends adjusting margins to keep the foundation covered. Wilcom’s tatami underlay guidance.
For buyers in the US, Canada or UK, label dimensions clearly in inches or millimeters. Include the garment material, embroidery placement, machine model or required file format, and any planned size variations when discussing DigitEMB embroidery digitizing services.
Frequently asked questions
Does every embroidery object need underlay?
No. The decision depends on the object and its intended appearance. Wilcom’s lettering guidance includes cases where very small lettering uses no underlay. Review the actual design instead of enabling the same foundation everywhere. Lettering reference.
Can underlay replace backing?
They serve different roles. Underlay is stitching in the design; backing is supporting material beneath the fabric. Select the backing for the project rather than removing it simply because the file contains underlay. Madeira’s backing instructions.
Is tatami underlay the same as a tatami fill?
Tatami underlay resembles a very open tatami fill and supports the visible cover stitching. Its spacing and purpose differ from those of the finished fill surface. Wilcom’s tatami underlay reference.
Does more underlay always improve embroidery?
No. Select layers for a specific support requirement and review their effect in a sample. Wilcom offers both single and combined underlays according to object size, shape, fabric and purpose. Underlay selection reference.
Practical details for What Is Embroidery Underlay? Types, Settings and Fabric Selection
Use the article above as a starting point, then make the production brief specific to your own design. A stitch file is made for a finished size and material, so the artwork alone is only part of the instruction.
Work through these points in order and keep the answers with the artwork or production request. A short written brief makes it easier to compare a proof with the intended result, ask a useful follow-up question and avoid relying on assumptions made from a screen image alone.
The aim is not to add unnecessary steps. It is to identify the choices that change the final result before work begins. If a requirement is unknown, flag it for confirmation rather than guessing; that keeps the approval process focused on the design, material and use that apply to this particular project. Save the approved brief with the project files for future reorders or revisions.
Confirm the finished use
State the item, placement and finished width and height. A chest logo, cap front and jacket back do not use the same sewing area, even when they start from the same artwork.
Protect the smallest details
Review small lettering, narrow gaps, thin outlines and tiny colour changes at the final size. Simplifying a fragile detail before digitizing is often more reliable than trying to force it into a small sew-out.
Match the file to the machine
Tell the production team the embroidery machine or format required, along with the fabric or garment type. This lets them prepare the right export and make choices that suit the material rather than treating every job alike.
Quick questions to check before you proceed
What should I send with my artwork?
Send the clearest original available, the finished dimensions, placement, fabric or garment type and the required machine format if you know it.
Can the same file be used at every size?
Not always. Scaling changes the relationship between stitch length, detail and fabric, so a design may need review when the finished size or placement changes.
What should I check before production?
Confirm the spelling, colours, final size, placement and any details that must remain readable. A proof or sample is the best point to catch a change.