
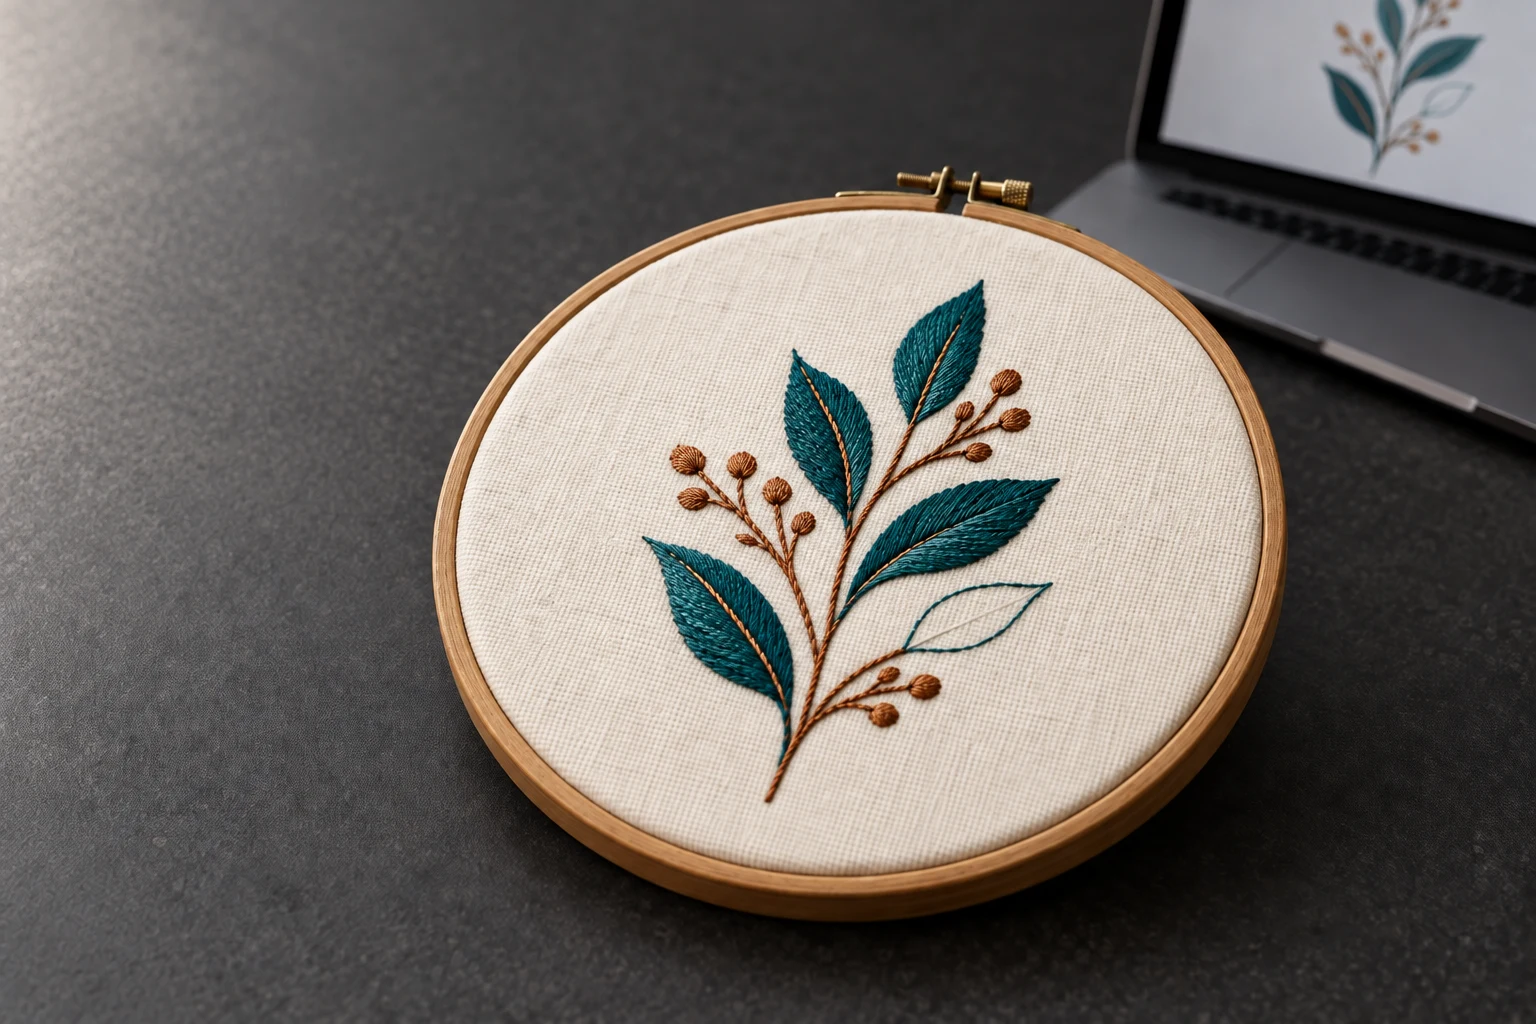
Cover image: AI-generated editorial concept; not a customer project or production proof.
Embroidery digitizing is the process of turning artwork into stitch instructions for an embroidery machine. A digitizer uses embroidery software to define stitched shapes, stitch types and the order in which the design will sew. The resulting file is prepared for a particular size, material and machine format. Embrilliance’s digitizing documentation explains how artwork becomes embroidery objects and stitches.
Digitizing prepares the file; embroidery is the physical stitching. A clear image is a useful starting point, but it does not already contain the instructions needed to sew it onto a shirt, cap, bag or home textile.
How embroidery digitizing works
The process starts with the intended result: what will be embroidered, where it will sit and how large it should be. The digitizer then builds the design in software, checks the stitching sequence and exports a compatible machine file.
Three basic stitch types help explain what happens to the artwork:
Stitch type | Typical purpose |
|---|---|
Running stitch | Lines, outlines and fine linear details. |
Satin stitch | Narrow shapes, borders and suitable lettering. |
Fill stitch | Coverage across larger shapes, often using rows of shorter stitches. |
These tools create different textures and suit different shapes. Wilcom documents them in its EmbroideryStudio quick reference.
Automatic digitizing can generate embroidery from suitable artwork, but its output still needs review. Manual digitizing gives the operator control over the shapes and their stitch properties. Neither a screen preview nor an automatic conversion establishes how the design will perform on the intended fabric. See Hatch’s design creation guidance.
Before ordering a file, settle four connected decisions: placement, finished size, fabric and any permitted artwork changes.
Choose the embroidery placement first
Placement means the position of the embroidery on the finished item. Examples include a shirt’s left chest, a sleeve, a cap’s front panel, a jacket back or a towel corner.
Choose the position on the actual product. Check seams, pockets, zippers, panel edges and access for hooping. A cap front, side and back offer different spaces; a design that fits one position may need a different layout elsewhere.
Ask the embroiderer to confirm the usable sewing area for the machine and hoop or cap frame. The outside dimensions of a hoop are not a reliable substitute for its supported embroidery field.
For a placement mockup, print the artwork at the proposed size and position it on the item. Assess its balance on the garment size you will actually use. Avoid treating a 4-inch chest logo or a 2.5-inch cap design as a universal requirement.
Measure width and height without distorting the design
Give both finished dimensions, with units clearly labeled. For buyers and production teams in the US, Canada and UK, including inches and millimeters can help prevent misunderstandings: 4 inches equals 101.6 mm.
Keep the artwork’s proportions locked when calculating its size. Check both dimensions against the available placement area, even if one dimension sets the limit.
Circular artwork
A true circle has equal width and height. A circle specified at 4 inches across is also 4 inches high. Include any surrounding lettering or decorative elements when measuring the complete design.

Square artwork
A square design also has equal width and height when resized proportionally. Check the complete artwork boundary, including any details extending outside the main square.

Horizontal artwork
A wide design will often reach the available width before it reaches the available height. For example, artwork with a 4:1 width-to-height ratio becomes 4 × 1 inches, or 101.6 × 25.4 mm, when set to 4 inches wide.

Vertical artwork
A tall design will often be limited by height. For example, a design with a 1:4 width-to-height ratio becomes 1 × 4 inches when set to 4 inches high. Setting its width to 4 inches would instead make it 16 inches high.

These examples explain proportions, not recommended garment sizes. Measure the artwork and placement for each project.
Check artwork and lettering at the finished size
Start with an actual-size layout
Set the artwork to the intended embroidery dimensions before judging its detail. A large screen view can hide how small a tagline, outline or gap will become.

A printed template helps assess placement and visual scale. Check the print settings so the page is not automatically enlarged or reduced.
Supply a clear original file
Send the best original artwork available and ask which input formats the digitizer accepts. BMP is one possible image format; it is not a required preparation step for every embroidery workflow.

Changing an image’s extension to BMP does not create embroidery instructions. The artwork still needs to become stitched objects and a machine file. Embrilliance describes this artwork-to-stitches process.
Review letter height, strokes and spacing
Measure the smallest letters at the final design size. Then inspect thin strokes, enclosed spaces inside letters and the gaps between neighboring characters.

There is no single minimum letter height that suits every font and production setup. Wilcom gives individual embroidery fonts recommended size ranges and explains why excessively small lettering becomes crowded. Follow the chosen font’s guidance and confirm the result in a sample. Wilcom’s embroidery font guidance.

If lettering is too small, discuss enlarging it, shortening an optional tagline or choosing simpler letterforms. Running-stitch lettering may suit some designs, but changes their appearance. Avoid assuming that a fixed number of characters will fit a given width or that reducing all spaces will improve readability.
Why fabric changes the digitizing requirements
Fabric affects how stitches settle and how much the material moves. The digitizer needs more information than a fiber name: woven cotton and cotton jersey, for example, have different constructions.
Three terms are useful when discussing a file:
Density or stitch spacing: how closely stitches are arranged within an area.
Underlay: supporting stitches sewn beneath the visible top stitching.
Pull compensation: an adjustment to stitched shapes that accounts for fabric pulling inward during sewing.
These settings work together. Wilcom explains that stitch spacing, underlay and compensation must suit the stitch type, object shape and fabric in its underlay and pull compensation guidance.
Material characteristic | Information to give the digitizer |
|---|---|
Stretchy knit | Garment construction, stretch and intended backing. |
Fleece or terry surface | Pile or loop texture and whether topping will be used. |
Stable woven fabric | Fabric weight, weave and embroidery placement. |
Thin or delicate material | Sensitivity to dense stitching and the planned support method. |
Underlay consists of stitches; backing and topping are separate materials used during embroidery. They can help control distortion alongside compensation. See Wilcom’s fabric-stretch guidance.
A fabric name alone does not justify a fixed density value. Have the embroiderer test the file with the intended fabric, thread, needle, support and hooping method.
Adapt the artwork for caps, chest logos and jacket backs
The same artwork may need different embroidery versions at different sizes. Preserve the recognizable design while discussing which fine details can be simplified.
Clarify shapes before digitizing
Compare the original artwork with any proposed redraw. Confirm spelling, proportions and essential details before accepting changes.

Vector artwork can make shapes easier to edit, but vector conversion and embroidery digitizing are separate steps. If the source needs rebuilding, DigitEMB’s raster-to-vector service describes that artwork preparation option.

Simplify smaller versions carefully
For a compact cap design, discuss whether a secondary line of text can be enlarged, repositioned or omitted. Adjust spacing selectively so letters remain separate.

A cap version should be reviewed for the actual cap style and frame, including the proposed placement around seams.

A left-chest version needs its own size and fabric brief. It should not automatically inherit the cap version’s dimensions or production settings.

Distinguish open fabric from stitch coverage
An intentionally unstitched opening lets the garment fabric form part of the design. Its appearance therefore changes with the garment color.

That intended negative space differs from fabric showing unintentionally through an area meant to have solid stitch coverage.

Satin column width means the width across the stitched column, not the spacing between adjacent stitches. Column width, stitch spacing and an unstitched gap are separate measurements. Wilcom’s satin lettering guidance discusses column width as a property of satin lettering.

Check narrow openings in a sew-out instead of applying a universal minimum gap to every design.
A larger jacket-back version gives details more physical space, but still needs a review of stitch construction and coverage. Ask the digitizer to prepare the required size rather than simply enlarging a finished stitch file.

What software is used for embroidery digitizing?
Digitizing software lets the operator build embroidery objects and assign stitching properties. Software editions differ: an application for viewing or arranging existing designs may not include tools for creating a design from artwork.

Examples include Wilcom EmbroideryStudio, Hatch Embroidery, Embrilliance StitchArtist and Brother PE-DESIGN. These are examples, not a ranking. Check the developer’s documentation for the specific edition and tools you need: Wilcom EmbroideryStudio, Hatch, StitchArtist and Brother PE-DESIGN 11.
If you are ordering a digitized file, you can supply the artwork and production brief without learning the software yourself. Confirm what the delivered package includes.
Which embroidery file format do you need?
Ask the embroiderer for the exact machine model and accepted format. DST, PES and JEF are examples of embroidery formats; compatibility depends on the receiving machine and its limits.
Keep the editable design file when it is available, as well as the exported machine file. Janome distinguishes stitch data from editable design data in its embroidery format reference.
An editable file can retain information useful for later changes. A machine export serves the sewing workflow. Confirm the finished dimensions, color sequence and any accompanying production sheet before running it.
What to send with a digitizing request
Provide the artwork together with:
Finished width and height, clearly labeled in inches or millimeters.
Product type, fabric construction and exact embroidery position.
Machine model, required file format and available sewing area.
Thread color references and garment color.
Details that must remain and changes you are willing to consider.
Every required size or placement version.
For US, Canadian and UK buyers, confirm the quote currency and distinguish digital file preparation from physical garment embroidery. Agree on revision arrangements, file delivery and whether a physical sew-out is included or will be arranged separately.
Review spelling, dimensions and colors in the proof. Use a sew-out on the intended materials to assess lettering, coverage, alignment and puckering before committing to production.

Explore DigitEMB’s embroidery digitizing services with your artwork and production requirements ready.
Frequently asked questions
Can I use a JPG or PNG as the starting artwork?
Yes, suitable image artwork can be used as a reference for digitizing. It still needs to be turned into embroidery objects and stitches; renaming the file does not perform that work.
Is vector conversion the same as embroidery digitizing?
No. Vector conversion creates editable graphic paths. Embroidery digitizing assigns the stitching needed to sew a design. A vector file can be a useful input without being a machine embroidery file.
Can one digitized file work on every garment?
Do not assume so. A change in size, material or placement may require changes to the design’s stitch properties and another sample.
Does a good screen preview mean the file is ready for production?
A preview helps check layout and sequencing. A sew-out shows how the stitches behave on the actual material and is the practical check before a production run.
Practical details for What Is Embroidery Digitizing? A Practical Beginner’s Guide
Use the article above as a starting point, then make the production brief specific to your own design. A stitch file is made for a finished size and material, so the artwork alone is only part of the instruction.
Work through these points in order and keep the answers with the artwork or production request. A short written brief makes it easier to compare a proof with the intended result, ask a useful follow-up question and avoid relying on assumptions made from a screen image alone.
The aim is not to add unnecessary steps. It is to identify the choices that change the final result before work begins. If a requirement is unknown, flag it for confirmation rather than guessing; that keeps the approval process focused on the design, material and use that apply to this particular project. Save the approved brief with the project files for future reorders or revisions.
Confirm the finished use
State the item, placement and finished width and height. A chest logo, cap front and jacket back do not use the same sewing area, even when they start from the same artwork.
Protect the smallest details
Review small lettering, narrow gaps, thin outlines and tiny colour changes at the final size. Simplifying a fragile detail before digitizing is often more reliable than trying to force it into a small sew-out.
Match the file to the machine
Tell the production team the embroidery machine or format required, along with the fabric or garment type. This lets them prepare the right export and make choices that suit the material rather than treating every job alike.
Quick questions to check before you proceed
What should I send with my artwork?
Send the clearest original available, the finished dimensions, placement, fabric or garment type and the required machine format if you know it.
Can the same file be used at every size?
Not always. Scaling changes the relationship between stitch length, detail and fabric, so a design may need review when the finished size or placement changes.
What should I check before production?
Confirm the spelling, colours, final size, placement and any details that must remain readable. A proof or sample is the best point to catch a change.