
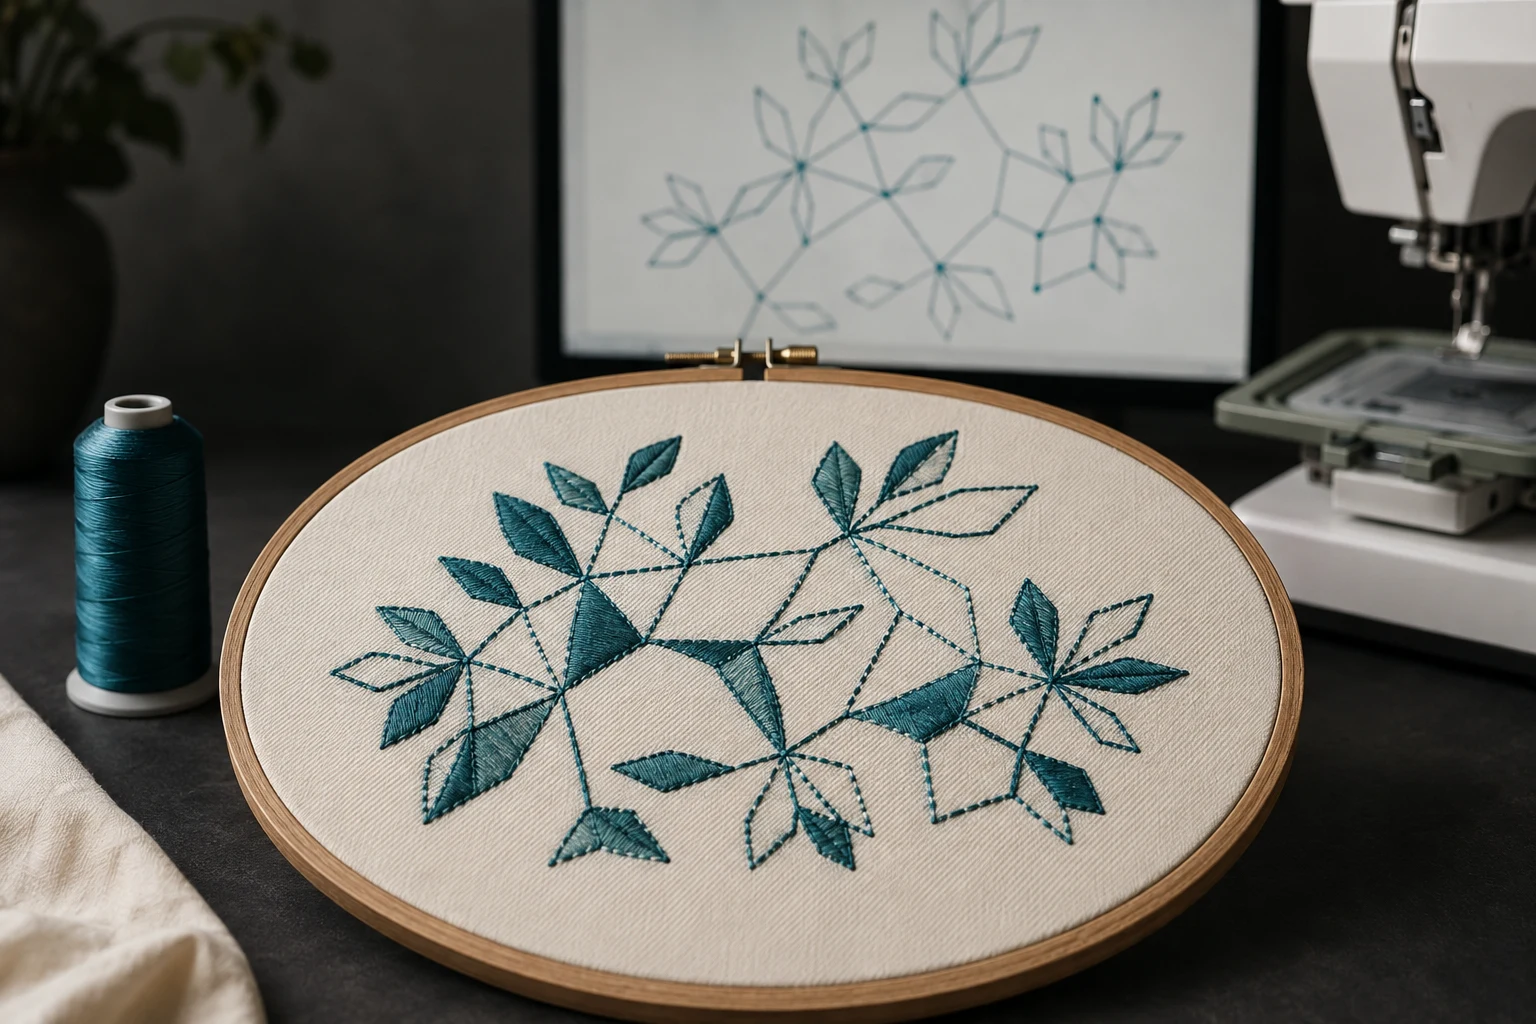
Cover image: AI-generated editorial concept; not a customer project or production proof.
The Branching tool in Wilcom automatically sequences and groups suitable touching or overlapping embroidery objects, creating one branched object with a shared entry and exit point. It helps organize the stitching route between existing shapes. Component properties remain, but the objects take the first object's color. Wilcom: Automatic branching.
To use it, select more than one suitable object, choose Arrange > Branching, place the entry and exit points, then travel through the stitches to check the result. Wilcom: Apply automatic branching.
When branching is useful
Branching suits connected sections that should stitch together in one color, such as the parts of a custom letter. It resequences objects, minimizes connectors and regenerates stitches. The components become selectable as a group while keeping their individual reshape points. Wilcom: Branched object characteristics.
Each object should touch or overlap another object in the group. Stitch order can allow later objects to cover overlapping segments. Plan those connections deliberately before applying the tool. Wilcom: Branching tutorial.
For practice, start with a small connected motif in a copy of your design. This makes it easier to compare the original route with the branched result.
Which objects can you branch?
Wilcom documents the following compatibility:
Object type | Branching support |
|---|---|
Run | Supported |
Column A, Column B and Column C | Supported |
Complex Fill and Complex Turning | Supported |
Objects using Motif Run or Motif Fill | Not supported |
Unsuitable objects in a mixed selection may be omitted. Check that every intended component was included. Because the group adopts the first object's color, keep sections that need separate thread colors out of the same branching operation. Wilcom: Supported objects and color behavior.
How to apply branching through Arrange
The steps below follow Wilcom's documented workflow; use your installed version's help if its interface differs.
Select the objects. Choose at least two suitable embroidery objects.
Choose Arrange > Branching. This starts the branching operation.
Place the entry point, then the exit point. Follow the prompts to choose where the group starts and finishes. Alternatively, press Enter twice to accept the defaults.
Inspect the new sequence. Wilcom groups the components, recalculates their order and regenerates the stitches.
Travel through the branched object. Follow its stitching route before accepting the result.
These steps are described in Wilcom's automatic branching instructions. Wilcom also documents I as the Branching keyboard shortcut. Wilcom: Branching shortcut.
How to branch using the Color-Object List
The Color-Object List provides another way to select the components and access the same operation.
Open Docker > Color-Object List.
Select more than one suitable object in the list.
Right-click the selection and choose Branching.
Place the entry and exit points, or press Enter twice for the defaults.
The resulting group shares the first branched object's color, with its sequence and stitches recalculated. The list also supports everyday organization tasks such as hiding, locking, grouping and resequencing objects. It does not create multiple design variations as part of branching. Wilcom: Branch objects with the Color-Object List.
Entry points, exit points and running-stitch retracing
The start and finish positions affect how running-stitch paths retrace. Wilcom explains that placing the entry and exit at the same location produces an outward and return pass for its described running-stitch arrangement. Separate start and finish locations can leave some sections with two passes and others with three.
After branching, you can move the entry and exit with the Reshape tool; Wilcom recalculates the route to suit their new positions. Inspect the revised stitches whenever you move either point. Wilcom: Entry, exit and retracing guidance.
What to check before using the file
Use this review alongside Wilcom's instruction to travel through the branched object:
Check | What to look for |
|---|---|
Included components | Confirm that no intended object was left outside the group. |
Thread color | Confirm that the shared color matches the intended artwork. |
Stitch route | Follow connections between sections and inspect any visible travel. |
Retracing | Look for repeated passes that make an outline heavier than intended. |
Overlaps | Inspect junctions and confirm that the stitching order gives the intended appearance. |
As a practical production check, make a sample sew-out on the intended fabric and stabilizer before running the full order. Compare the stitched sample with the screen preview, especially at junctions and repeated outlines.
For buyers in the US, Canada and UK, a useful digitizing brief includes the finished dimensions with explicit units, garment fabric, placement, required colors and machine format. If a connected motif needs attention, describe the visible issue—such as heavy retracing or exposed connecting stitches—and include a close-up of the sample. You can review DigitEMB's embroidery digitizing services when preparing that brief.
Frequently asked questions
Why is Branching unavailable?
First check your selection: Wilcom requires more than one suitable object. Review the object types if the command remains unavailable. Wilcom: Branching selection requirements.
Will branching remove every jump or trim?
Treat branching as a way to improve the route, not a promise of a trim-free design. Wilcom describes connector minimization and shows a worked example with fewer trims; inspect your own result. Wilcom: Branching example.
Can I reshape objects after branching?
Yes. The group has one entry and one exit, while its components retain individual reshape points. Recheck the stitching after edits. Wilcom: Branched object characteristics.
Practical details for How to Use the Branching Tool in Wilcom
Use the article above as a starting point, then make the production brief specific to your own design. A stitch file is made for a finished size and material, so the artwork alone is only part of the instruction.
Work through these points in order and keep the answers with the artwork or production request. A short written brief makes it easier to compare a proof with the intended result, ask a useful follow-up question and avoid relying on assumptions made from a screen image alone.
The aim is not to add unnecessary steps. It is to identify the choices that change the final result before work begins. If a requirement is unknown, flag it for confirmation rather than guessing; that keeps the approval process focused on the design, material and use that apply to this particular project. Save the approved brief with the project files for future reorders or revisions.
Confirm the finished use
State the item, placement and finished width and height. A chest logo, cap front and jacket back do not use the same sewing area, even when they start from the same artwork.
Protect the smallest details
Review small lettering, narrow gaps, thin outlines and tiny colour changes at the final size. Simplifying a fragile detail before digitizing is often more reliable than trying to force it into a small sew-out.
Match the file to the machine
Tell the production team the embroidery machine or format required, along with the fabric or garment type. This lets them prepare the right export and make choices that suit the material rather than treating every job alike.
Quick questions to check before you proceed
What should I send with my artwork?
Send the clearest original available, the finished dimensions, placement, fabric or garment type and the required machine format if you know it.
Can the same file be used at every size?
Not always. Scaling changes the relationship between stitch length, detail and fabric, so a design may need review when the finished size or placement changes.
What should I check before production?
Confirm the spelling, colours, final size, placement and any details that must remain readable. A proof or sample is the best point to catch a change.