
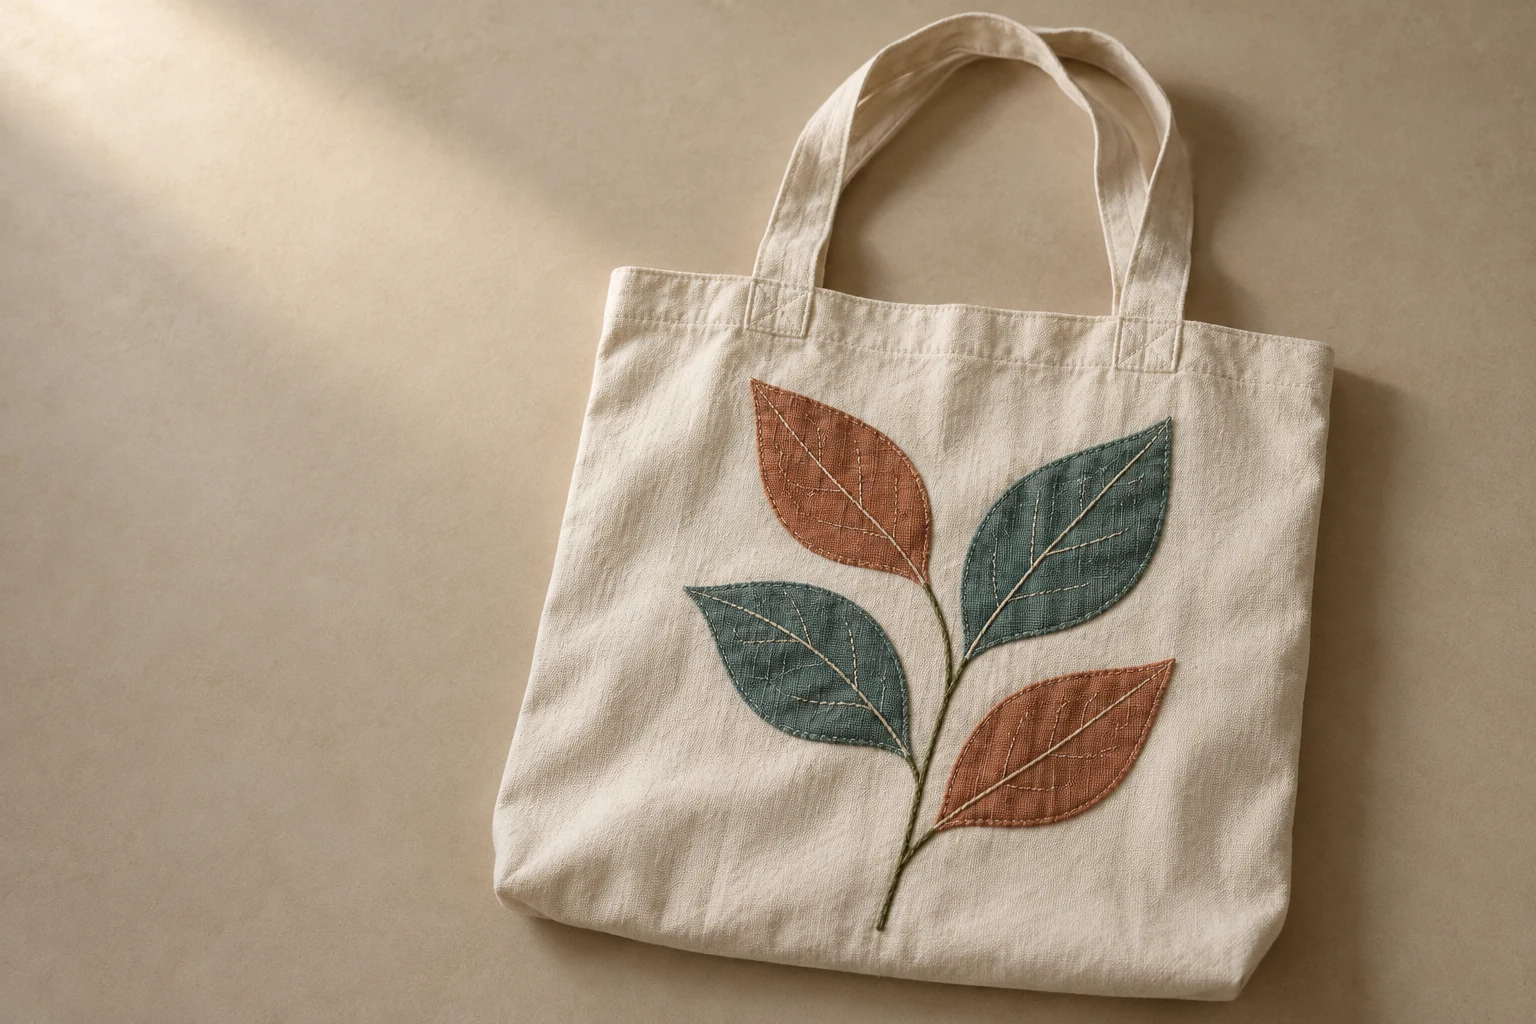
Cover image: AI-generated editorial concept; not a customer project or production proof.
Appliqué embroidery attaches shaped pieces of fabric to a base fabric with stitches. The added fabric supplies color and texture, while stitching secures the edges and can add decorative detail. You can make appliqué by hand, with a sewing machine, or with a programmed embroidery machine.
The defining feature is the added fabric: thread-only embroidery builds its design with stitches. A project can combine both approaches. BERNINA’s machine appliqué guide explains the basic construction and several edge treatments.
Appliqué, embroidery and patches
Method | Construction and practical considerations |
|---|---|
Appliqué | Fabric shapes are stitched onto a base. Check material compatibility, placement and edge finish. |
Thread-only embroidery | Thread forms outlines, lettering and filled areas. Check detail at the finished size and support for the stitching. |
A separate patch | A badge is made separately and then attached. Check its border, backing and attachment method; a patch can itself contain appliqué. |
Appliqué can suit bold shapes, large lettering and fabric textures on bags, quilts and garments. Fabric can replace an area that would otherwise need fill stitching, but cutting, placement and trimming add work. Compare the complete process and a stitched sample before assuming appliqué will be faster or cheaper.
For a buyer, the first decision is the desired result: a design stitched directly onto the item, or a separate badge to attach later. Make that distinction clear in your brief.
Four appliqué techniques to know
Technique | How it works and what to check |
|---|---|
Raw edge | Cut edges remain unfolded. They may be covered by stitching or deliberately exposed for a frayed effect. Match the finish to the fabric and intended use. |
Turned edge | The fabric edge is turned underneath for a finished outline. Curves and corners need enough allowance for shaping. |
Fused | Fusible web bonds the shape to the base with heat. Follow its pressing instructions and requirements for stitching. |
Reverse | An opening in the upper fabric reveals another fabric beneath it. Plan the layers and cutting to protect the lower fabric. |
These terms can overlap. A fused shape may also have raw edges finished with stitching. Raw-edge work can be an intentional aesthetic choice; assess it against the intended appearance and wear.
BERNINA illustrates raw, turned and fused preparation in its machine appliqué guide. For the reverse construction, WonderFil’s reverse appliqué tutorial demonstrates fabric revealed beneath an upper layer.
What you need before you start
Prepare the materials and tools around the finished item:
Base fabric and appliqué fabric with compatible care requirements.
A simple pattern, or an appliqué embroidery file sized for your machine project.
Sharp fabric scissors and small detail scissors for controlled trimming.
Needle and thread appropriate to the materials and machine.
Stabilizer and hooping or other support suited to the base and stitching method.
Optional fusible web or a temporary positioning aid suitable for the materials.
Cotton, twill and felt are possible choices. Consider stretch, thickness, fraying, pressing limits and wash care rather than choosing by fabric name alone. Broad shapes are a useful starting point; small details need enough space for both the fabric and the edge stitching.
Test scraps of the actual materials together. Inspect the sample after removing any temporary support, and test the intended care routine when wash durability matters. BERNINA recommends testing each fabric-and-stabilizer combination in its appliqué preparation guidance.
Check adhesive instructions before stitching. Therm O Web distinguishes sewable products from no-sew adhesives and provides product-specific care guidance in its manufacturer FAQ. Do not assume every fusible product can be sewn through.
How machine appliqué works
A common trim-in-place workflow uses a placement outline, tack-down stitches, trimming and a finishing border. Pre-cut pieces require preparation before placement, and designs with several fabric pieces may repeat stages. Follow the sequence and stops supplied with your file.
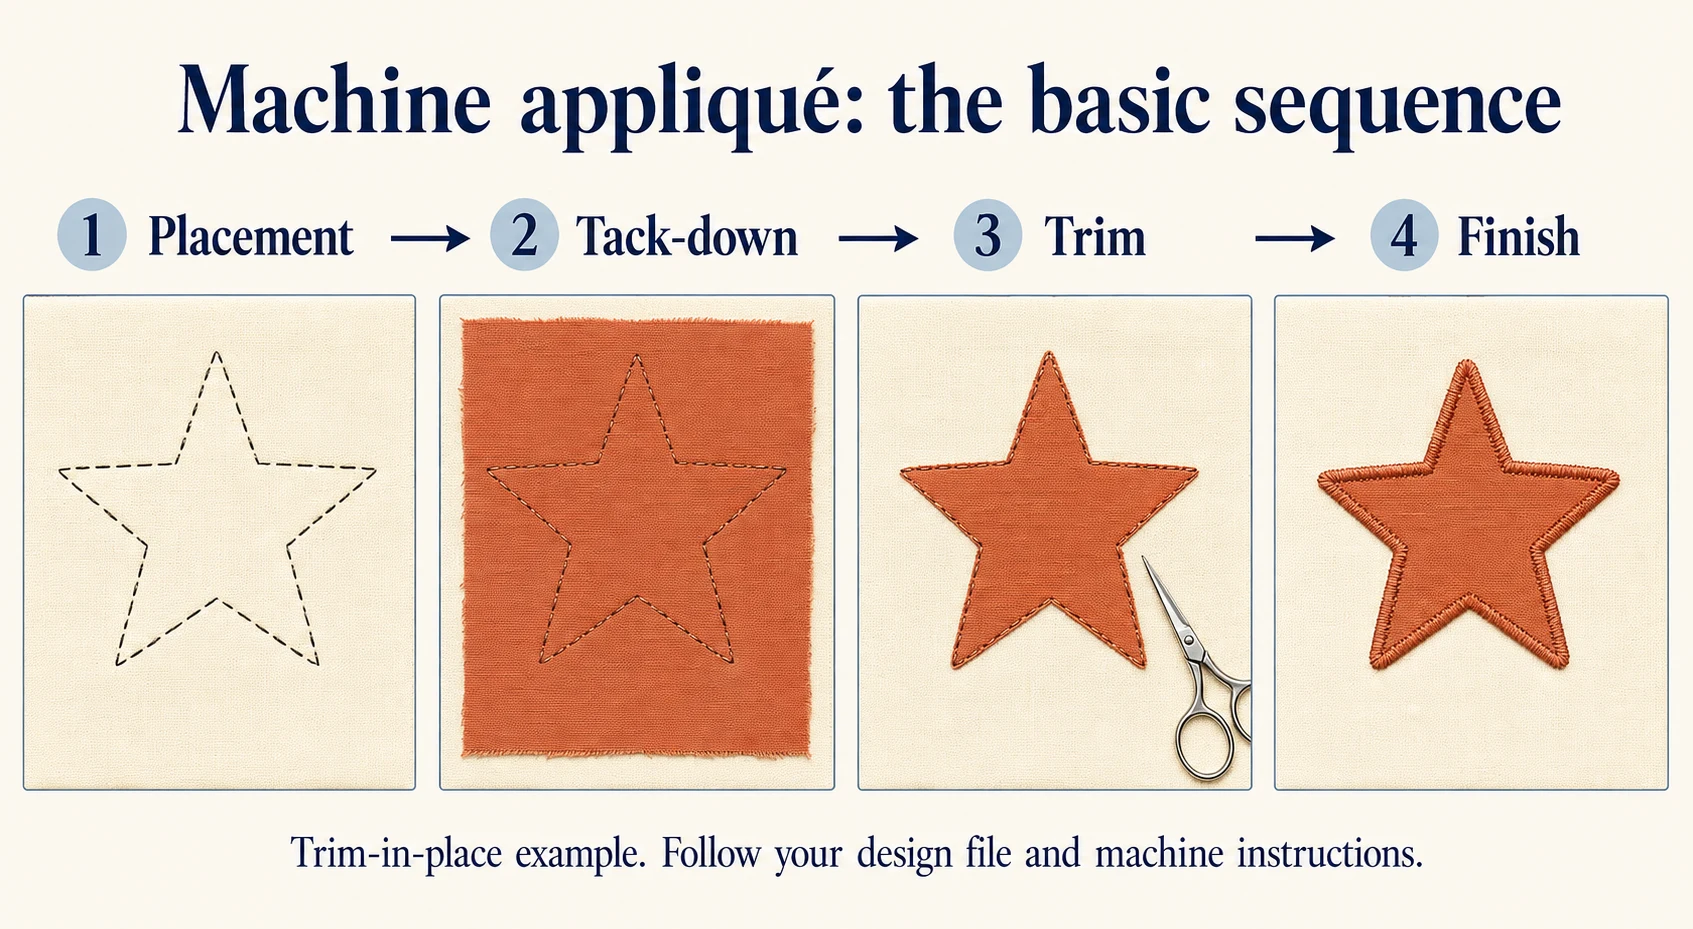
Prepare the base. Secure the fabric with suitable support without stretching it out of shape. Confirm design orientation and the machine’s available embroidery area.
Stitch the placement outline. Position the appliqué fabric over the indicated area with enough coverage for the design.
Stitch the tack-down. This holds the added fabric in place. Pause at the designated stop.
Trim when instructed. With the machine stopped, follow its instructions for access. Keep the base secured in the hoop. Trim excess appliqué fabric without cutting the securing stitches, base or stabilizer.
Finish the edge and details. Stitch the specified border, then inspect coverage and alignment before removing support as instructed.
BERNINA’s digitizing documentation for appliqué identifies placement, cutting, tack and cover stitching as configurable parts of an appliqué object. Exact sequences vary; do not assume every file contains the same stops or uses the same cutting method.
Troubleshooting: what to check first
What you see | First checks |
|---|---|
Puckering around the shape | Review fabric distortion during hooping, stabilizer choice and stitch density on a scrap sample. |
Fabric extending beyond the border | Check trimming and whether the border aligns with and covers the intended edge. |
A shifted shape | Check positioning and whether the tack-down secured the fabric before later stitching. |
Unwanted fraying after use | Review exposed edges, material choice, border coverage and care compatibility. |
Crowded small details | Consider simplifying the shape or increasing the finished size, then sample again. |
These are starting points for investigation. Change one variable at a time and compare results. There is no universal tension, density or border width for every material and machine.
When reviewing a sample, inspect both sides. Check whether the item lies as intended, the edges remain secure and the design retains the details that matter to you. A screen preview cannot show every aspect of fabric texture or the finished feel.
Where digitizing makes a difference
An appliqué embroidery file coordinates the added fabric with the stitching sequence. Its preparation needs to account for placement, securing stitches, stops and the chosen border. A standard fill-embroidery file should not be assumed to contain that sequence. BERNINA’s appliqué digitizing reference explains these separate stitch components.
Tell the digitizer whether you will pre-cut the pieces or trim them in place. Also provide the finished dimensions, base fabric, appliqué material, machine model and required file format. Flag small lettering or narrow details that need review.
For buyers in the US, Canada or UK, label dimensions clearly in inches or millimeters. Confirm whether the quote covers a digital stitch file, physical decoration or separate patches, and agree on the sample and revision process before committing to production.
Appliqué embroidery FAQs
Can I make appliqué without an embroidery machine?
Yes. Fabric shapes can be stitched by hand or with a suitable sewing machine. A programmed embroidery machine is one way to produce the stitching sequence.
Does appliqué need satin stitching?
No. Straight, zigzag, blanket and other stitches can create different edge effects. Select the stitch for the construction and appearance you want; see the examples in BERNINA’s machine appliqué guide.
Does fusible web replace stitching?
It depends on the product. Some adhesives are intended for sewing, while others are designed for no-sew applications. Follow the exact product’s instructions for bonding, stitching and care, as explained in Therm O Web’s FAQ.
Is appliqué the same as an iron-on patch?
No. Appliqué describes a fabric construction; iron-on describes an attachment method. A separate patch may contain appliqué, embroidery or another type of decoration.
Can appliqué be washed?
Choose a care routine compatible with the base, added fabric, thread and any adhesive. Test a sample under the intended washing conditions instead of assuming every combination behaves alike.
Have artwork for an appliqué project?
Share your artwork, finished dimensions, materials, machine details and required file format. Explain whether you plan to pre-cut or trim in place, identify the preferred edge treatment, and flag details you want to preserve.
Explore DigitEMB’s embroidery digitizing services or request a quote to discuss the file preparation your project needs.
Practical details for What Is Appliqué Embroidery?
Use the article above as a starting point, then make the production brief specific to your own design. A stitch file is made for a finished size and material, so the artwork alone is only part of the instruction.
Work through these points in order and keep the answers with the artwork or production request. A short written brief makes it easier to compare a proof with the intended result, ask a useful follow-up question and avoid relying on assumptions made from a screen image alone.
The aim is not to add unnecessary steps. It is to identify the choices that change the final result before work begins. If a requirement is unknown, flag it for confirmation rather than guessing; that keeps the approval process focused on the design, material and use that apply to this particular project. Save the approved brief with the project files for future reorders or revisions.
Confirm the finished use
State the item, placement and finished width and height. A chest logo, cap front and jacket back do not use the same sewing area, even when they start from the same artwork.
Protect the smallest details
Review small lettering, narrow gaps, thin outlines and tiny colour changes at the final size. Simplifying a fragile detail before digitizing is often more reliable than trying to force it into a small sew-out.
Match the file to the machine
Tell the production team the embroidery machine or format required, along with the fabric or garment type. This lets them prepare the right export and make choices that suit the material rather than treating every job alike.
Quick questions to check before you proceed
What should I send with my artwork?
Send the clearest original available, the finished dimensions, placement, fabric or garment type and the required machine format if you know it.
Can the same file be used at every size?
Not always. Scaling changes the relationship between stitch length, detail and fabric, so a design may need review when the finished size or placement changes.
What should I check before production?
Confirm the spelling, colours, final size, placement and any details that must remain readable. A proof or sample is the best point to catch a change.