
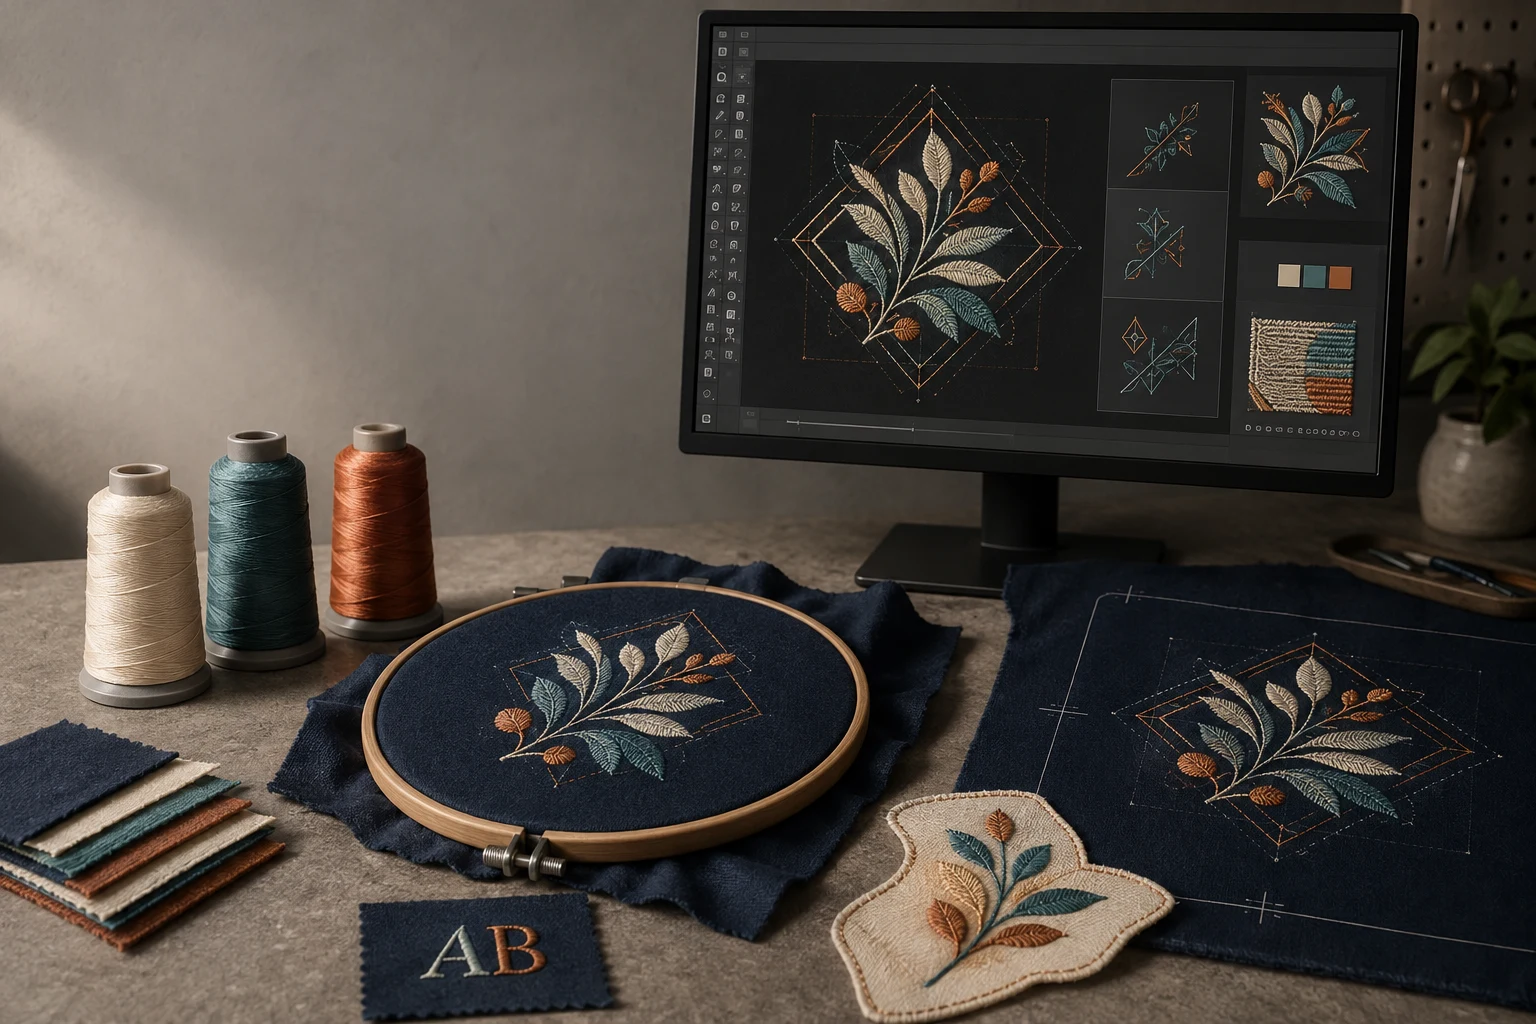
Cover image: AI-generated editorial concept; not a customer project or production proof.
Wilcom EmbroideryStudio’s useful features include auto-digitizing, stitch editing, lettering and monogramming, object properties, pathing, appliqué, design splitting and the Design Library. Together, they help digitizers convert artwork, refine embroidery and prepare files for production. The practical skill is knowing which tool suits each problem—and checking the result with a physical sew-out.
This guide explains all eight features for beginners, working digitizers and buyers commissioning embroidery in the US, Canada and UK. Tool availability and menu names depend on your software version, product level and optional features; confirm the tools you need with Wilcom’s product information.
1. Auto-digitizing: create a starting design from artwork
EmbroideryStudio offers automatic and semi-automatic tools for suitably prepared artwork. Its Smart Design feature converts bitmap images into embroidery objects. This can provide a starting point for simple artwork with clearly separated shapes. See Wilcom’s automatic digitizing documentation.
Start with clean artwork at the intended embroidery size. After conversion, inspect the generated shapes, stitch types and stitching order. Pay particular attention to small lettering and details that may need simplifying.
Auto-digitizing still requires judgment. Wilcom explains that generated designs may need editing or complete redigitizing for production. Treat the conversion as something to evaluate, then test it on the intended material. Wilcom’s explanation of auto-digitizing describes these limitations.
2. Stitch editing: correct individual needle positions
Stitch editing lets you select individual stitches and move their needlepoints. EmbroideryStudio also provides tools for removing small stitches. These controls are useful when a localized problem needs attention. Wilcom’s stitch editing guide explains the available operations.
For example, inspect an awkward stitch at a corner and decide whether its needle position needs adjusting. If an entire filled area needs a different density or underlay, work with the object’s properties instead of trying to fix every stitch separately.
Keep a separate revision before detailed edits. This makes it easier to compare the changed design with the previous version during sampling.
3. Lettering and monogramming: control text and initials
EmbroideryStudio’s lettering tools support font selection, baselines, size and spacing adjustments. Its monogram options include a dedicated feature and special monogram fonts. See Wilcom’s guides to creating lettering and adding monogram lettering.
A useful technique is to review the space between individual letter pairs after setting the overall text size. Wilcom allows selected letters to move along the baseline, helping correct visually uneven spacing. Its letter-spacing instructions show how this works.
For names, initials and uniform text, confirm spelling, capitalization and final dimensions before digitizing. Judge readability at the actual sewn size, including a sample on the intended fabric. Enlarging the on-screen preview can hide how small the finished letters will be.
4. Object properties: adjust how each shape stitches
An embroidery object holds settings that control its appearance and stitching behavior. These include stitch type, density, underlay and pull compensation. EmbroideryStudio also offers fabric settings that adjust key properties for different materials. Wilcom’s object properties guide explains this relationship.
Use object properties when a whole design element needs changing. The available controls depend on the selected object and stitch type.
Control | Practical purpose |
|---|---|
Stitch type | Choose the stitching structure appropriate to the shape and intended appearance. |
Density or spacing | Adjust coverage within the selected area. |
Underlay | Set supporting stitches beneath the visible embroidery. |
Pull compensation | Adjust for the way stitching affects the shape’s sewn width. |
Treat fabric presets as starting values. Different parts of a design may need different settings: a large area and a fine detail should not automatically receive identical treatment. Wilcom provides examples of customized object properties for this reason.
5. Pathing: plan the stitching sequence and connections
Pathing means planning the route through a design: which object stitches first, where it starts and ends, and how stitching moves to the next object. EmbroideryStudio lets you adjust object sequence, including through the Color-Object List. Wilcom also advises checking entry and exit points when resequencing. See its sequencing documentation.
Review the order before focusing on small stitch corrections. Check whether background elements sew before the details that cover them, and whether nearby objects can connect more efficiently.
Reducing color changes is useful only when the revised order still produces the intended layering. Grouping objects alone does not prove that their connections are suitable. Inspect the route and test the sewn result before accepting the change.
6. Appliqué: combine fabric pieces with embroidery
Appliqué uses a fabric piece as part of the design. EmbroideryStudio can generate up to four stitching layers: guide runs, cutting lines, tack stitches and cover stitches. Each layer can be adjusted through Object Properties. Wilcom’s appliqué settings guide explains these controls and the stops between layers.
Plan the production method before digitizing. A precut fabric piece and a piece trimmed in the hoop involve different handling. Confirm which guide, tack and cover stages the operator needs, and check how the machine handles the required stops.
When considering appliqué for a large area, assess fabric placement and trimming alongside stitch count. A lower stitch count alone does not establish how long the complete job will take. Sample the edge coverage and placement before committing to production.
7. Design splitting: prepare artwork for multiple hoopings
A design larger than the available sewing field may need more than one hooping. EmbroideryStudio provides manual and automatic multi-hooping tools, including hoop layouts, splitting lines and hooping previews. Wilcom notes that automatic layout works best with simple designs. See its automatic multi-hooping guide.
Choose the actual hoop and review the stitching sequence before calculating hoopings. Inspect where objects divide and how consecutive sections will align.
Splitting a design does not guarantee an invisible join. Wilcom describes production worksheets, registration marks and hoop templates as positioning aids, and notes that accurate re-hooping takes practice. For a large jacket-back design or decorative panel, allow time to sample the full alignment process. See Wilcom’s multi-hooping overview.
8. Design Library: find and organize embroidery files
The Design Library lets you browse relevant folders, search and filter designs, inspect design information and perform file-management tasks within EmbroideryStudio. Wilcom’s Design Library guide describes these functions.
Use a consistent naming convention that identifies the design, size, intended item and revision. For example, geometric-emblem_polo_90mm_v03 is easier to distinguish from a cap version than a name such as final-new.
Keep tested production versions clearly identified. The library is a virtual view of selected folders; adding or removing a library location does not change the underlying folder structure. It should therefore be used alongside a separate backup routine. See Wilcom’s explanation of library locations.
Put the features to work in a practical order
Begin with the artwork, finished dimensions and intended fabric. Create or convert the design, refine object settings and lettering, then review the stitching route. Use individual stitch editing for localized corrections. If needed, prepare appliqué stages or multiple hoopings before sampling. Finally, organize the tested revision so it can be retrieved for repeat work.
If you are commissioning DigitEMB embroidery digitizing services, provide the same production information that a digitizer needs when working in the software:
Artwork and exact wording, including initials or names.
Finished width and height, with units clearly stated; for example, 3.5 inches is 88.9 mm.
Garment or fabric type and intended embroidery placement.
Machine model, required file format and available sewing field.
Thread color references and any appliqué or re-hooping requirements.
For buyers in the US, Canada and UK, clear units help avoid sizing misunderstandings between teams. Agree on who will run the sample sew-out and how changes will be communicated before production begins.
Frequently asked questions
Can Wilcom turn a JPG into embroidery automatically?
Smart Design can convert bitmap artwork into embroidery, but the result still needs inspection. Complex shapes, small details and lettering may require manual editing or redigitizing, as Wilcom explains.
Should I edit stitches or object properties?
Use stitch editing for a localized needlepoint correction. Use object properties when changing the behavior of a whole shape, such as its density or underlay. The relevant controls are described in Wilcom’s stitch editing and object properties guides.
Can I embroider a design larger than my hoop?
Multi-hooping can divide a suitable design into separate sewing stages. You still need a workable alignment process and a sample to check the joins. Wilcom’s multi-hooping documentation explains the positioning challenges.
Are all eight features included in every Wilcom package?
Do not assume that every product level or older release includes the same tools. Check your exact version, package and optional features against Wilcom’s product information before purchasing software for a particular task.
Practical details for 8 Useful Wilcom Embroidery Software Features and How to Use Them
Use the article above as a starting point, then make the production brief specific to your own design. A stitch file is made for a finished size and material, so the artwork alone is only part of the instruction.
Work through these points in order and keep the answers with the artwork or production request. A short written brief makes it easier to compare a proof with the intended result, ask a useful follow-up question and avoid relying on assumptions made from a screen image alone.
The aim is not to add unnecessary steps. It is to identify the choices that change the final result before work begins. If a requirement is unknown, flag it for confirmation rather than guessing; that keeps the approval process focused on the design, material and use that apply to this particular project. Save the approved brief with the project files for future reorders or revisions.
Confirm the finished use
State the item, placement and finished width and height. A chest logo, cap front and jacket back do not use the same sewing area, even when they start from the same artwork.
Protect the smallest details
Review small lettering, narrow gaps, thin outlines and tiny colour changes at the final size. Simplifying a fragile detail before digitizing is often more reliable than trying to force it into a small sew-out.
Match the file to the machine
Tell the production team the embroidery machine or format required, along with the fabric or garment type. This lets them prepare the right export and make choices that suit the material rather than treating every job alike.
Quick questions to check before you proceed
What should I send with my artwork?
Send the clearest original available, the finished dimensions, placement, fabric or garment type and the required machine format if you know it.
Can the same file be used at every size?
Not always. Scaling changes the relationship between stitch length, detail and fabric, so a design may need review when the finished size or placement changes.
What should I check before production?
Confirm the spelling, colours, final size, placement and any details that must remain readable. A proof or sample is the best point to catch a change.