
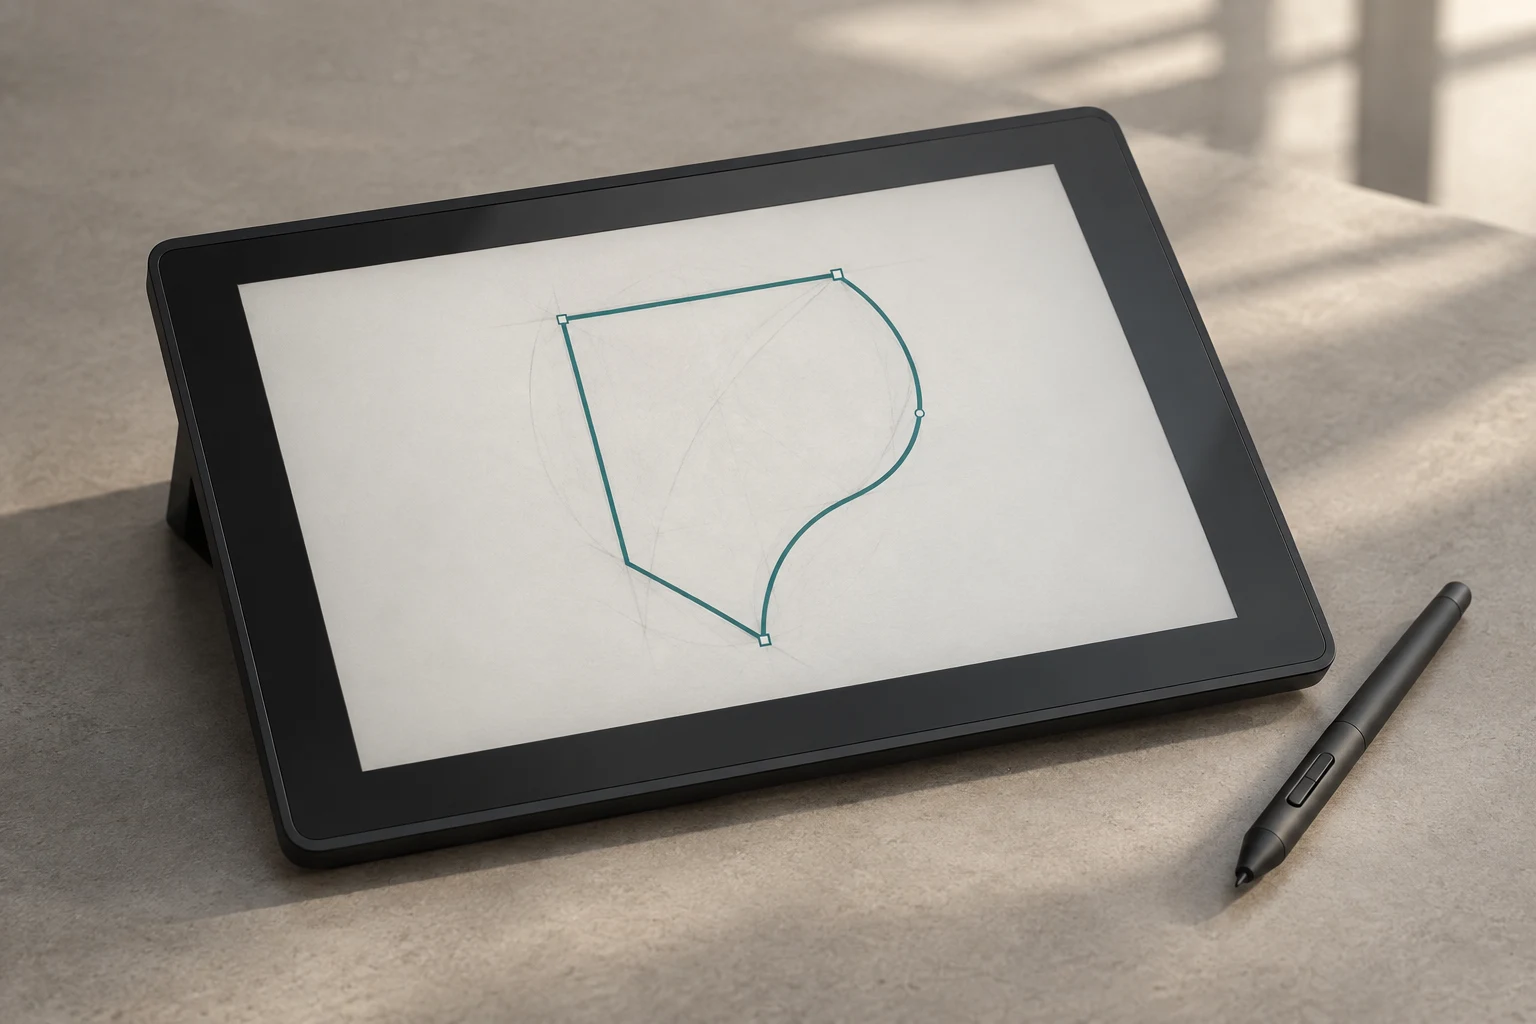
Cover image: AI-generated editorial concept; not a customer project or production proof.
To trace artwork with Illustrator’s Pen tool, place anchor points along its outline: click for straight segments, drag for curves, then close and refine the path. You create editable vector shapes by drawing over the reference. Adobe demonstrates these core actions in its Pen tool tutorial.
This guide covers the controls behind manual vector conversion for DIY artwork, lettering and screen-print graphics. Practice straight edges, curved sections and anchor editing before tackling a detailed design.
What does the Pen tool do?
The Pen tool draws connected paths using anchor points and direction handles. Anchors establish the path’s structure; handles control how curved segments approach and leave them. This gives you control over individual edges when rebuilding artwork. See Adobe’s Illustrator tool overview.
Use these default shortcuts in Illustrator on desktop. Custom keyboard settings may differ.
Tool | Default shortcut on Windows and macOS |
|---|---|
Pen | P |
Direct Selection | A |
Anchor Point | Shift + C |
Add Anchor Point | + |
Delete Anchor Point | − |
The Pen shortcut is P. Ctrl + P opens Print on Windows. These assignments are documented in Adobe’s keyboard shortcut reference.
Prepare a simple tracing exercise
Start with an uncomplicated reference containing both corners and curves. A simple leaf or an original badge outline is a useful exercise. Keep the reference separate from your new paths so you can inspect the drawing independently.
Before drawing, set Fill to None and choose a visible stroke. This keeps the outline easy to see while you work. A thin practice stroke is a viewing aid; it is not a screen-print production specification. Adobe uses this setup in its introductory Pen lesson.
Draw straight lines and close a path
Select the Pen tool (P).
Click and release where the first segment should begin. Avoid dragging.
Click and release at the next corner. The segment becomes visible after the second point.
Continue placing points at changes in direction.
To close the outline, move over the first anchor. When a small circle appears beside the pointer, click it.
For an open path, choose Select > Deselect when finished. Adobe documents both closing and ending paths in its straight-segment instructions.
Holding Shift constrains drawing to 45-degree increments, which helps with horizontal, vertical and diagonal edges. Straight segments do not otherwise require Shift. See Adobe’s drawing shortcuts.
Closing a path does not automatically give it a black fill. Set the intended fill and stroke explicitly.
Draw curves with direction handles
Position the Pen tool where the curve should begin.
Press and drag to establish the first anchor’s direction handles, then release.
Move to the next anchor location and drag again, watching the segment form.
Continue placing and dragging points along the outline.
Handle direction affects the curve’s slope. For a practice C-shaped curve, Adobe instructs you to drag the second point in the opposite direction to the first drag; for an S-shaped curve, drag in the same direction. See Adobe’s curve-drawing instructions.
As an editing habit, try adjusting existing handles before adding more anchors. Aim for the intended silhouette rather than reproducing every irregular pixel along a blurry reference edge.
Change from a curve to a straight edge
While drawing, click back on the last anchor to remove its outgoing direction handle, then click the next location to draw the straight segment. To create a sharp change between curves, hold Alt on Windows or Option on macOS while dragging a handle to adjust its direction independently. Adobe demonstrates these transitions in its Pen tool lesson.
Refine corners and smooth points
Use Direct Selection (A) to select an individual anchor for editing. This lets you work on a particular part of the outline. See Adobe’s anchor selection guidance.
Use the Anchor Point tool (Shift + C) when the point needs a different behavior:
Drag from a corner anchor to create handles and make a smooth point.
Click a smooth anchor to remove its direction lines and create a corner.
Adjust a handle independently when only one side should change direction.
These operations are covered in Adobe’s anchor conversion guide. After an adjustment, inspect both adjoining segments; improving one side can change the other.
Add and remove anchor points
To add a point, select Add Anchor Point (+) and click a segment between existing anchors. To remove one, select Delete Anchor Point (−) and click the unwanted anchor. Adobe also documents using the Pen tool for these operations in its add and remove anchor instructions.
Add a point when you need local control that the existing anchors cannot provide. Remove unnecessary points one at a time, checking the silhouette after each edit. Undo any removal that distorts an intentional corner or curve.
Apply the skills to artwork for printing
Practice on one outline first, then repeat the process for the other shapes. For lettering available only as an image, pay particular attention to corners, rounded strokes and the spaces inside letters. Keep a clear reference visible so uncertain details can be reviewed rather than guessed.
Before handing off the artwork, inspect it with the reference hidden and at the intended output size. Look for unintended bumps, gaps and details that have become difficult to read.
For a screen-print order in the US, Canada or UK, state the finished width and height with explicit units— inches or millimeters—and include the intended garment or surface. Ask the printer which file format, color setup and separation work it requires. A completed trace is only one part of preparing the job.
If you need help rebuilding the artwork, review DigitEMB’s raster-to-vector services and supply the clearest original, desired dimensions and intended use.
Frequently asked questions
Why do I see only one point instead of a line?
A straight segment appears after you place the second anchor. Click another location without dragging. This behavior is explained in Adobe’s straight-line guide.
How do I stop drawing without closing the path?
Press Esc, or use Select > Deselect. The path remains open. Adobe demonstrates Escape in its Pen tool tutorial.
Why does my curve have an unwanted sharp corner?
Check the anchor where the direction changes. It may need conversion to a smooth point or adjustment of its handles. Use the Anchor Point tool and inspect the adjoining segments, following Adobe’s conversion guidance.
Practical details for How to Use the Pen Tool for Vector Conversion in Adobe Illustrator
Vector artwork is built from editable paths rather than a fixed grid of pixels. The clearest result starts with a specific intended use, because a file prepared for print, cutting and embroidery may need different checks.
Work through these points in order and keep the answers with the artwork or production request. A short written brief makes it easier to compare a proof with the intended result, ask a useful follow-up question and avoid relying on assumptions made from a screen image alone.
The aim is not to add unnecessary steps. It is to identify the choices that change the final result before work begins. If a requirement is unknown, flag it for confirmation rather than guessing; that keeps the approval process focused on the design, material and use that apply to this particular project. Save the approved brief with the project files for future reorders or revisions.
Start with the best source
Provide the largest, clearest original you have and include any brand colours, fonts or reference files. A small or blurry image can still be traced, but missing edges and lettering need careful confirmation.
Define the final use
Say whether the artwork is for print, cutting, screen printing, embroidery reference or a digital asset. This tells the artist which details, colour separations and file formats matter most.
Review paths, text and colour
Before using the finished file, check that lettering is correct, shapes are closed where required and colours match the approved artwork. Keep a master editable file as well as the delivery format used by production.
Quick questions to check before you proceed
Is a vector file the same as an embroidery file?
No. A vector is editable artwork; an embroidery file contains stitch instructions. Vector art can be useful source material for digitizing, but it still needs to be digitized for machine embroidery.
Can a blurry logo be converted?
Often, yes, but the result depends on what can be verified. Supply a clearer reference, font name or brand guide whenever possible.
Which details need approval?
Check spelling, line weight, enclosed spaces, colour choices and the shape of any logo elements before the file goes to print or production.