
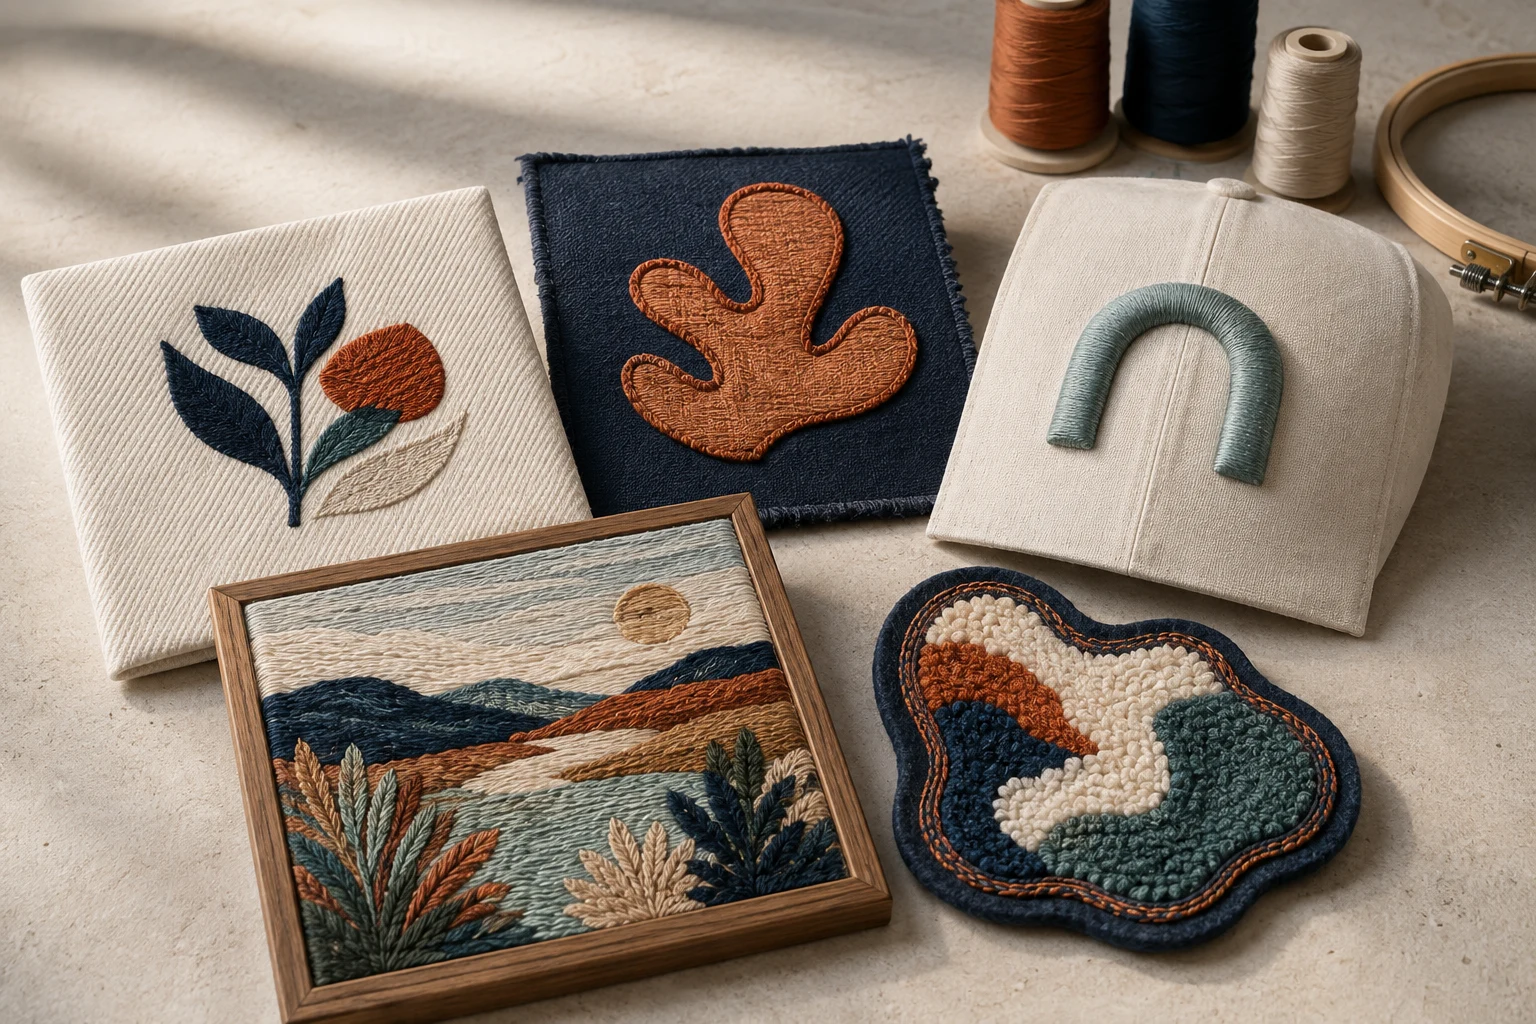
Cover image: AI-generated editorial concept; not a customer project or production proof.
The five embroidery digitizing approaches covered here are flat embroidery, appliqué, 3D puff, photo embroidery and chenille. Flat embroidery creates a conventional stitched surface; appliqué incorporates fabric pieces; puff adds foam-supported height; photo embroidery interprets image shading in thread; and chenille creates a soft, looped texture using specialized equipment.
These categories describe different finishes and production approaches, and they can overlap within one design. Choosing between them starts with the appearance you want, the material being decorated and the equipment your embroiderer can use.
What does embroidery digitizing involve?
Digitizing turns artwork into instructions for stitching. A digitizer defines shapes, selects stitches and arranges how the design will sew. An image provides the visual reference, but it still needs to become embroidery data. Even automatic tools generate stitches according to settings that may require adjustment. Hatch’s automatic digitizing documentation explains this process.
Embroidery approaches also differ from individual stitch types. Running, satin and tatami stitches are building blocks: running stitches trace lines, satin stitches cover narrow shapes, and tatami fills cover larger areas. One design can combine them. See Hatch’s stitch glossary and fill guidance.
Compare the five approaches
Approach | What to consider |
|---|---|
Flat embroidery | A conventional thread finish for lettering and graphics; the design still needs settings suited to its size and fabric. |
Appliqué | Fabric pieces form parts of the design; plan their placement, attachment and edge finishing. |
3D puff | Foam beneath the stitches creates raised areas; use a design prepared specifically for foam. |
Photo embroidery | Thread colors and stitch patterns interpret image shading; assess the subject, detail and finished size. |
Chenille | Loop and chain stitches create a plush surface; confirm access to suitable chenille equipment. |
Flat embroidery digitizing
Flat embroidery creates a conventional stitched design without the added foam used for puff embroidery. “Flat” describes the finish, so it does not mean the decorated item must be completely flat.
A typical design might use satin for lettering, tatami for broad color areas and running stitches for fine outlines. These choices help translate the artwork into stitchable shapes. Hatch’s glossary explains the functions of these stitches.
For a shirt, bag or jacket project, share the actual fabric and finished dimensions before digitizing begins. Fabric affects the supporting stitches beneath the visible design: Hatch notes that larger areas and stretchy fabrics generally need more underlay than smaller areas and firm fabrics. Hatch’s underlay guidance.
Buyer takeaway: Start by discussing flat embroidery when you want conventional stitched lettering or graphics. Ask which details will remain readable at the intended size, and request a sample on representative material.
Appliqué embroidery digitizing
Appliqué attaches shaped pieces of fabric to a base material. The added fabric supplies part of the design’s color, pattern or texture, while stitches secure and finish it.
The embroidery file must account for that construction. Depending on the method, it can include placement lines, cutting guides, tackdown stitches and cover stitches. Hatch supports up to four such stitch layers and provides patterns for cutting the fabric pieces. Hatch’s appliqué documentation.
Consider appliqué for a large letter, a decorative shape on a bag or a fabric motif on a home décor item. These are project ideas; the appropriate construction depends on the chosen materials.
Buyer takeaway: Specify the appliqué fabric as well as the base fabric. Agree whether pieces will be precut or trimmed during sewing, and ask for placement instructions with the file.
3D puff embroidery digitizing
Puff embroidery uses foam beneath the stitching to create a raised surface. Madeira describes the foam as sitting between the fabric and satin stitches, and identifies stable woven materials such as twill, denim and canvas as suitable applications. Madeira’s foam guide.
A puff design requires digitizing for that construction. Adding foam beneath an existing flat design is not a reliable conversion method: Madeira explicitly calls for files prepared for 3D embroidery. Madeira’s raised embroidery guidance.
For a cap emblem or raised lettering, mark the exact areas you want elevated. The digitizer and embroiderer can then assess the shapes, coverage and material together.
Buyer takeaway: Supply a reference for the desired height and finish, identify the raised areas, and request a physical sample before approving production.
Photo and image embroidery digitizing
Photo embroidery interprets a photograph through thread colors and stitch patterns. It can suggest shading and detail, but the result is a textile interpretation whose appearance depends on the image and embroidery settings.
Brother’s Photo Stitch documentation allows adjustment of thread colors, detail, stitch length, brightness and contrast. It also explains that finer detail increases stitch count and warns against photographs with a small or dark subject. Brother’s Photo Stitch parameters.
A pet portrait, landscape or commemorative image could suit this approach. Begin with a clearly visible main subject and discuss the finished dimensions before deciding how much detail to retain.
“Image digitizing” can also mean converting an ordinary logo or illustration into conventional embroidery. Clarify whether you want photographic shading or simplified shapes.
Buyer takeaway: Ask to review both the embroidery preview and a stitched sample. Confirm which background details can be removed and which features must remain recognizable.
Chenille embroidery digitizing
True chenille embroidery uses specialized equipment to create loop and chain stitches. Tajima describes loops formed by a crochet hook pulling up the thread, producing a soft, raised texture. Its chenille range includes machines paired with regular embroidery heads for combined work. Tajima’s chenille machine overview.
This is an equipment-dependent process. A standard embroidery machine does not gain chenille capability simply by receiving a different stitch file.
For a varsity-style letter, patch or decorative textile, discuss which areas should have the plush finish and whether conventional embroidery will supply additional details.
Buyer takeaway: Confirm chenille production capability before ordering the file. Also establish whether you need a digitized design, a finished patch or a patch attached to a garment.
How to brief your digitizer
For buyers in the US, Canada and UK, a clear specification helps everyone work from the same requirements. Include:
Artwork and a reference for the desired finish.
Final width and height, with units clearly stated—for example, 3 inches wide equals 76.2 mm.
Garment or product type, fabric and decoration position.
Machine model, available embroidery area and the file format requested by your embroiderer.
Thread color references and any fabric or foam components.
Whether you need a stitch file, finished decoration or both.
Ask your embroiderer to test the design on representative material before a production run. Use that sample to judge lettering, coverage, alignment, texture and the feel of the decorated fabric.
You can use DigitEMB’s embroidery digitizing service page to discuss your artwork and production requirements.
Frequently asked questions
Are satin and fill separate types of digitizing?
They are stitch types used within a design. A flat embroidery design, for example, can combine satin, tatami fill and running stitches. Hatch’s stitch glossary.
Is automatic digitizing another embroidery finish?
Automatic digitizing describes how software generates embroidery from artwork. The generated shapes and stitch settings can still be edited; it is a workflow rather than a distinct surface finish. Hatch’s automatic digitizing guide.
Can one design combine flat and puff embroidery?
Yes. Madeira’s instructions describe completing the flat portion, stopping to add foam, and then stitching the raised portion. The sequence needs to be planned into the design. Madeira’s puff foam instructions.
Which approach should I choose first?
Choose the finish first: conventional stitching, added fabric, foam-supported height, photographic shading or plush loops. Then have your digitizer and embroiderer confirm that the artwork, dimensions, material and equipment suit that choice.
Practical details for Types of Embroidery Digitizing for Machine Embroidery
Use the article above as a starting point, then make the production brief specific to your own design. A stitch file is made for a finished size and material, so the artwork alone is only part of the instruction.
Work through these points in order and keep the answers with the artwork or production request. A short written brief makes it easier to compare a proof with the intended result, ask a useful follow-up question and avoid relying on assumptions made from a screen image alone.
The aim is not to add unnecessary steps. It is to identify the choices that change the final result before work begins. If a requirement is unknown, flag it for confirmation rather than guessing; that keeps the approval process focused on the design, material and use that apply to this particular project. Save the approved brief with the project files for future reorders or revisions.
Confirm the finished use
State the item, placement and finished width and height. A chest logo, cap front and jacket back do not use the same sewing area, even when they start from the same artwork.
Protect the smallest details
Review small lettering, narrow gaps, thin outlines and tiny colour changes at the final size. Simplifying a fragile detail before digitizing is often more reliable than trying to force it into a small sew-out.
Match the file to the machine
Tell the production team the embroidery machine or format required, along with the fabric or garment type. This lets them prepare the right export and make choices that suit the material rather than treating every job alike.
Quick questions to check before you proceed
What should I send with my artwork?
Send the clearest original available, the finished dimensions, placement, fabric or garment type and the required machine format if you know it.
Can the same file be used at every size?
Not always. Scaling changes the relationship between stitch length, detail and fabric, so a design may need review when the finished size or placement changes.
What should I check before production?
Confirm the spelling, colours, final size, placement and any details that must remain readable. A proof or sample is the best point to catch a change.