
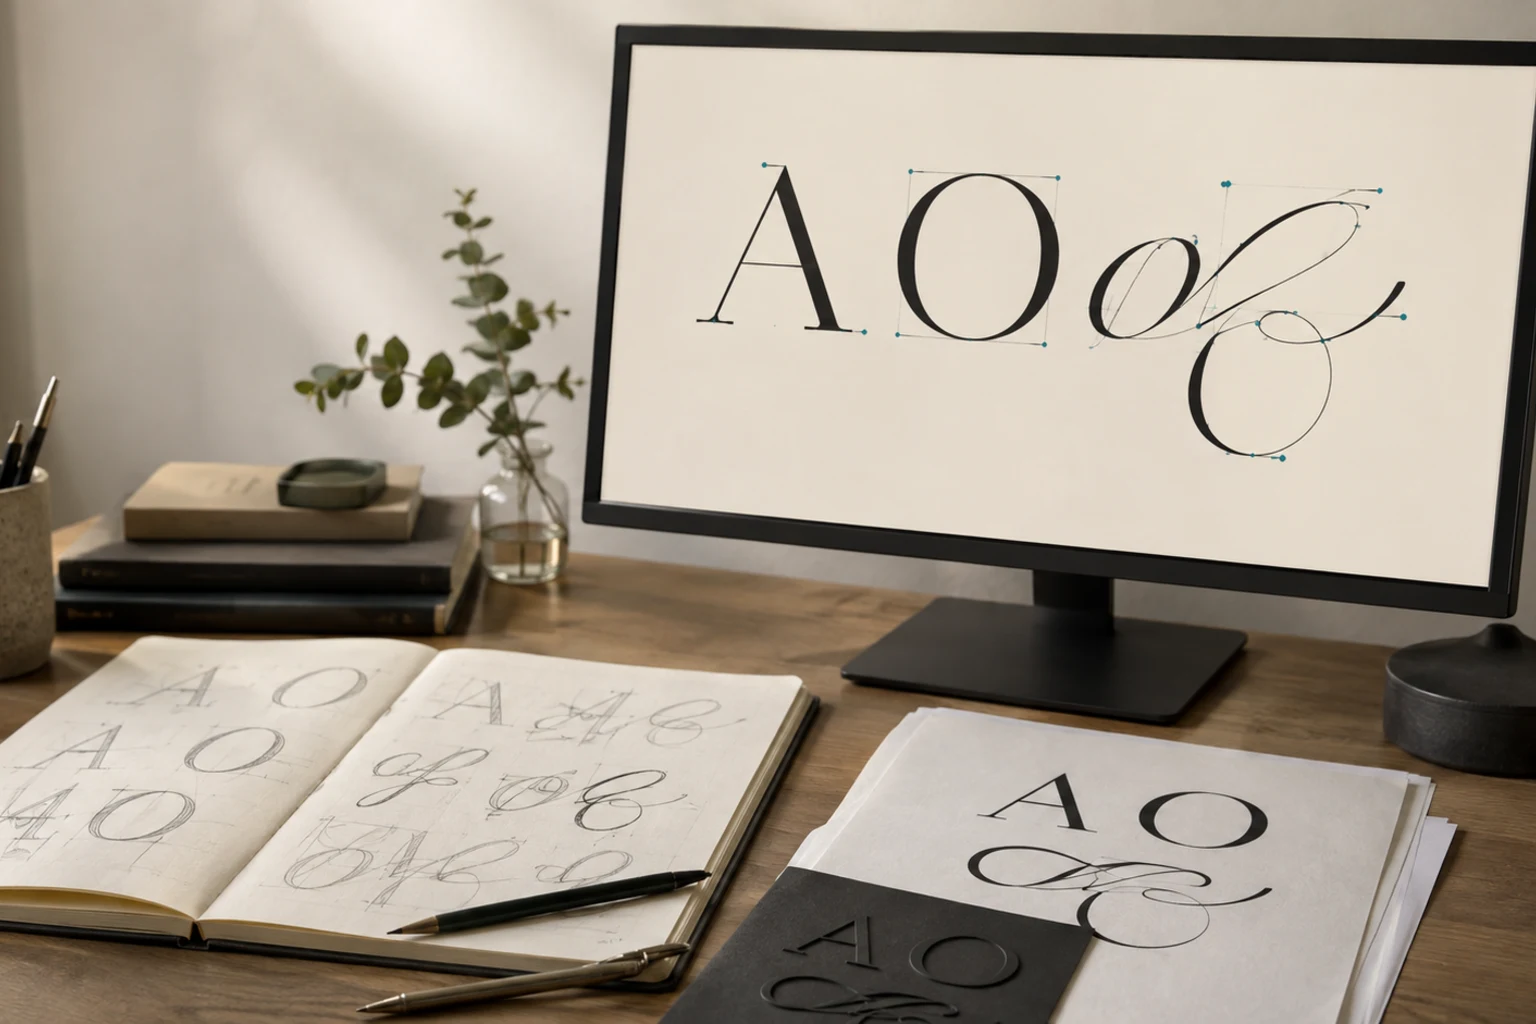
Cover image: AI-generated editorial concept; not a customer project or production proof.
To turn editable text into vector shapes in Adobe Illustrator, select the text and choose Type > Create Outlines. If the lettering exists only in a scan, photograph or image, redraw its contours as paths. The right method depends on your starting artwork. Adobe identifies Create Outlines as the command for converting type into a vector shape. Adobe artwork essentials.
This guide covers typed text, script lettering and handwriting for logos, screen printing and DIY artwork. Keep an editable original before converting anything, and ask your supplier which file format they need.
Choose the method that matches your text
Starting artwork | Suitable method |
|---|---|
Editable typed text with the correct font available | Use Create Outlines. |
Editable script text | Use Create Outlines; inspect the letter connections afterward. |
Script lettering available only as an image | Trace its contours with the Pen tool. |
Handwritten lettering on paper | Scan or photograph it clearly, then trace the letter shapes. |
A script font does not require manual tracing simply because it has curves or flourishes. If it remains editable text, the outlining workflow applies. Manual tracing is useful when the shapes must be reconstructed from an image.
1. Convert typed text to outlines
Complete spelling, capitalization, spacing and font choices first. Save a separate editable master so future wording changes remain straightforward.
Select the text object with the Selection tool.
Choose Type > Create Outlines.
Inspect the resulting letter shapes, particularly small punctuation and enclosed spaces.
Save the outlined version under a separate filename.
The letters become shapes that you can reshape as artwork. Keep the original text version for normal typing and font changes. Outlining is useful when a supplier requests shapes, but confirm their requirements before applying it throughout a document. Adobe’s text outlining explanation.
If the font already looks wrong when you open the file, resolve that before outlining. Converting the visible lettering into shapes will preserve the wrong appearance too.
2. Trace script lettering from an image
Use this workflow when the script exists only in a flattened image or needs custom reconstruction. Request the clearest available reference before starting; unclear edges leave you guessing about the intended letterform.
Place the reference in your Illustrator document. Keep it on a locked layer and draw on a separate layer above it.
Select the Pen tool, or press P.
Follow the outer contour of each letter. Click for corners and drag to create handles for curves.
Adjust the curves to preserve the lettering’s thick strokes, thin joins and flourishes.
Close each contour by clicking its first anchor point.
Adobe’s Pen tool guide explains anchor points, curve handles and closing paths.
Work around the visible edges of thick lettering rather than drawing only a line through its center. Use enough points to describe the shape cleanly, then compare the result with the reference at the intended output size.
Preserve the spaces inside letters
Letters such as O, P and B need transparent interior spaces, often called counters. Draw the interior contour as well as the exterior contour, select them and choose Object > Compound Path > Make. Inspect the result because the fill rule affects which areas become holes. Adobe compound path instructions.
Avoid covering the interior with a white shape: a transparent counter should reveal whatever background sits behind the letter.
3. Vectorize handwritten text
Start with dark handwriting on plain, light paper. Scan it, or photograph it straight on in even lighting. Check that fine strokes and letter joins are visible before bringing it into Illustrator.
Trace the outside edges using the Pen workflow above, then create the interior spaces. For connected handwriting, pay particular attention to where one letter flows into the next.
Decide how much of the original character to retain. Slightly uneven baselines and individual stroke shapes may be part of the handwriting’s appeal. Remove accidental specks and capture distortion without automatically making every letter identical.
Hide the reference and inspect the lettering by itself. Look for abrupt curves, missing dots, crowded joins and enclosed spaces that have become too small. Compare it again at the final physical size before approving the redraw.
Save the lettering as a vector file
Use File > Save As and choose a format accepted by the recipient. Illustrator supports AI, PDF, EPS and SVG among its saving options. Adobe recommends retaining an Illustrator version to preserve editing information. Adobe saving documentation.
File format | Handoff consideration |
|---|---|
AI | Keep an editable Illustrator master and a clearly named outlined copy if requested. |
Ask the print supplier which PDF settings they require. | |
SVG | Confirm that the receiving design or cutting software accepts the file. |
EPS | Supply it when the recipient specifically requests it. |
Reopen the saved file and check the actual lettering. Confirm that you can select letter paths and that a reference photograph has not been mistaken for the finished artwork. Saving an image inside a vector-capable format does not itself redraw the image as paths.
Prepare a useful print handoff
For buyers working with suppliers in the US, Canada or UK, state the finished dimensions and units explicitly. For example, write “4 inches wide” or “100 mm wide” instead of supplying a number without a unit.
Include the intended process, required colors, accepted file format and a visual proof of the approved lettering. Ask the supplier to review thin strokes, small counters and script joins at that size. Outlining text addresses its shape; production suitability still needs review.
If you need help reconstructing lettering from an image, see DigitEMB’s raster-to-vector service. Supply the clearest reference, exact wording, final dimensions and intended use so the work can be assessed.
Frequently asked questions
Do I need to trace a script font with the Pen tool?
Only when you need to reconstruct or redraw its shapes. Editable script text can use the same Create Outlines command as other typed text.
Can I change the wording after outlining?
Keep a separate live-text master for wording changes. The outlined copy contains letter shapes rather than ordinary editable text. Adobe text outlining guidance.
Why are the holes in my letters filled?
Check that the interior and exterior contours form the intended compound path, then inspect its fill rule. A separate white object is not a transparent hole. Adobe compound paths.
Is saving a JPG as an SVG enough?
No. The lettering must first be represented by vector paths. Reopen the result and inspect the objects rather than relying on the filename extension.
Practical details for How to Turn Text Into a Vector File in Adobe Illustrator
Vector artwork is built from editable paths rather than a fixed grid of pixels. The clearest result starts with a specific intended use, because a file prepared for print, cutting and embroidery may need different checks.
Work through these points in order and keep the answers with the artwork or production request. A short written brief makes it easier to compare a proof with the intended result, ask a useful follow-up question and avoid relying on assumptions made from a screen image alone.
The aim is not to add unnecessary steps. It is to identify the choices that change the final result before work begins. If a requirement is unknown, flag it for confirmation rather than guessing; that keeps the approval process focused on the design, material and use that apply to this particular project. Save the approved brief with the project files for future reorders or revisions.
Start with the best source
Provide the largest, clearest original you have and include any brand colours, fonts or reference files. A small or blurry image can still be traced, but missing edges and lettering need careful confirmation.
Define the final use
Say whether the artwork is for print, cutting, screen printing, embroidery reference or a digital asset. This tells the artist which details, colour separations and file formats matter most.
Review paths, text and colour
Before using the finished file, check that lettering is correct, shapes are closed where required and colours match the approved artwork. Keep a master editable file as well as the delivery format used by production.
Quick questions to check before you proceed
Is a vector file the same as an embroidery file?
No. A vector is editable artwork; an embroidery file contains stitch instructions. Vector art can be useful source material for digitizing, but it still needs to be digitized for machine embroidery.
Can a blurry logo be converted?
Often, yes, but the result depends on what can be verified. Supply a clearer reference, font name or brand guide whenever possible.
Which details need approval?
Check spelling, line weight, enclosed spaces, colour choices and the shape of any logo elements before the file goes to print or production.