
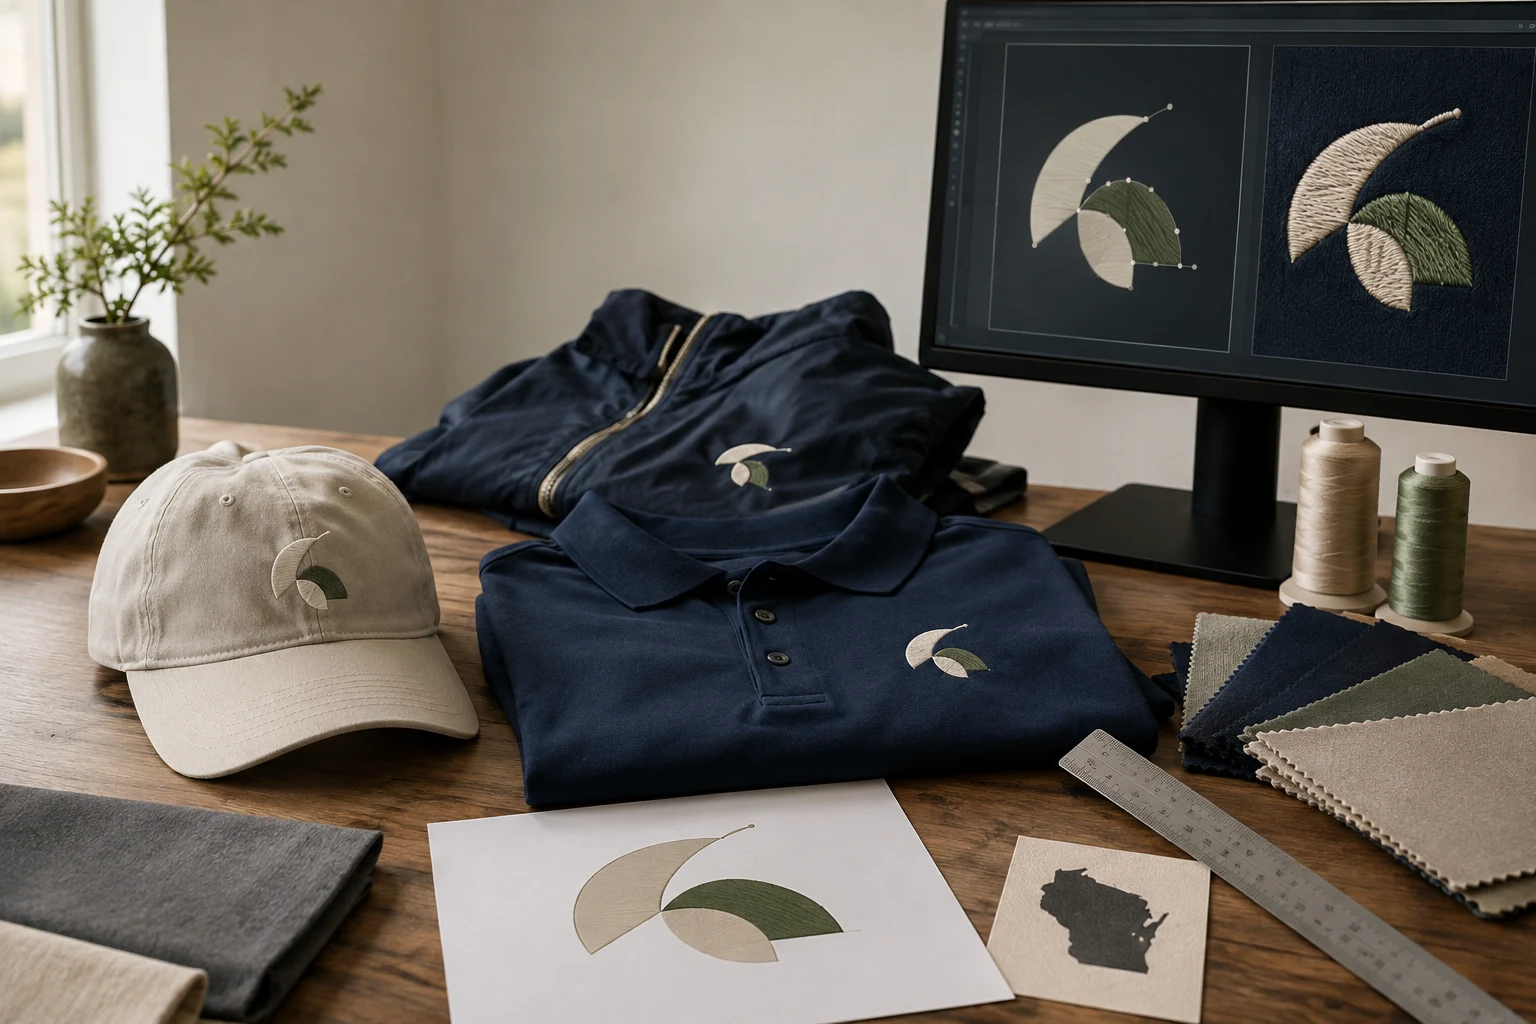
Cover image: AI-generated editorial concept; not a customer project or production proof.
For Wisconsin buyers, a good embroidery digitizing provider should demonstrate relevant stitched work, prepare files for your actual garment and machine, and explain its revision process and quote clearly. Start by deciding whether you need digital files, finished embroidered products, vector artwork, or a combination. Choose a provider whose deliverables match that need.
Whether you are arranging uniforms in Milwaukee, event apparel in Madison, club caps in Green Bay or personalized gifts in Eau Claire, the same practical questions apply: who prepares the artwork, who stitches the goods, and who resolves problems after a sample run?
Understand which service you need
Embroidery digitizing creates the stitch information used by an embroidery machine. Editable embroidery designs and production files serve different purposes: the working design retains editing information, while the exported machine file carries instructions for stitching. Wilcom explains these file types and their roles.
Vector artwork describes shapes with paths and anchor points. It is useful for refining a logo and preparing artwork for different applications, but it is not itself an embroidery stitch plan. Adobe’s explanation of vector paths covers how these graphics are constructed.
Your project | Service to request |
|---|---|
You have an embroiderer and need a logo prepared for stitching | Embroidery digitizing with the embroiderer’s specifications |
You need completed uniforms, caps or gifts | Garment sourcing and embroidery, with digitizing responsibilities confirmed |
Your logo needs redrawing for print or other graphic uses | Vector conversion with the printer’s required deliverables |
You need the same artwork embroidered and printed | Separate embroidery and print files, each prepared for its production method |
A clear raster image can also be a starting point for digitizing. Hatch’s documentation describes converting prepared image artwork into embroidery objects with selected stitch types. Ask whether vector redrawing is necessary for your project before paying for both services. Hatch’s artwork conversion documentation.
Compare Wisconsin providers by evidence
Review stitched examples relevant to your order
Ask for close photographs of work comparable to your proposed garment, design size and lettering. A cap sample is more relevant to a cap order than an unrelated large jacket design. Use digital previews to discuss layout, then arrange a physical sample before approving a production run.
Inspect whether the lettering is readable, outlines meet the intended shapes and the surrounding fabric lies acceptably flat. Ask who will review the sample and whether the digitizer will work directly with your embroiderer if changes are needed.
Fabric belongs in the discussion from the beginning. Hatch’s fabric settings adjust embroidery properties, including pull compensation, to help reduce stitching defects on different materials. This supports asking for a design prepared for the intended fabric rather than assuming one setup suits every garment. Hatch’s fabric guidance.
Clarify local and remote responsibilities
If you want to inspect garments or collect finished goods locally, confirm the provider’s actual appointment and pickup arrangements. A Wisconsin service page alone does not establish a local workshop.
For a digital file order, ask how the provider will coordinate with your chosen embroidery shop. Before commissioning a separate digitizer, check whether that shop accepts externally prepared files and who pays for any required adjustments.
For US, Canadian and UK buyers coordinating with a Wisconsin supplier, specify measurements in inches or millimeters, the quote currency, and the deadline’s time zone. If physical goods are involved, request shipping arrangements separately from digital file delivery.
Compare the complete quote
Send the same brief to each provider. Ask for a written breakdown covering artwork cleanup, digitizing, additional sizes, sample stitching, revisions and any expedited work. For finished apparel, also confirm garment quantities, embroidery charges and delivery costs.
Separate the first file deadline from sample approval and finished-goods completion. Leave room for a revision and another sample when planning an event order. A quoted file turnaround does not establish when embroidered garments will be ready.
Send a useful project brief
The best brief gives the digitizer and embroiderer the same production target.
Information to provide | What to specify |
|---|---|
Artwork | Your clearest available original and any approved simplified version |
Finished dimensions | Width and height, with units stated |
Garment and fabric | Product style, material and any available garment reference |
Placement | Left chest, sleeve, cap front, jacket back or another exact location |
Machine requirements | The embroiderer’s requested file format and usable embroidery area |
Colors | Garment color and agreed thread references where available |
Deliverables | Machine file, preview, color sequence and any editable source file requested |
Approval and deadline | Who approves the sample and when the completed order is needed |
For example, a Wisconsin organization ordering polos and caps should identify both products in the brief and ask whether each needs a separate design version. Keep names, spelling and logo proportions consistent across the approvals.
Keep vector artwork and embroidery versions organized
If a logo will also appear on banners, printed shirts or stationery, ask the printer which artwork formats and preparation it needs. Keep that artwork alongside the embroidery files, with clear names identifying each intended use.
Have the digitizer review size changes before reusing a stitch file. Wilcom explains that resizing a stitch-only file without reconstructing design objects leaves the stitch count unchanged, which changes density and can affect quality. An editable embroidery source preserves more information for future changes. Wilcom’s guidance on editing and resizing embroidery files.
Before ordering, confirm whether the editable source is included and whether you may take the delivered production file to another embroidery shop. For repeat orders, retain the approved file version, dimensions, garment reference, thread choices and sample photographs.
To discuss file preparation with DigitEMB, review its embroidery digitizing service and submit the project specifications above for a quote.
FAQs
Is there one best embroidery digitizing service in Wisconsin?
The appropriate choice depends on your garment, artwork, required deliverables and support needs. Compare relevant samples and written terms rather than relying on an unsupported “top rated” label.
Do I need vector conversion before embroidery digitizing?
Not always. Prepared raster artwork can be used as a digitizing reference. Ask the provider whether redrawing would improve your particular artwork or support additional print uses.
Which embroidery file format should I request?
Request the format specified by the person operating the embroidery machine. Also confirm the design dimensions and whether an editable source file is part of the order.
How much should digitizing cost?
Request a project-specific quote. Compare identical deliverables, including artwork preparation, additional sizes, revisions and sample work; separate these from garment production charges.
Can I use the same file for repeat orders?
Keep the approved version for reorders, but ask for a review when the garment, fabric, size or placement changes. Confirm a new sample when the production setup changes.
Practical details for Choosing Embroidery Digitizing and Vector Art Services in Wisconsin
Use the article above as a starting point, then make the production brief specific to your own design. A stitch file is made for a finished size and material, so the artwork alone is only part of the instruction.
Work through these points in order and keep the answers with the artwork or production request. A short written brief makes it easier to compare a proof with the intended result, ask a useful follow-up question and avoid relying on assumptions made from a screen image alone.
The aim is not to add unnecessary steps. It is to identify the choices that change the final result before work begins. If a requirement is unknown, flag it for confirmation rather than guessing; that keeps the approval process focused on the design, material and use that apply to this particular project. Save the approved brief with the project files for future reorders or revisions.
Confirm the finished use
State the item, placement and finished width and height. A chest logo, cap front and jacket back do not use the same sewing area, even when they start from the same artwork.
Protect the smallest details
Review small lettering, narrow gaps, thin outlines and tiny colour changes at the final size. Simplifying a fragile detail before digitizing is often more reliable than trying to force it into a small sew-out.
Match the file to the machine
Tell the production team the embroidery machine or format required, along with the fabric or garment type. This lets them prepare the right export and make choices that suit the material rather than treating every job alike.
Quick questions to check before you proceed
What should I send with my artwork?
Send the clearest original available, the finished dimensions, placement, fabric or garment type and the required machine format if you know it.
Can the same file be used at every size?
Not always. Scaling changes the relationship between stitch length, detail and fabric, so a design may need review when the finished size or placement changes.
What should I check before production?
Confirm the spelling, colours, final size, placement and any details that must remain readable. A proof or sample is the best point to catch a change.