
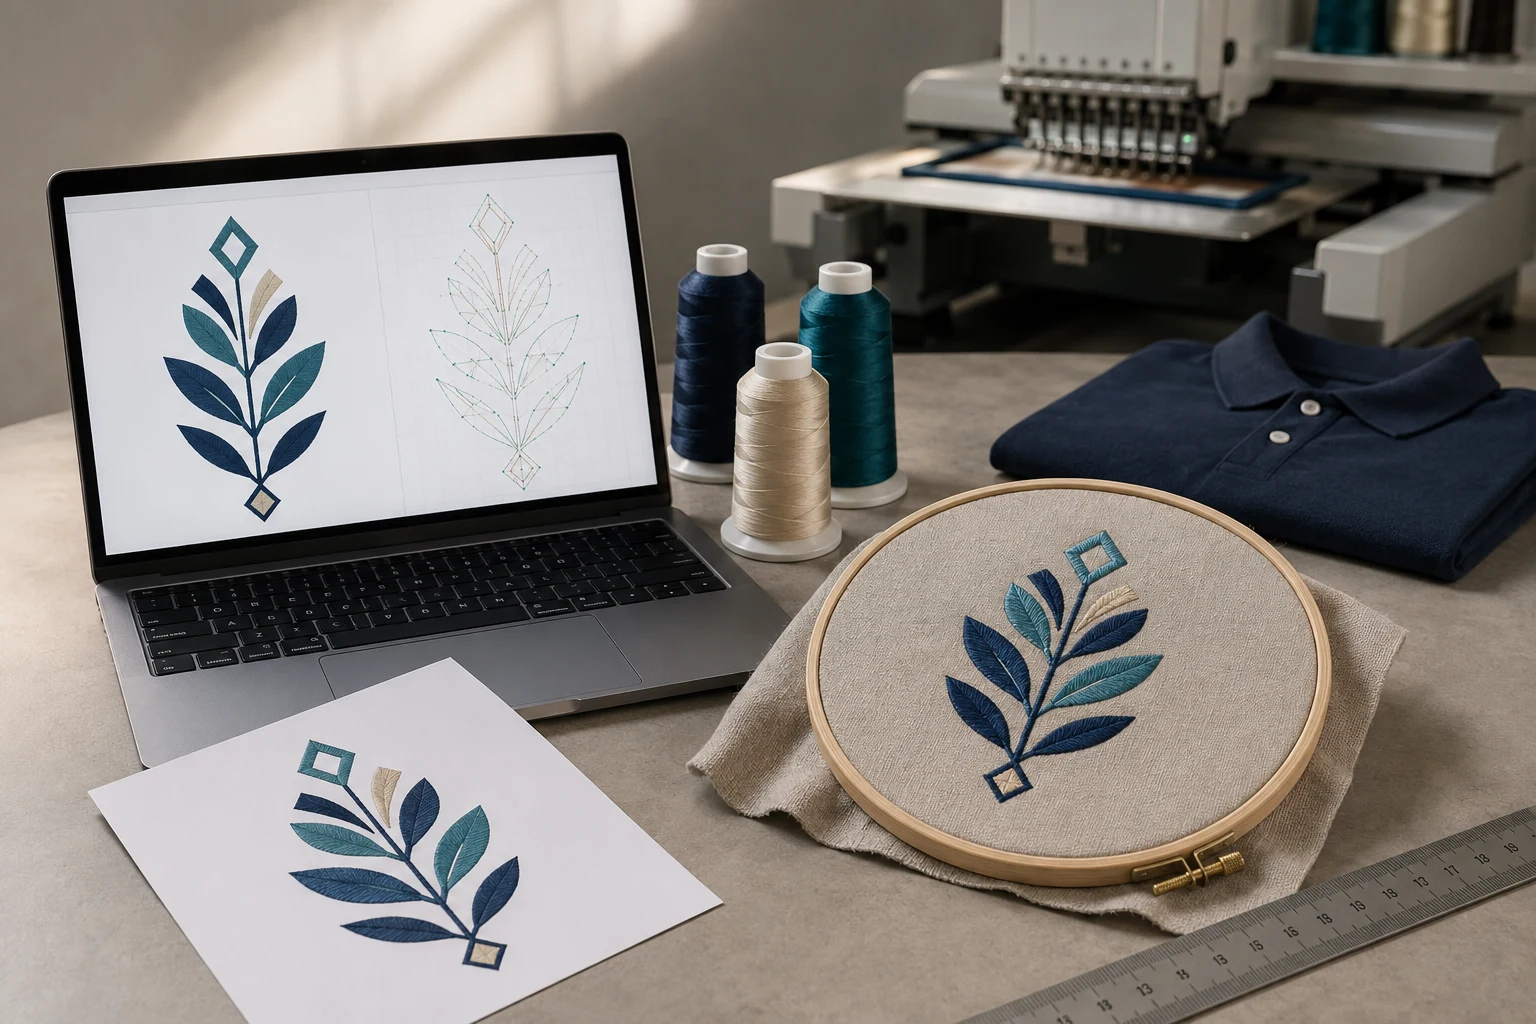
Cover image: AI-generated editorial concept; not a customer project or production proof.
To submit a file to DigitEMB, open the quote form, select Embroidery Digitizing, attach your artwork and provide the finished size, fabric, placement and required machine format. Review the quote and project terms before authorizing work, then check the delivered file and arrange a test sew-out before production.
1. Upload your artwork and project details
The public quote form includes contact information, fabric, placement, required file format, width, height and project instructions. It accepts common artwork formats including JPG, PNG, PDF, AI, EPS and SVG, as well as certain embroidery files, and currently displays a 15 MB upload limit. Check the live submission form for the current options.
Send the clearest original artwork you have, including the vector version if available. If you are requesting changes to an existing embroidery design, attach that file and explain what needs changing.
Prepare these details before starting:
Detail | What to specify |
|---|---|
Finished size | Width and height, with units; say if the artwork’s proportions must stay unchanged. |
Garment and fabric | The item, material and garment color, such as a navy polyester polo. |
Placement | Left chest, sleeve, cap front or another specific location. |
Thread colors | Preferred thread brand and color codes, if known; identify any areas requiring a close match. |
Machine requirements | Machine make and model, requested file format and available embroidery area. |
Design instructions | Exact wording, details that must remain and any simplification you would consider. |
Deadline | Required file date and time zone, allowing time for your embroiderer’s testing and production. |
The form labels its dimension fields in inches. For US, Canadian and UK buyers working across measurement systems, use those fields as labeled and repeat the intended dimensions in the instructions. For example, 3 inches equals 76.2 mm. Avoid entering millimeter values in an inch field.
If a file exceeds the displayed limit or you cannot identify the right option, use DigitEMB’s contact page to ask how to proceed.
2. Review the quote before authorizing digitizing
Make sure the response matches the artwork version, size, fabric, placement and output format you requested. The embroidery digitizing service page provides an overview of the service; your project correspondence should establish the specific scope.
Before proceeding, confirm:
The total charge, billing currency and any separate artwork-cleanup cost.
The expected delivery date and any conditions attached to a rush request.
Which machine files and supporting documents are included.
Whether a digital preview, physical sew-out or both are included.
How revisions are requested and whether changes to size, placement or artwork affect the charge.
Ask whether vector cleanup is necessary for your particular artwork before authorizing it as additional work. Keep the approved brief and quote together so later feedback refers to the same requirements.
3. Review the design and request specific changes
When a preview is available, check spelling, proportions, intended size and the arrangement of colors against your submitted artwork. If a detail has been simplified, confirm that the change is acceptable before production.
A screen preview helps you review appearance, but it cannot establish how the embroidery will behave on your garment. Fabric, hooping, stabilizer and stitch settings affect the sewn result; a test sew-out can reveal gaps or distortion that need adjustment. Hatch’s guidance on pull compensation explains these differences between the screen and the stitched design.
Keep revision requests concrete: identify the file version, mark the affected area and describe the desired change. For example, ask to correct a particular letter or retain a detail from the original artwork. If a sew-out shows a problem, send clear photographs and describe the fabric, stabilizer and machine setup used.
4. Check the delivered file before production
Confirm that you received the requested machine format and that the design opens at the agreed dimensions. Ask your embroiderer to verify compatibility with the exact machine and embroidery area.
An editable embroidery design file and a machine production file serve different purposes. Hatch’s documentation distinguishes design files used for editing from machine files used for stitching, including formats such as DST, PES and JEF. Request the format your embroiderer needs rather than choosing solely by familiarity. See Hatch’s supported embroidery files.
Before running the full order:
Check the design version, dimensions and orientation.
Confirm the intended thread sequence against any supplied color information.
Arrange a test sew-out using the intended production materials and setup.
Review the sample and resolve any problems before committing the remaining garments.
Save the final file with its approved size, fabric, placement and revision number. Keep any accompanying preview or production sheet alongside it.
5. Keep the right version for repeat orders
For a repeat order with the same requirements, provide the previous order reference and approved file version. Tell the digitizer if the garment, placement or finished size has changed.
Do not assume that scaling a machine file will preserve stitch quality. Hatch notes that machine files are generally unsuitable for scaling because stitches are not regenerated during ordinary rescaling. Ask for a reviewed size variation when needed. See Hatch’s embroidery glossary.
Retaining the approved file makes reordering easier, but a matching file alone does not guarantee identical batches. Keep the material and production specifications with it, and have your embroiderer check the next sample.
Frequently asked questions
Can I submit a JPG instead of vector artwork?
Yes. The quote form currently accepts JPG and other raster formats. Send your clearest available original and explain the intended size. Artwork acceptance does not establish whether every detail can be reproduced in stitches; confirm any proposed changes during review.
What if I do not know which embroidery format I need?
Ask the person who will stitch the design for the machine model and preferred format. Include those details in the request, and use the contact page if the form does not offer an appropriate choice.
Does a preview mean the design has been sewn out?
A digital preview and a physical sew-out are different deliverables. Confirm what is included in your order and arrange testing on the intended materials before production.
Can I request the same design for a shirt and a cap?
Include both placements and their respective sizes in the initial brief. Ask whether separate versions are needed and have each intended application checked before stitching the full order.
Practical details for Submitting a File to DigitEMB: From Artwork to Stitch File
Use the article above as a starting point, then make the production brief specific to your own design. A stitch file is made for a finished size and material, so the artwork alone is only part of the instruction.
Work through these points in order and keep the answers with the artwork or production request. A short written brief makes it easier to compare a proof with the intended result, ask a useful follow-up question and avoid relying on assumptions made from a screen image alone.
The aim is not to add unnecessary steps. It is to identify the choices that change the final result before work begins. If a requirement is unknown, flag it for confirmation rather than guessing; that keeps the approval process focused on the design, material and use that apply to this particular project. Save the approved brief with the project files for future reorders or revisions.
Confirm the finished use
State the item, placement and finished width and height. A chest logo, cap front and jacket back do not use the same sewing area, even when they start from the same artwork.
Protect the smallest details
Review small lettering, narrow gaps, thin outlines and tiny colour changes at the final size. Simplifying a fragile detail before digitizing is often more reliable than trying to force it into a small sew-out.
Match the file to the machine
Tell the production team the embroidery machine or format required, along with the fabric or garment type. This lets them prepare the right export and make choices that suit the material rather than treating every job alike.
Quick questions to check before you proceed
What should I send with my artwork?
Send the clearest original available, the finished dimensions, placement, fabric or garment type and the required machine format if you know it.
Can the same file be used at every size?
Not always. Scaling changes the relationship between stitch length, detail and fabric, so a design may need review when the finished size or placement changes.
What should I check before production?
Confirm the spelling, colours, final size, placement and any details that must remain readable. A proof or sample is the best point to catch a change.