
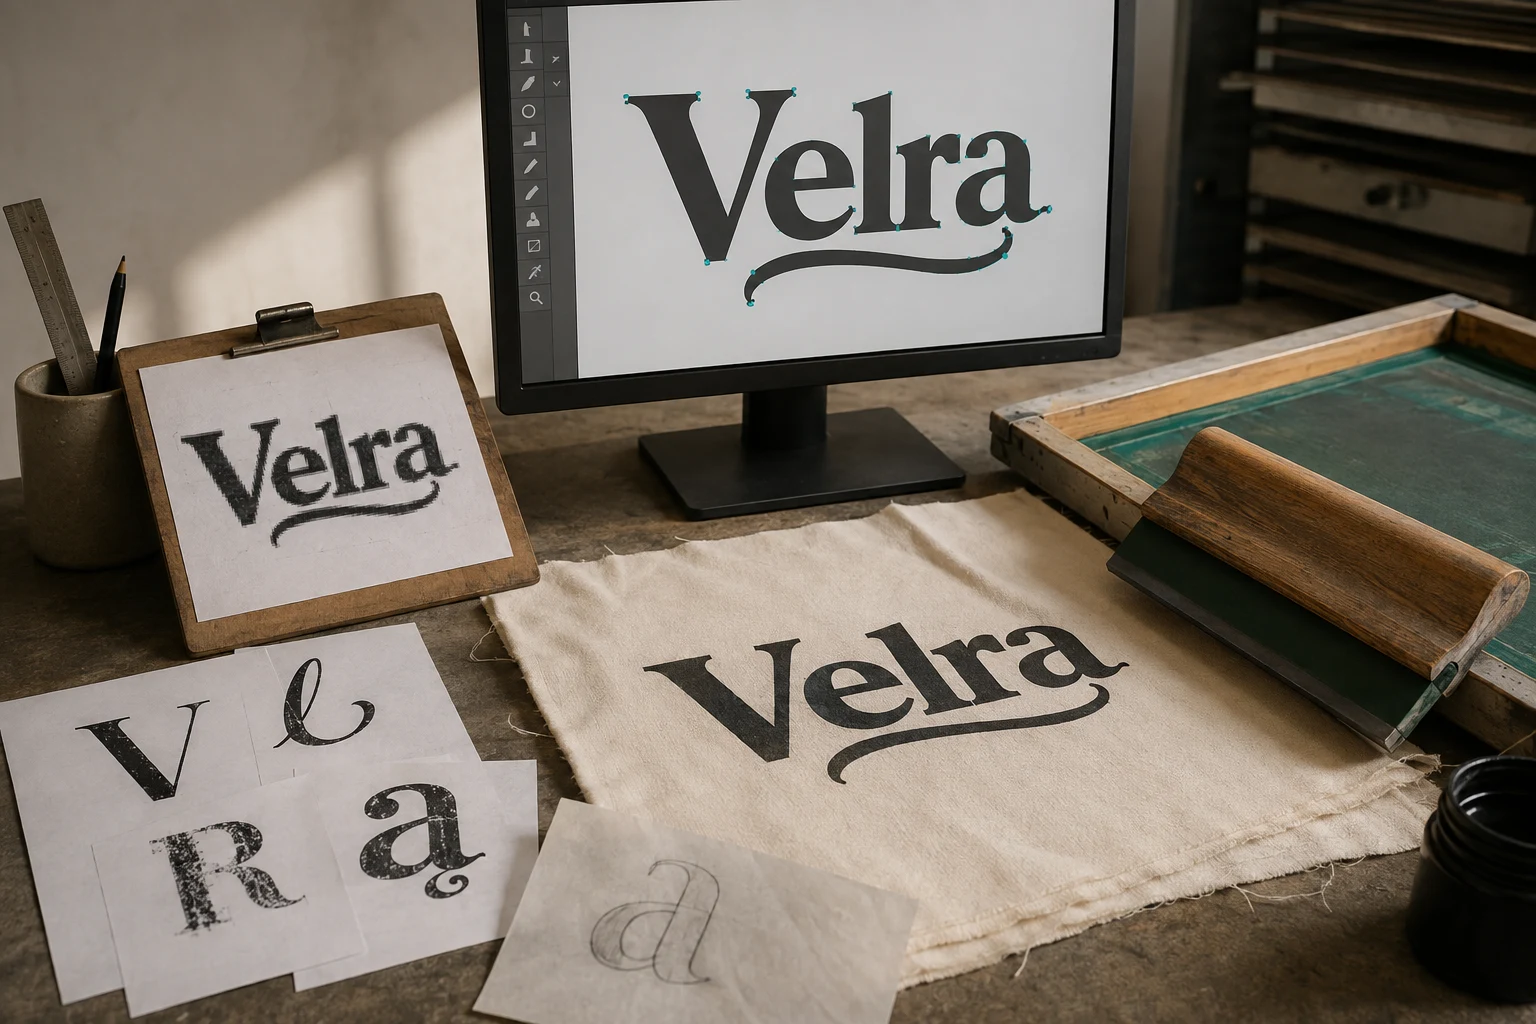
Cover image: AI-generated editorial concept; not a customer project or production proof.
To resolve font issues during raster to vector conversion, first identify whether the lettering is editable text, pixels or vector outlines. Restore or replace missing fonts in editable text; identify and rebuild lettering embedded in an image; edit paths when letters are already outlined. Check the result against the original before preparing the print file.
For screen printing, the goal is to preserve the wording, letter shapes and spacing at the intended print size. A font that looks similar can still change the appearance of a logo.
Identify the kind of lettering in your file
A missing-font warning concerns editable text that depends on an unavailable font. Lettering inside a flattened JPG or PNG is part of the image: installing a font will not change those pixels. Illustrator’s Image Trace converts raster artwork into vector graphics; font identification is a separate task. See Adobe’s guidance on fonts in Illustrator and Image Trace.
What you find | Appropriate next step |
|---|---|
Editable text with a missing-font warning | Restore the correct font family and style, or approve a replacement. |
Lettering embedded in a raster image | Identify a matching font and retype it, or redraw the letter shapes. |
Lettering made from vector paths | Edit the paths or rebuild the text if wording must change. |
A file containing several of these | Inspect each text element separately. |
Keep an untouched source file and a visual reference. Before changing anything, confirm the exact wording, capitalization, punctuation and any custom letterforms.
Restore or replace missing fonts
In Adobe Illustrator
If you know the original font, install the appropriate font from its legitimate source or add it through Adobe Fonts where available. Confirm the style as well as the family: Regular, Medium and Bold are different choices. Adobe explains the available options in its Illustrator font FAQ.
When a replacement is necessary:
Choose Type > Find/Replace Font.
Select the affected font under Fonts in Document.
Choose a replacement list under Replace With Font From, such as Document or System.
Select the replacement font and style.
Choose Change for the selected instance or Change All for every instance of that font, then select Done.
These are the controls documented in Adobe’s Find and replace fonts guide.
Compare the replacement with the reference before accepting it. Look at the overall word width, individual letter shapes, gaps between letters and line breaks. Ask the artwork owner to approve substitutions that affect a logo or established design.
In Adobe Photoshop
For a layered Photoshop document, inspect the affected text layers. Photoshop can activate available missing Adobe Fonts when connected to the internet. For other missing fonts, Type > Manage Missing Fonts provides replacement options. Avoid accepting a default replacement without checking its appearance. Adobe documents this process in Replace missing fonts in Photoshop.
If the lettering has already been flattened into the image, use the identification process below instead.
Identify fonts in a raster image
Start by requesting the original artwork, font name or a clearer reference from the artwork owner. This can resolve uncertainty before you attempt to reconstruct a blurry wordmark.
Two tools can help with identification:
MyFonts WhatTheFont: Upload an image and select the lettering to compare it with fonts in the service’s database. Treat the results as candidates to inspect. See WhatTheFont.
Photoshop Match Font: Select the lettering with the Rectangular Marquee tool, then choose Type > Match Font to see similar fonts. See Adobe’s Match fonts instructions.
Use a clear crop with as little surrounding artwork as possible. Compare distinctive characters, such as the lowercase “a,” the tail of “R,” numerals and punctuation. Check the weight and width as well as the general style.
Once you have a suitable match, retype the wording on a separate layer and align it with the reference. Adjust size and spacing before deciding whether the match is acceptable. A close match should not be presented as an exact identification.
Handle unknown, script and textured lettering
When no suitable font is available, consider redrawing the visible letter shapes. This is especially relevant to custom wordmarks, handwriting and modified type. Ask for a better reference wherever a blurred edge leaves the intended shape uncertain; missing detail requires an interpretation that the artwork owner should approve.
For script lettering, inspect the joins between letters, loops, swashes and small interior spaces. Compare the entire word, since matching individual characters does not establish that their connections are correct.
For textured lettering, agree which irregularities belong to the design. Keep intentional distressing separate from unwanted image noise. Review tiny dots, gaps and rough edges with the screen printer before retaining or simplifying them.
If you try automatic tracing, use Window > Image Trace to preview and adjust the result. Adobe’s Image Trace workflow explains the available tracing process. Inspect the resulting letters closely rather than accepting the first preview as finished artwork.
Correct font size and spacing
To change live text size in Illustrator, select the text, open Window > Type > Character, and enter the required value in the font-size field. Adobe documents these steps in Edit fonts in Illustrator.
After sizing, compare the lettering with the reference at the intended output dimensions. Check the spaces between letters, the distance between lines and the position of the wording within the design.
Avoid stretching a replacement font merely to force it into the original width. First check whether the correct family includes a condensed or expanded style. Adobe likewise recommends a purpose-designed width where available in its text transformation guidance.
Prepare the lettering for screen printing
Confirm the printer’s requirements before making the final production copy. For buyers working with US, Canadian or UK suppliers, state dimensions with explicit units—for example, 10 inches wide or 254 mm wide—and identify the garment, print location and intended ink colors.
Ask the printer to review the smallest lettering, narrow strokes, script joins and distressed details at that size. Request its minimum acceptable line and gap specifications for the proposed job, and approve any changes to the lettering.
If the printer requests outlined text, finish font restoration, spelling, sizing and spacing first. Save an editable master, then select the approved text in a separate production copy and choose Type > Create Outlines. This converts type into vector shapes and removes normal text-editing controls for those letters. Adobe explains the conversion in advanced text formatting.
Outlining preserves the lettering currently displayed. It cannot restore the original appearance after an incorrect font substitution.
Send the requested production file with a reference preview and the agreed dimensions. Ask the recipient to confirm that the lettering matches the approved proof. For help rebuilding the artwork, see DigitEMB’s raster to vector services; include the original image and explain whether exact lettering or an approved substitute is required.
Frequently asked questions
Why does Find/Replace Font not detect the lettering in my JPG?
The lettering is embedded in pixels, rather than stored as editable text. Identify and retype it, or trace its shapes into vector paths.
Can I change the font after creating outlines?
Outlined letters are shapes, so you cannot apply another font through normal text controls. Return to the editable master or recreate the text.
What if no font matches my logo?
Request the original source or a clearer reference. The lettering may be custom or modified. If redrawing is necessary, obtain approval for any details that cannot be established from the supplied image.
Should I outline text before resolving a missing-font warning?
No. Restore the intended font or approve a replacement first. Otherwise, you may turn substituted lettering into permanent vector shapes.
Practical details for How to Resolve Font Issues in Raster to Vector Conversion
Vector artwork is built from editable paths rather than a fixed grid of pixels. The clearest result starts with a specific intended use, because a file prepared for print, cutting and embroidery may need different checks.
Work through these points in order and keep the answers with the artwork or production request. A short written brief makes it easier to compare a proof with the intended result, ask a useful follow-up question and avoid relying on assumptions made from a screen image alone.
The aim is not to add unnecessary steps. It is to identify the choices that change the final result before work begins. If a requirement is unknown, flag it for confirmation rather than guessing; that keeps the approval process focused on the design, material and use that apply to this particular project. Save the approved brief with the project files for future reorders or revisions.
Start with the best source
Provide the largest, clearest original you have and include any brand colours, fonts or reference files. A small or blurry image can still be traced, but missing edges and lettering need careful confirmation.
Define the final use
Say whether the artwork is for print, cutting, screen printing, embroidery reference or a digital asset. This tells the artist which details, colour separations and file formats matter most.
Review paths, text and colour
Before using the finished file, check that lettering is correct, shapes are closed where required and colours match the approved artwork. Keep a master editable file as well as the delivery format used by production.
Quick questions to check before you proceed
Is a vector file the same as an embroidery file?
No. A vector is editable artwork; an embroidery file contains stitch instructions. Vector art can be useful source material for digitizing, but it still needs to be digitized for machine embroidery.
Can a blurry logo be converted?
Often, yes, but the result depends on what can be verified. Supply a clearer reference, font name or brand guide whenever possible.
Which details need approval?
Check spelling, line weight, enclosed spaces, colour choices and the shape of any logo elements before the file goes to print or production.