
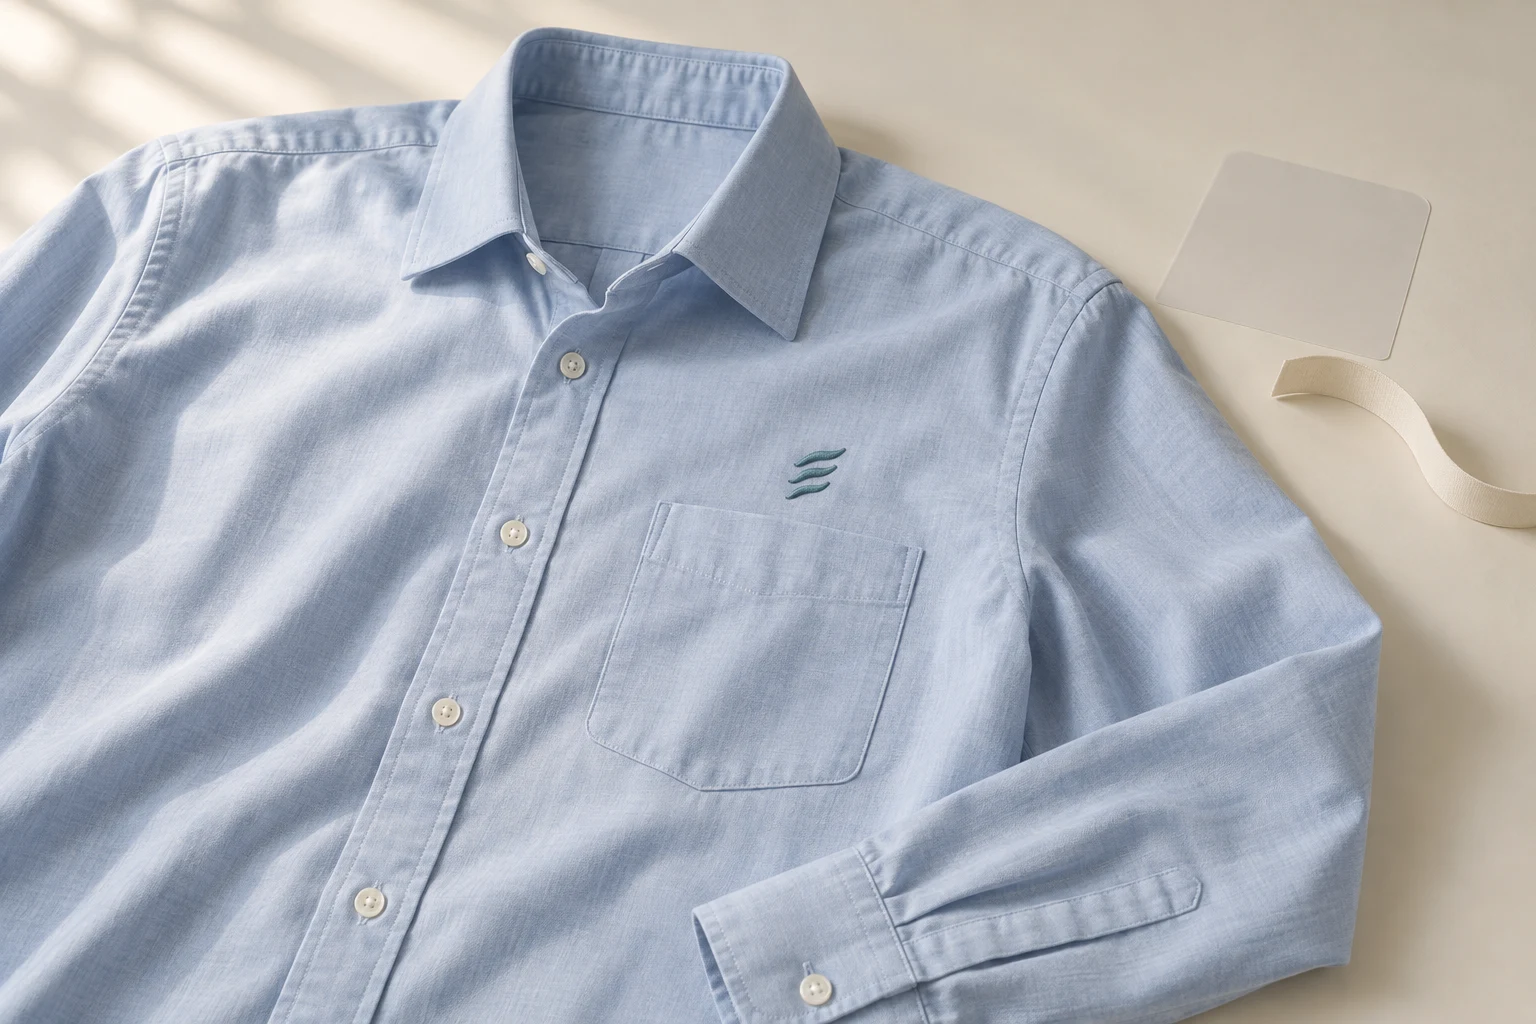
Cover image: AI-generated editorial concept; not a customer project or production proof.
Choose shirt embroidery placement by matching the design to the garment’s usable space, then checking an actual-size template on the shirt. The wearer’s left chest is a useful starting point for a small logo; sleeves, pockets, cuffs, the back yoke and center front offer other options. Confirm the design’s width, height and position before digitizing and production.
Placement charts provide starting points. Shirt construction, fit, size, pocket position and artwork shape determine whether those measurements suit your order. For buyers in the US, Canada and UK, label every measurement in inches or millimeters and specify left or right from the wearer’s perspective.

Choose the placement for the intended look
Placement | What to consider |
|---|---|
Left or right chest | A compact logo or name; check clearance from the placket and armhole. |
Center or full front | A prominent design; assess the available panel, embroidery area and finished feel. |
Short sleeve | A secondary symbol; confirm visibility with the arm resting naturally. |
Above a pocket | Lettering or a small logo aligned with the pocket. |
On a pocket or pocket label area | A compact design that fits inside the seams and preserves pocket access. |
Back yoke | Horizontal artwork below the collar, fitted to the actual yoke panel. |
Long sleeve | An upper-arm or lengthwise design with an explicitly agreed orientation. |
Cuff | Initials or a small motif positioned away from buttons, buttonholes and folds. |
Measure the shirt before setting the design size
Lay the shirt flat without stretching it and fasten its front as it will normally be worn. Identify the center front, shoulder seams, neckline seam and any pocket or yoke seams.
Record two separate things: the finished embroidery dimensions and its location. A note saying “4 inches down” is incomplete unless it identifies the starting seam and whether the measurement ends at the design’s top edge or center.
Print the artwork at actual size and check the printed dimensions with a ruler. BERNINA’s software supports a 1:1 layout template, design boundaries and hoop reference markers for this purpose. See its worksheet and template guidance.
Place the template on the garment and assess the complete outline. If possible, check the shirt on a wearer or dress form before recording the final position. A design that looks balanced when flat may sit differently across a shaped chest or curved sleeve.
Left chest embroidery placement and size
“Left chest” means the wearer’s left, which appears on your right when you face the shirt. Keep the design within the front panel and review its distance from the placket, neckline and armhole.
As a chart-based starting point, GPI Supplies lists polo placement at 7 inches down from the left shoulder for S–L sizes and 8 inches for XL–XXL, with a horizontal reference of 3–5 inches from center for the smaller size group. These are approximately 178 mm, 203 mm and 76–127 mm. The chart also applies its polo guidance to T-shirts. Confirm the precise shoulder reference and design reference point with the embroiderer before using those figures. See the GPI embroidery placement chart.
Garment landmarks provide another way to judge the position. Gunold’s guidance uses the neckline-to-shoulder junction together with sleeve or placket references, and cautions against placing the design too close to the armpit. Treat this as a visual cross-check on the actual shirt. See Gunold’s left chest placement guidance.
For your first paper mockup, compare widths of 3 and 4 inches, approximately 76 and 102 mm. These are trial sizes, not mandatory limits. Keep the artwork proportional: a tall crest at 4 inches wide occupies much more chest space than a short wordmark at the same width.

Short sleeve embroidery placement
Choose the wearer’s left or right sleeve and check where the design will face when the arm hangs naturally. Confirm its orientation on the garment rather than relying solely on a sleeve folded flat.
For an initial mockup, you might try a design within a 3-inch square, approximately 76 mm, with its bottom edge about 1 inch, or 25 mm, above the finished sleeve edge. Adjust this proposal to the actual sleeve length, hem construction and available hoop access; it is not a universal production specification.
Have the embroiderer confirm that the opposite sleeve layer can remain clear of the stitching area.

Above-pocket embroidery placement
Center the design relative to the pocket and leave a deliberate gap between its bottom edge and the pocket’s top edge. Record that gap in the placement brief.
A short name or horizontal logo can fit this space, but check its complete height against the collar, placket and pocket position. There is no need to fill the entire area above the pocket. Compare the design with the pocket width and review both together on the shirt.

On-pocket embroidery placement
Measure between the actual pocket seams. Garment labels such as small, medium and large do not establish a dependable pocket width or embroidery area.
GPI’s placement chart gives a pocket reference of 1/4–1/2 inch below the pocket edge, approximately 6–13 mm, centered between its seams. Use that as a starting reference and explicitly agree whether the offset locates the artwork’s top edge. See the pocket placement entry.
Before ordering, ask how the pocket will remain usable. Stitching through both the pocket and shirt body can join them together. Have the production shop confirm access to the pocket face and whether any pocket removal and reattachment is needed.

Pocket label placement
For a narrow design near the pocket top, begin with simple lettering or a compact symbol. A paper mockup 0.5–0.75 inch high, approximately 13–19 mm, can help you assess the intended look; it does not establish a minimum lettering size or guarantee stitchability.
Specify the gap from the pocket edge and check every part of the design against the seams. Ask for a stitched sample if small lettering is essential.

Back yoke embroidery placement
Center horizontal artwork on the shirt’s back and check it with the collar folded into its normal position. On shirts with a yoke seam, measure the available panel before choosing the design height.
For a first template, try placing the artwork’s top edge 2–3 inches, approximately 51–76 mm, below the back collar seam. Move it as needed to clear the collar and fit the actual construction. This is a mockup suggestion, not a fixed yoke standard.
Avoid specifying a blanket maximum height for every shirt. A shallow yoke, center pleat or differently shaped back panel may require a smaller design or another location.

Long sleeve embroidery placement
Decide whether the artwork belongs on the upper arm, near the wrist or along the sleeve. These require different placement instructions.
For an upper-arm mockup, a point 4–5 inches, approximately 102–127 mm, below the shoulder seam can be a starting reference. State whether it marks the design center or top edge, then check the position on the actual sleeve.
For lengthwise artwork, mark which end points toward the shoulder and whether lettering should read with the arm down or extended. Ask the embroiderer to confirm the accessible embroidery area before approving a long design.

Cuff embroidery placement
Use the actual cuff dimensions to select a small motif or initials. Check the cuff fastened, open and folded as it will be worn, keeping the design clear of the buttonhole, button and edge stitching.
GPI’s cuff chart offers a reference of 1 3/8 inches from the buttonhole and 1/4 inch above the cuff-edge topstitching, approximately 35 mm and 6 mm. Confirm the artwork reference point and adapt the layout to the cuff style. See its shirt cuff placement guidance.
Do not use a general 2- or 3-inch design height as a cuff rule. Fit the complete artwork to the available space and check the lettering in a sew-out.

Center-front designs and sizing across garments
For a center-front design, align the template with the shirt’s center line and record the distance from the front neckline seam to the top of the artwork. Check the full outline against the armholes and any front opening.
A large print layout does not automatically make a suitable embroidery layout. Before choosing a full-front design, ask the embroiderer to confirm the machine’s usable field, access to the garment and the expected feel of the stitched area.
Fabric support also matters. Gunold identifies cut-away backing as a choice for stretchy and unstable fabrics, including knits. The backing must suit the fabric and design; placement alone cannot prevent distortion. See Gunold’s embroidery backing guidance.
For an order covering several adult fits or youth sizes, preview the smallest garment and each substantially different style. Toddler and youth shirts need their own layout checks. Use actual-size templates to decide whether one design size works throughout or whether separate versions are needed.
Send a clear placement brief
Give the digitizer and embroiderer the same approved information:
Garment make, style, fabric and size range.
Artwork version and finished width and height, with units.
Placement named from the wearer’s perspective.
Vertical and horizontal measurements with clear starting and ending points.
A garment photo showing the actual-size template and intended orientation.
Any pocket-access requirement, plus the machine format requested by the production shop.
For example: “Wearer’s left chest; artwork 89 mm wide with proportional height; placement measured to the design center; see the marked garment photo for both seam references.” Add the agreed measurement values before production.
Ask for a sew-out on the intended garment or a representative sample. Review position, readability, surrounding fabric and comfort before the main run. Keep the approved template and measurements for repeat orders, and recheck them when the garment style changes.
You can explore DigitEMB’s embroidery digitizing services when preparing the artwork brief. Confirm garment placement and physical sample arrangements with the shop doing the embroidery.
Frequently asked questions
Is there one standard embroidery placement for every shirt?
No. Charts help establish a starting position, but shirt construction, fit and artwork proportions require a check on the actual garment.
How wide should a left chest logo be?
Compare 3- and 4-inch-wide paper templates as initial options. Choose the final width after checking proportional height, readability, seam clearance and the smallest shirt in the order.
Should I measure to the design center or its top edge?
Either can work if the brief is explicit. Use a consistent reference and include an annotated garment photo so the embroiderer does not have to interpret an ambiguous measurement.
Can embroidery go directly on a finished shirt pocket?
It may be possible, depending on access and equipment. Confirm that the pocket face can be stitched without attaching it to the shirt body, or agree on any construction work before proceeding.
Practical details for How to Select Embroidery Placement for Shirts
Use the article above as a starting point, then make the production brief specific to your own design. A stitch file is made for a finished size and material, so the artwork alone is only part of the instruction.
Work through these points in order and keep the answers with the artwork or production request. A short written brief makes it easier to compare a proof with the intended result, ask a useful follow-up question and avoid relying on assumptions made from a screen image alone.
The aim is not to add unnecessary steps. It is to identify the choices that change the final result before work begins. If a requirement is unknown, flag it for confirmation rather than guessing; that keeps the approval process focused on the design, material and use that apply to this particular project. Save the approved brief with the project files for future reorders or revisions.
Confirm the finished use
State the item, placement and finished width and height. A chest logo, cap front and jacket back do not use the same sewing area, even when they start from the same artwork.
Protect the smallest details
Review small lettering, narrow gaps, thin outlines and tiny colour changes at the final size. Simplifying a fragile detail before digitizing is often more reliable than trying to force it into a small sew-out.
Match the file to the machine
Tell the production team the embroidery machine or format required, along with the fabric or garment type. This lets them prepare the right export and make choices that suit the material rather than treating every job alike.
Quick questions to check before you proceed
What should I send with my artwork?
Send the clearest original available, the finished dimensions, placement, fabric or garment type and the required machine format if you know it.
Can the same file be used at every size?
Not always. Scaling changes the relationship between stitch length, detail and fabric, so a design may need review when the finished size or placement changes.
What should I check before production?
Confirm the spelling, colours, final size, placement and any details that must remain readable. A proof or sample is the best point to catch a change.