
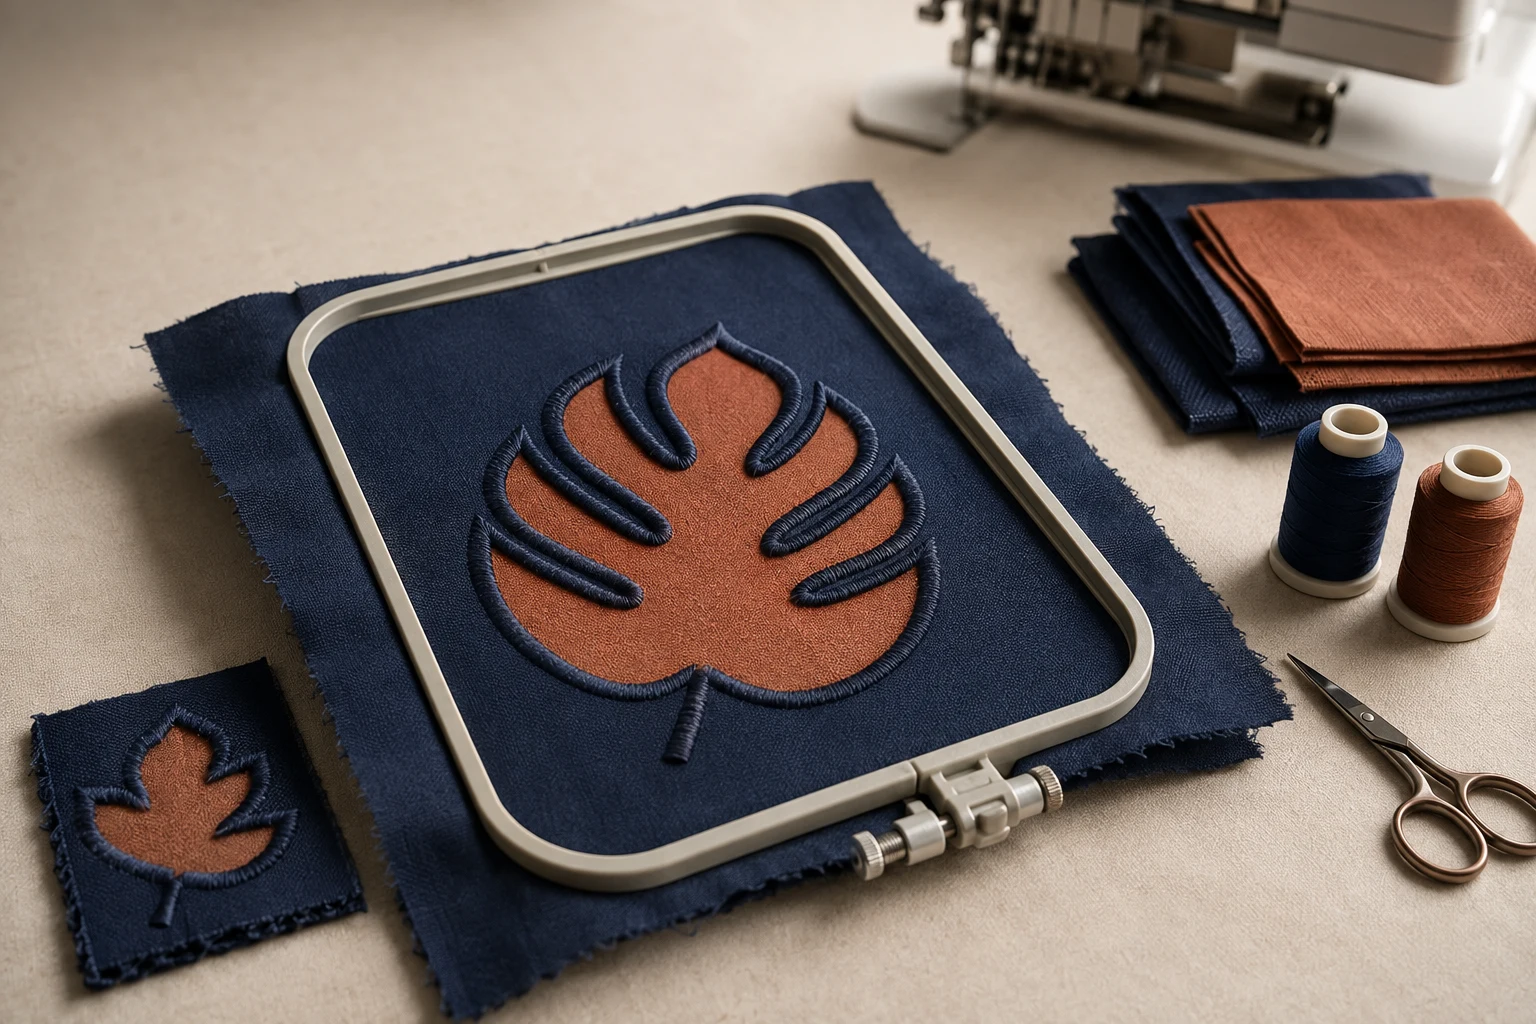
Cover image: AI-generated editorial concept; not a customer project or production proof.
Reverse appliqué machine embroidery reveals a contrasting fabric through an opening in the main fabric. To make it, use a design with a planned cutting and stitching sequence, secure the layers, and cut only the material specified in the instructions. The decorative fabric sits behind the main fabric rather than on its surface.
What makes reverse appliqué different?
Ordinary appliqué adds a fabric shape on top of a background. Reverse appliqué creates a window in that background so another fabric shows through. It can add fabric contrast to clothing, quilt projects and home décor.
The order of operations matters. Some designs start with both fabrics layered together; others require cutting the opening before adding the backing fabric. Never assume that every reverse appliqué file uses the same process. Embroidery Library’s tutorial demonstrates the opening-first approach.
Materials and preparation
Gather an embroidery machine and suitable hoop, a reverse appliqué stitch file with instructions, main and contrasting fabrics, embroidery thread, a suitable needle, stabilizer and precise cutting tools. Add temporary fabric adhesive or tape if the design instructions require it.
Choose stabilizer for the fabric, stitch density and intended finish. A running-stitch outline does not automatically make stabilizer unnecessary. OESD recommends cutaway support for knits and stretchy garments, and advises keeping fabric smooth without stretching it in the hoop. OESD’s stabilizer guide explains the selection factors.
For a first sample, consider a simple shape with generous curves and clearly contrasting fabrics. Use scraps of the actual project materials so the sample answers practical questions about cutting, appearance and handling.
Plan the embroidery design
Before digitizing or ordering a file, decide which areas will reveal the lower fabric and how the edges should look. A visible raw edge and a covered edge require different finishing plans.
Appliqué software can separate placement, cutting, tack-down and cover stitching. These stages serve different purposes; their availability does not make a standard appliqué file automatically suitable for reverse appliqué. BERNINA’s digitizing documentation describes these stitch layers.
Design decision | What to specify |
|---|---|
Finished dimensions | Width and height, with units clearly stated |
Fabric arrangement | Main fabric and the material revealed underneath |
Edge appearance | Exposed edge or a covering border |
Cutting sequence | Which layers are cut and when the machine must stop |
Machine requirements | Machine model, accepted file format and usable embroidery area |
If you are creating the file yourself, keep the cutting stages identifiable in the production instructions. Check the sequence before exporting, then stitch a physical sample. Treat border width and stitch density as settings to test with your materials, rather than universal numbers.
Stitch an opening-first design
The following sequence summarizes Embroidery Library’s method. Use it only with a file designed for this construction:
Prepare the contrasting insert using the supplied fabric template.
Hoop the main fabric with its specified stabilizer and load the embroidery file.
Stitch to the designated cutting stop before tack-down.
Detach the hoop without releasing the fabric. On a cutting pad, cut the opening through the main fabric and stabilizer as directed.
Secure the insert behind the opening, with its right side visible from the front and enough coverage for the securing stitches.
Reattach the hoop, complete tack-down and remaining stitching, then remove temporary tape.
Follow the complete illustrated instructions for the cutting line and insert placement. If your file starts with the contrast fabric already underneath, protect that layer when trimming; the opening-first cutting instructions do not apply.
Check the sample before making the final item
Inspect both sides before repeating the design. For washable projects, wash the sample according to the materials’ care instructions and inspect it again.
What you notice | What to check next |
|---|---|
Puckering around the design | Review stabilizer support and whether the fabric was stretched during hooping. |
Contrast fabric missing at an edge | Check insert coverage and placement before tack-down. |
Accidental cuts in the lower fabric | Review the required layer order and cutting access. |
Edge finish differs from the intended look | Confirm whether the file was planned for an exposed or covered edge. |
On knit garments, start with fabric resting naturally rather than pulling it tight. OESD explains that stretching knits during hooping can leave ripples after the hoop is removed. Its knit embroidery guidance also recommends considering how heavy a design will feel on the garment.
What to send when ordering digitizing
For buyers in the US, Canada or UK, a clear production brief is more useful than a location-specific stitch setting. Include artwork, finished dimensions in inches or millimetres, machine details, both fabric types, placement and the desired edge appearance.
When discussing a project through DigitEMB’s embroidery digitizing service, explicitly request reverse appliqué and ask for the cutting stops and layer order to be documented. Confirm whether templates are needed and who will make the sample sew-out before production.
Frequently asked questions
Can I use an ordinary appliqué file?
Do not assume it will work unchanged. Have its layer arrangement, cutting stages and finishing stitches checked for reverse appliqué.
Can reverse appliqué cover a hole or stain?
It may suit a decorative repair if the affected area fits inside the planned opening and the surrounding fabric can support stitching. Assess the garment first; it is not a guaranteed repair for weakened fabric.
Should I trim the front or back first?
Follow the specific design instructions. The important distinction is whether the lower fabric is already attached when the opening is cut. Identify every layer before using scissors or a blade.
Practical details for How to Make Reverse Appliqué Machine Embroidery Designs
Use the article above as a starting point, then make the production brief specific to your own design. A stitch file is made for a finished size and material, so the artwork alone is only part of the instruction.
Work through these points in order and keep the answers with the artwork or production request. A short written brief makes it easier to compare a proof with the intended result, ask a useful follow-up question and avoid relying on assumptions made from a screen image alone.
The aim is not to add unnecessary steps. It is to identify the choices that change the final result before work begins. If a requirement is unknown, flag it for confirmation rather than guessing; that keeps the approval process focused on the design, material and use that apply to this particular project. Save the approved brief with the project files for future reorders or revisions.
Confirm the finished use
State the item, placement and finished width and height. A chest logo, cap front and jacket back do not use the same sewing area, even when they start from the same artwork.
Protect the smallest details
Review small lettering, narrow gaps, thin outlines and tiny colour changes at the final size. Simplifying a fragile detail before digitizing is often more reliable than trying to force it into a small sew-out.
Match the file to the machine
Tell the production team the embroidery machine or format required, along with the fabric or garment type. This lets them prepare the right export and make choices that suit the material rather than treating every job alike.
Quick questions to check before you proceed
What should I send with my artwork?
Send the clearest original available, the finished dimensions, placement, fabric or garment type and the required machine format if you know it.
Can the same file be used at every size?
Not always. Scaling changes the relationship between stitch length, detail and fabric, so a design may need review when the finished size or placement changes.
What should I check before production?
Confirm the spelling, colours, final size, placement and any details that must remain readable. A proof or sample is the best point to catch a change.