
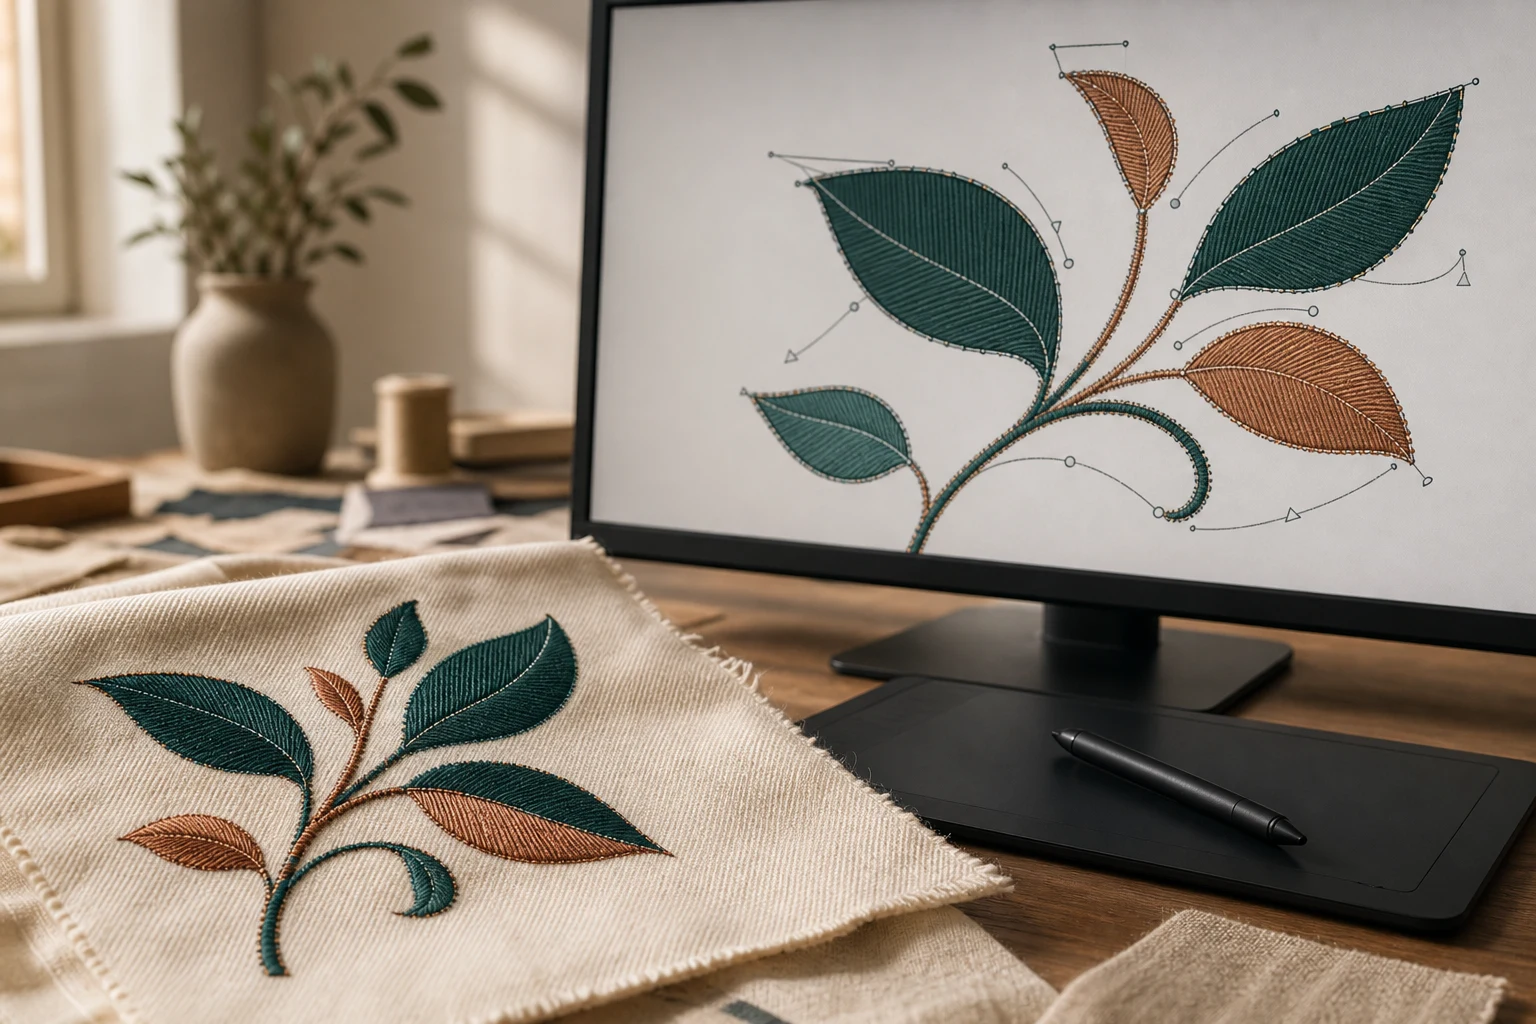
Cover image: AI-generated editorial concept; not a customer project or production proof.
To reshape an embroidery object in Wilcom EmbroideryStudio, select it, activate Reshape, and display the control points you need. Edit the outline with nodes or Bézier handles, then review stitch angles and entry/exit points before confirming the changes. These controls let you refine individual design elements and their connections. Wilcom’s control-point guide
The steps below follow Wilcom’s EmbroideryStudio 2026 online help. Older editions may label the command Reshape Object or arrange tools differently. Save a separate working copy before making changes.
Choose the right reshaping controls
Start by identifying what needs correction: the outline, the curve between nodes, the stitch direction, or the connection to another object.
Control | What it changes |
|---|---|
Reshape nodes | The positions of points defining the outline |
Bézier handles | The curve around an outline node |
Stitch angle points | Stitch direction, subject to object type |
Entry/exit points | Where an object starts and finishes stitching |
Select the object and activate Reshape to reveal its control points and the Reshape Views toolbar. Use the toolbar to hide controls you are not currently editing. Entry is marked by a green diamond; exit is marked by a red cross. These two points can be moved but cannot be deleted. Wilcom’s control-point guide
Reshape an outline with nodes
Use node editing when you need to move an edge, refine a corner, or change a rounded section.
Select the object and activate Reshape.
Enable Show Reshape Nodes and hide other control types for a clearer view.
Select a node and drag it to adjust the outline. Arrow keys let you nudge selected nodes.
To add a corner node, left-click the outline. To add a curve node, right-click it.
Select unwanted nodes and press Delete. Press Spacebar to switch selected nodes between corner and curve types.
For grouped changes, drag a selection marquee around nodes or use Ctrl or Shift while selecting them.
You can press S to hide or show stitches while working. Esc cancels pending changes; pressing it again exits Reshape mode. Wilcom’s node-editing instructions
Work in small increments and compare the revised contour with the intended artwork after each adjustment.
Refine curves with Bézier handles
Bézier controls are useful when the node positions are close to correct but the curve between them needs refinement—for example, the rounded end of a leaf or a curved emblem border.
Select the object and activate Reshape.
Enable both Show Reshape Nodes and Show Bézier Handles.
Drag a handle to change the curve around its node. Move the node itself if the outline point also needs repositioning.
Release the mouse and press Enter to confirm as needed.
Wilcom notes that stitch generation can happen immediately after a move or after Enter, depending on settings. Wilcom’s Bézier-control instructions
If stitches do not update immediately, right-click the Reshape icon and review Options > Reshape. This panel controls automatic stitch generation and the choice between Traditional and Bézier node dragging. Wilcom’s reshape settings
Adjust stitch angles after changing the shape
Review the stitch direction after altering the contour. Angle controls depend on the object type: a complex fill can use one angle across the object, while multiple angles can be added using the Stitch Angles tool. Wilcom’s stitch-angle overview
To edit available angles in Reshape mode:
Select the object and activate Reshape.
Enable Show Stitch Angles.
Drag the angle control points to change direction.
Where supported, hold Ctrl and click the outline to add another angle.
Two limitations matter: adding or adjusting an angle converts a Column A object to Column B, and you cannot add angles to complex fill objects in Reshape mode. Use the appropriate angle workflow for that object instead. Wilcom’s angle-editing instructions
Reposition entry and exit points
Check start and finish locations after reshaping, moving, or resequencing objects. For adjoining elements, bringing the relevant exit and entry points closer together can shorten their connection.
Select an object and activate Reshape.
Enable Show Entry/Exit Points.
Drag the relevant markers on adjoining objects into closer proximity.
Press Enter to apply the change.
Wilcom cautions that closest joins are not automatically preserved after objects are moved, resequenced, or edited. Apply Closest Join can reapply them after editing. Review the result in the context of the whole stitching sequence. Wilcom’s entry/exit instructions
When an object needs splitting
Some edits require separate components rather than another outline adjustment. Wilcom’s Knife tool cuts objects into fragments, while Break Apart separates branched objects into their component parts.
Check the cutting settings before proceeding: Wilcom can reorder fragments with travel runs, reorder with trims where needed, or combine the fragments into a branched object. The selected behavior affects subsequent Knife operations. Wilcom’s cutting and reshaping options
Keep an untouched copy so you can compare the revised structure with the original.
Check the revision before production
After confirming edits, review the entire design at its intended finished dimensions. Look closely at changed curves, adjacent boundaries, stitch direction, and connections between objects. Then request or make a sample sew-out on the intended material before committing to a production run.
For buyers in the US, Canada, or UK, a useful revision request includes:
The existing embroidery file and original artwork, if available.
The required finished width and height, with units clearly stated.
The garment or fabric and intended placement.
An annotated image identifying which contours or connections need attention.
The machine format required and a photograph of any problem visible in the stitched sample.
For assistance, review DigitEMB’s embroidery digitizing services and explain the specific revision you need. Ask which editable files and production outputs will be supplied.
FAQs
Why did the outline move without the stitches updating?
Automatic stitch generation may be disabled for that object category. Press Enter and check Options > Reshape if necessary. Wilcom’s reshape settings
Can I change a sharp corner into a curve?
Yes. Select the relevant reshape node and press Spacebar to switch between corner and curve types. Then refine its position as needed. Wilcom’s node-editing instructions
Do I need to check entry and exit points again after resequencing?
Yes. Wilcom specifically recommends checking them when resequencing objects because closest joins are not automatically maintained after editing. Wilcom’s entry/exit guidance
Practical details for How to Reshape Embroidery Objects in Wilcom
Use the article above as a starting point, then make the production brief specific to your own design. A stitch file is made for a finished size and material, so the artwork alone is only part of the instruction.
Work through these points in order and keep the answers with the artwork or production request. A short written brief makes it easier to compare a proof with the intended result, ask a useful follow-up question and avoid relying on assumptions made from a screen image alone.
The aim is not to add unnecessary steps. It is to identify the choices that change the final result before work begins. If a requirement is unknown, flag it for confirmation rather than guessing; that keeps the approval process focused on the design, material and use that apply to this particular project. Save the approved brief with the project files for future reorders or revisions.
Confirm the finished use
State the item, placement and finished width and height. A chest logo, cap front and jacket back do not use the same sewing area, even when they start from the same artwork.
Protect the smallest details
Review small lettering, narrow gaps, thin outlines and tiny colour changes at the final size. Simplifying a fragile detail before digitizing is often more reliable than trying to force it into a small sew-out.
Match the file to the machine
Tell the production team the embroidery machine or format required, along with the fabric or garment type. This lets them prepare the right export and make choices that suit the material rather than treating every job alike.
Quick questions to check before you proceed
What should I send with my artwork?
Send the clearest original available, the finished dimensions, placement, fabric or garment type and the required machine format if you know it.
Can the same file be used at every size?
Not always. Scaling changes the relationship between stitch length, detail and fabric, so a design may need review when the finished size or placement changes.
What should I check before production?
Confirm the spelling, colours, final size, placement and any details that must remain readable. A proof or sample is the best point to catch a change.