
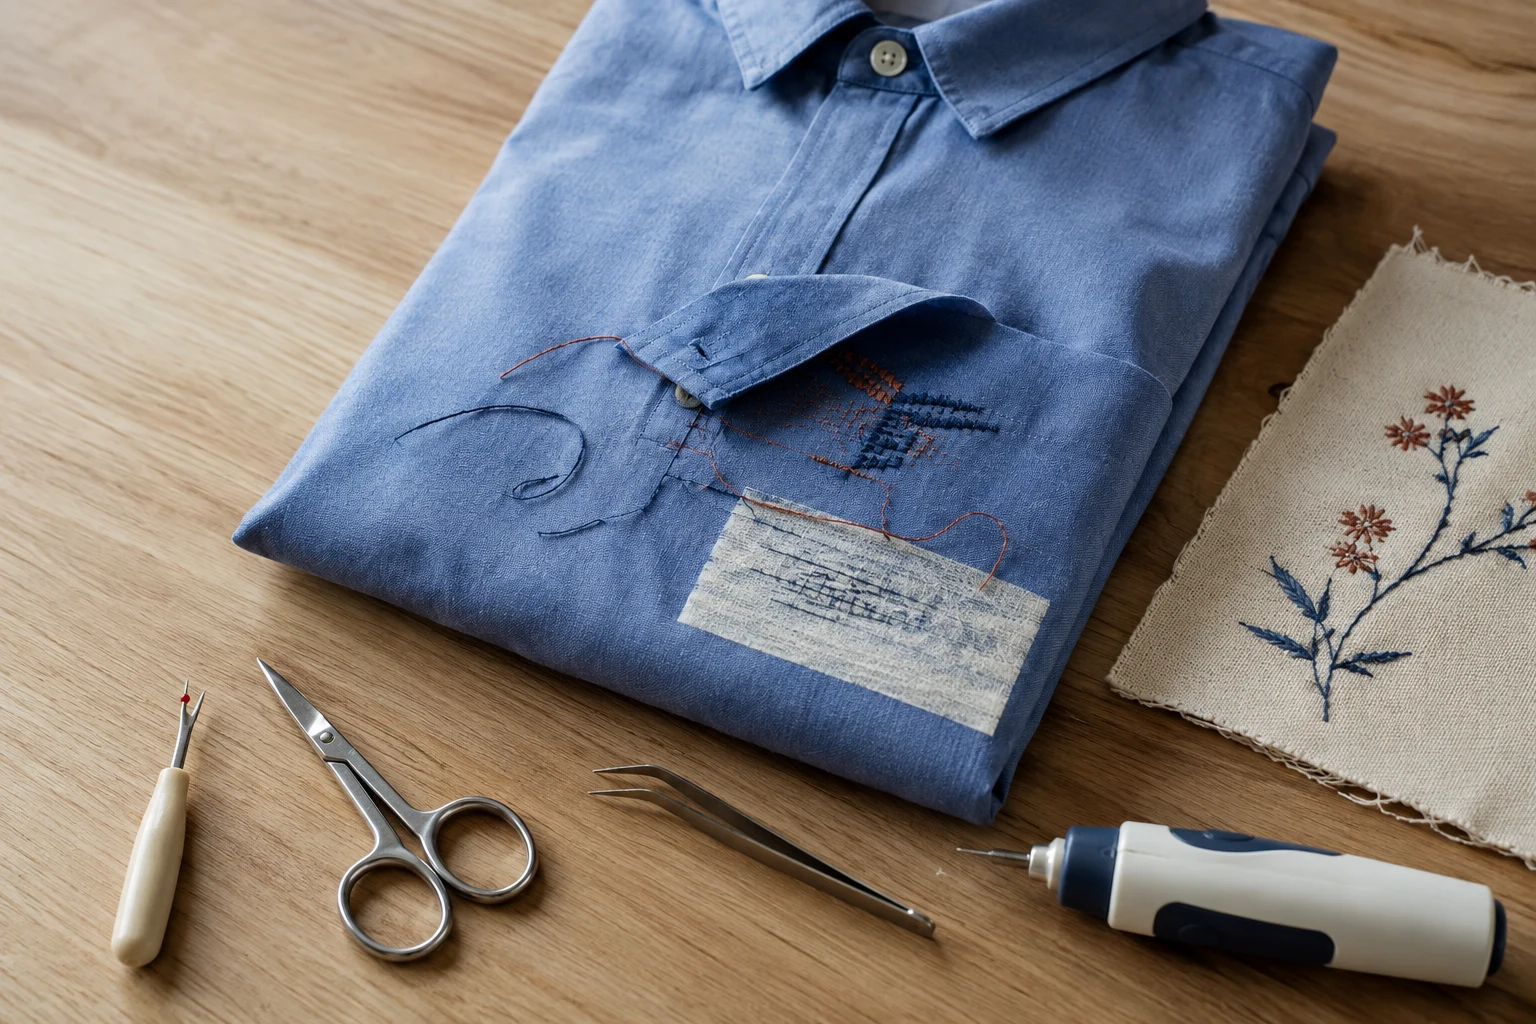
Cover image: AI-generated editorial concept; not a customer project or production proof.
You can often remove embroidery by cutting a few stitches from the back, then gently lifting the released threads from the front. Work in small sections and stop if the fabric stretches, frays or develops holes. No removal method guarantees an undamaged garment or an invisible result.
A seam ripper or fine embroidery scissors lets you isolate individual threads. A purpose-built electric stitch eraser is another option for accessible machine stitching, provided you follow its instructions. The right approach depends on the fabric, stitch structure and access to the reverse side.
Check the garment before cutting
Lay the item under good lighting and examine both sides. Identify the embroidery threads, the garment itself and any backing or lining. Do not begin if you cannot tell these layers apart.
Start with a few stitches at the edge of the unwanted design. Remove the released thread and inspect the exposed fabric before committing to the whole area. This test shows how the garment responds, although it cannot predict every part of the design.
Use the following as a conservative starting point:
Garment or embroidery condition | Suggested approach |
|---|---|
Stable woven fabric with clearly visible stitches | Test a small area with a seam ripper or fine scissors. |
Stretchy jersey, thin fabric or loose weave | Seek an assessment if the garment matters to you; stop at any stretching or snagging. |
Toweling, fleece or other raised surfaces | Check that you can distinguish embroidery from the garment’s loops or pile before cutting. |
Dense stitching with little fabric visible | Inspect frequently as each layer comes away; do not assume deeper threads are safe to cut. |
Lining or bonded material hiding the reverse | Ask an alterations or embroidery professional about access before opening the garment. |
Valuable, sentimental or already weakened fabric | Get a professional assessment before attempting removal. |
Confirm whether the decoration is stitched directly into the garment or is a separate patch. Removing a sewn-on patch means releasing its attachment stitches; adhesive may still hold it in place. The steps below address direct embroidery.
Choose an embroidery removal tool
Keep tweezers, a soft brush and good lighting nearby. Magnification can help you see the boundary between thread and fabric. Use a lint roller only after testing it on an inconspicuous area.
Seam ripper
A seam ripper has a pointed tip and a cutting edge for releasing stitches. It is useful when you can slip the point under a thread without catching the garment. Clover describes this use in its seam ripper guidance.
Choose it for small corrections or accessible hand and machine stitches. Thread-cleaning rubber ends are features of some tools, not every seam ripper.
Embroidery scissors
Small scissors give you access to individual threads you can lift clear of the cloth. Only snip when you can see what is between the blades. Do not push a closed point into dense stitching to search for a cutting path.
Electric stitch eraser
A stitch eraser cuts threads with a powered blade. Its operating technique depends on the model. For example, the Peggy’s Stitch Eraser 9 instructions supplied by Madeira specify working where bobbin thread is exposed on the underside, holding the fabric taut rather than drum-tight and avoiding extra pressure.
Do not assume a beard trimmer or household electric shaver is interchangeable with an embroidery removal tool.
Manual razor
A razor can cut exposed threads, but it also leaves little separation between the cutting edge and the garment. For a beginner trying to preserve clothing, choose a tool that allows you to isolate the thread. Avoid broad shaving passes across the fabric.
How to remove embroidery with a seam ripper or scissors
1. Expose and support the reverse side
Turn the garment inside out and lay the embroidery where you can see it clearly. Keep other garment layers out of the cutting area. Support the fabric without stretching it.
Do not automatically strip away all backing. Backing types behave differently, and bonded material may not peel away cleanly. Move only loose material that obstructs your view; if you cannot expose the stitches without pulling on the garment, stop and seek advice.
2. Cut a few visible threads
Slip the seam ripper under one accessible embroidery thread, keeping the garment out of its fork. Gently advance the thread onto the cutting edge. With scissors, lift a thread clear and snip it only when the fabric is visibly outside the blades.
The basic principle is the same as in the iFixit seam-removal guide: catch only the stitch and let the blade cut with minimal force. This guide demonstrates seam removal; apply that controlled cutting principle to individual embroidery threads rather than driving the tool through a dense design.
3. Lift released threads from the front
Turn the garment right-side out. Use tweezers or your fingers to lift the loosened thread ends gently. If a thread resists, return to the back and find the remaining attachment instead of pulling harder.
For hand embroidery, follow the thread path where it is visible. Cut accessible knots or connecting stitches only after separating them from the fabric and any stitches you intend to keep.
4. Repeat in small sections
Alternate between cutting on the reverse and clearing the front. Brush away fragments so you can keep inspecting the cloth. Machine embroidery may reveal further stitching underneath the visible design; check every newly exposed layer before cutting it.
Stop if the cloth begins to pucker under your pull, if garment fibers lift with the embroidery or if you see thinning, a run or a hole.
How to use an electric stitch eraser
Practice on an unwanted embroidered sample before using a powered cutter on a garment you want to keep. Read the instructions for your exact model, including blade position and maintenance.
Expose the reverse stitching and support the garment as directed by the manufacturer.
Confirm that the blade will contact embroidery thread and that no folds or extra garment layers are underneath it.
Work over a small section using the specified movement and pressure.
Stop the tool, turn the garment over and gently lift released threads.
Inspect both sides before making another pass.
For the Stitch Eraser 9, the manufacturer’s instructions call for exposed underside bobbin thread and no additional pressure. A powered cutter still needs careful control; repeated passes are not a solution when you cannot distinguish thread from cloth. See the model-specific operating instructions.
Clean up and assess remaining marks
Lift loose thread fragments with tweezers and brush the surface gently. Do not scrape at the cloth to make it look smoother. If using a tested lint roller, use light contact and stop if it lifts garment fibers.
Check the cleared area in daylight before washing, pressing or planning another design. Follow the garment’s care label for any cleaning or heat treatment. Avoid treating extra heat or steam as a universal fix.
A remaining outline is a reason to inspect, not to keep cutting. It may be loose thread, visible needle marks, a change in surface texture or a color difference. Remove only identifiable thread remnants. Washing and pressing cannot be relied on to repair cut fibers or make every trace disappear.
Can the garment be embroidered again?
Possibly, but assess the exposed fabric first. Do not sew another dense design over a weakened area simply to conceal it. Ask an embroiderer whether the garment can support new stitching, whether a patch is suitable or whether leaving the area alone is the better option.
If you need a replacement machine embroidery file, DigitEMB’s embroidery digitizing service is relevant to preparing the new design. Supply the intended size, fabric, placement and clear photographs of the cleared area. A digital file does not establish that a damaged garment is suitable for restitching; the person handling the garment should assess that separately.
For buyers in the US, Canada or UK arranging removal locally, send photographs of both sides before requesting an estimate. Ask whether the provider handles physical stitch removal, what visible marks may remain and whether an initial test is possible. For a batch of uniforms, assess one representative garment before authorizing work on the rest.
Frequently asked questions
Can embroidery come out without leaving holes?
Sometimes, but there is no guarantee. Test a few stitches and inspect the cloth. Stop if removing thread exposes damage or starts pulling garment fibers.
Should I remove the stabilizer first?
Not as a blanket rule. Identify it and expose the stitches without forcing bonded or trapped material away from the garment. Powered tools also have specific access requirements, so follow their instructions.
Can I remove just one embroidered letter?
You may be able to if you can identify its threads and separate them from neighboring stitching. Work one attachment at a time and check for connections before pulling anything free.
Is embroidery removal the same as trimming jump stitches?
No. Trimming jump stitches removes connecting threads between stitched areas while retaining the design. Removing embroidery releases the stitches that form the design itself.
When should I stop and ask for help?
Stop when you cannot distinguish embroidery thread from fabric, cannot reach the back safely, encounter persistent resistance or see the cloth deteriorating. Bring the garment to an alterations or embroidery professional before continuing.
Practical details for How to Remove Embroidery from Fabric While Reducing Garment Damage
Use the article above as a starting point, then make the production brief specific to your own design. A stitch file is made for a finished size and material, so the artwork alone is only part of the instruction.
Work through these points in order and keep the answers with the artwork or production request. A short written brief makes it easier to compare a proof with the intended result, ask a useful follow-up question and avoid relying on assumptions made from a screen image alone.
The aim is not to add unnecessary steps. It is to identify the choices that change the final result before work begins. If a requirement is unknown, flag it for confirmation rather than guessing; that keeps the approval process focused on the design, material and use that apply to this particular project. Save the approved brief with the project files for future reorders or revisions.
Confirm the finished use
State the item, placement and finished width and height. A chest logo, cap front and jacket back do not use the same sewing area, even when they start from the same artwork.
Protect the smallest details
Review small lettering, narrow gaps, thin outlines and tiny colour changes at the final size. Simplifying a fragile detail before digitizing is often more reliable than trying to force it into a small sew-out.
Match the file to the machine
Tell the production team the embroidery machine or format required, along with the fabric or garment type. This lets them prepare the right export and make choices that suit the material rather than treating every job alike.
Quick questions to check before you proceed
What should I send with my artwork?
Send the clearest original available, the finished dimensions, placement, fabric or garment type and the required machine format if you know it.
Can the same file be used at every size?
Not always. Scaling changes the relationship between stitch length, detail and fabric, so a design may need review when the finished size or placement changes.
What should I check before production?
Confirm the spelling, colours, final size, placement and any details that must remain readable. A proof or sample is the best point to catch a change.