
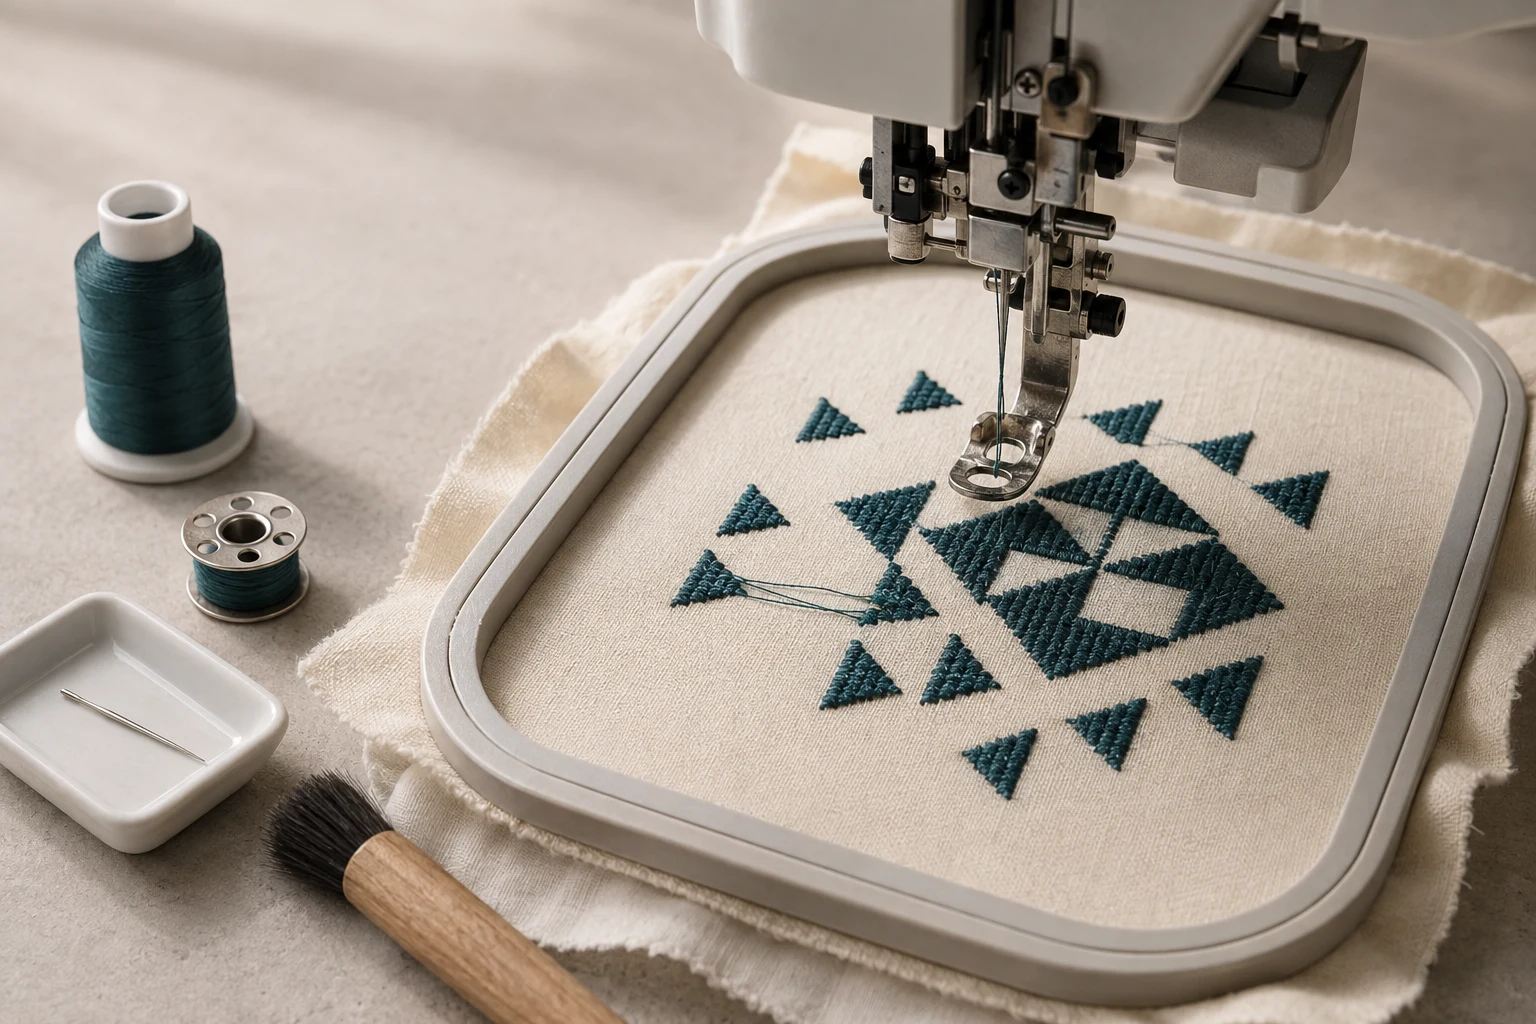
Cover image: AI-generated editorial concept; not a customer project or production proof.
Skipped stitches in machine embroidery commonly come from incorrect threading, a damaged or unsuitable needle, unstable fabric, or lint around the hook. Mechanical problems can also prevent stitches from forming. Start with the thread path and needle, check fabric support, and test before changing machine settings. Brother’s troubleshooting guide and Melco’s skipped-stitch reference identify these areas to investigate.
What is a skipped stitch?
A skipped stitch occurs when the threads fail to interlock at an intended stitch position. Unstable fabric can interfere with this process, leaving an interruption in the embroidery. Brother illustrates this in its embroidery basics guide.
Before troubleshooting, photograph the front and back of the sample and note where the defect occurs. A gap alone does not establish its cause; comparing the sew-out with the intended stitch pattern helps you decide what to investigate.
Threading and tension problems
Incorrect upper threading
Rethread the complete upper path using your machine’s diagram. Check every guide instead of correcting only the section nearest the needle. Brother lists incorrect upper threading among the causes of skipped stitches. Follow the threading procedure for your particular model. Brother: skipping stitches.
Unsuitable thread and needle combinations
Check that the needle is compatible with the thread you are using. Melco identifies an incorrect needle for the thread size, along with unsuitable thread, as possible causes. Select supplies according to the machine manual and thread manufacturer’s guidance; a thicker needle is not automatically the right solution. Melco: skipped stitches.
Tension that needs checking
Inspect both sides of the embroidery before adjusting tension. Bobbin thread appearing on the top can indicate excessive upper tension. Incorrect upper threading or bobbin installation can also prevent proper tension adjustment. Correct those first, then use your model’s recommended starting settings and test small changes. Avoid applying another machine’s tension number to yours. Brother: embroidery tension.
Needle problems
Replace a bent, blunt or damaged needle, and check its installation against the manual. Needle orientation and the required needle system depend on the machine, so do not assume one installation rule fits every embroidery model. Brother includes needle condition and installation in its skipped-stitch checks.
Use the specified needle system first, then select a compatible size and point for the thread and material. When troubleshooting, record the needle specification so you can repeat a successful setup.
Fabric movement, stabilizer and speed
Fabric that rises with the needle is described as flagging. This movement can prevent the thread loop from forming properly. Melco recommends checking backing stability, hooping and the presser foot, and reducing sewing speed to suit the application. It also identifies stitch density as a factor worth reviewing. Melco: troubleshooting flagging.
Check whether the fabric remains secure in the hoop and whether the backing adequately supports it. Test a slower speed on the same material. If the problem repeatedly appears in a dense section, ask the digitizer to review that area before changing density yourself. Make one change at a time so the result tells you something useful.
Bobbin-area maintenance and mechanical faults
Switch off and unplug the machine before cleaning beneath the needle plate or around the hook. Remove accessible lint using the method and tools specified in your manual. Brother includes accumulated dust in this area among its skipped-stitch checks. Brother: cleaning and troubleshooting.
If basic checks do not resolve the problem, the hook timing, hook gap, needle-bar depth or presser-foot mechanism may need attention. These are machine-specific adjustments. Do not change needle-bar depth simply because the fabric is thicker; consult the manufacturer’s service guidance or a qualified technician. Melco’s mechanical troubleshooting reference.
A practical troubleshooting order
Use this sequence to organize a test rather than changing several settings together.
Check | What to do |
|---|---|
Record the defect | Photograph both sides and note the design area, color and machine needle involved. |
Upper threading | Rethread according to the machine’s complete thread-path diagram. |
Needle | Fit a fresh compatible needle and verify its installation. |
Bobbin area | Check bobbin installation and clean accessible lint as the manual directs. |
Fabric support | Review hooping and backing; test a lower sewing speed. |
Tension | Begin with the model’s recommended settings and adjust only after threading checks. |
Repeat test | Sew on scrap matching the production fabric and backing; record each change. |
Persistent fault | Share the sample and setup details with the digitizer or machine technician. |
As a diagnostic comparison, try a design that has previously sewn successfully on the same material. If several designs fail, investigate the machine and setup further. If the defect repeats only in one design section, request a file review. This comparison narrows the investigation; it does not prove which component is responsible.
What to send when requesting help
For buyers and embroidery shops in the US, Canada and UK, a useful troubleshooting request includes the stitch file, finished dimensions with units, machine model, fabric, backing, needle specification, thread and clear photographs of both sides. Describe what you changed and whether the defect moved or stayed in the same place.
For a file-related enquiry, use DigitEMB’s embroidery digitizing service page or contact form to discuss the design and provide those details. A suspected mechanical fault belongs with the machine manufacturer or service technician.
Frequently asked questions
Should I tighten tension whenever stitches are missing?
No. Check threading, needle condition and fabric support first. Use the appearance of both sides of the sample and your machine’s tension instructions to guide any adjustment.
Can stabilizer help prevent skipped stitches?
Yes, when insufficient fabric support is contributing to the problem. Stabilization helps the threads interlock consistently, as shown in Brother’s embroidery basics guide.
When should I stop adjusting the machine myself?
Seek model-specific service support when correct threading, a fresh compatible needle, cleaning and a supported test sample do not resolve the fault, especially if hook or needle-bar adjustments appear necessary.
Practical details for What Causes Skipped Stitches in Machine Embroidery? Causes and Fixes
Use the article above as a starting point, then make the production brief specific to your own design. A stitch file is made for a finished size and material, so the artwork alone is only part of the instruction.
Work through these points in order and keep the answers with the artwork or production request. A short written brief makes it easier to compare a proof with the intended result, ask a useful follow-up question and avoid relying on assumptions made from a screen image alone.
The aim is not to add unnecessary steps. It is to identify the choices that change the final result before work begins. If a requirement is unknown, flag it for confirmation rather than guessing; that keeps the approval process focused on the design, material and use that apply to this particular project. Save the approved brief with the project files for future reorders or revisions.
Confirm the finished use
State the item, placement and finished width and height. A chest logo, cap front and jacket back do not use the same sewing area, even when they start from the same artwork.
Protect the smallest details
Review small lettering, narrow gaps, thin outlines and tiny colour changes at the final size. Simplifying a fragile detail before digitizing is often more reliable than trying to force it into a small sew-out.
Match the file to the machine
Tell the production team the embroidery machine or format required, along with the fabric or garment type. This lets them prepare the right export and make choices that suit the material rather than treating every job alike.
Quick questions to check before you proceed
What should I send with my artwork?
Send the clearest original available, the finished dimensions, placement, fabric or garment type and the required machine format if you know it.
Can the same file be used at every size?
Not always. Scaling changes the relationship between stitch length, detail and fabric, so a design may need review when the finished size or placement changes.
What should I check before production?
Confirm the spelling, colours, final size, placement and any details that must remain readable. A proof or sample is the best point to catch a change.