
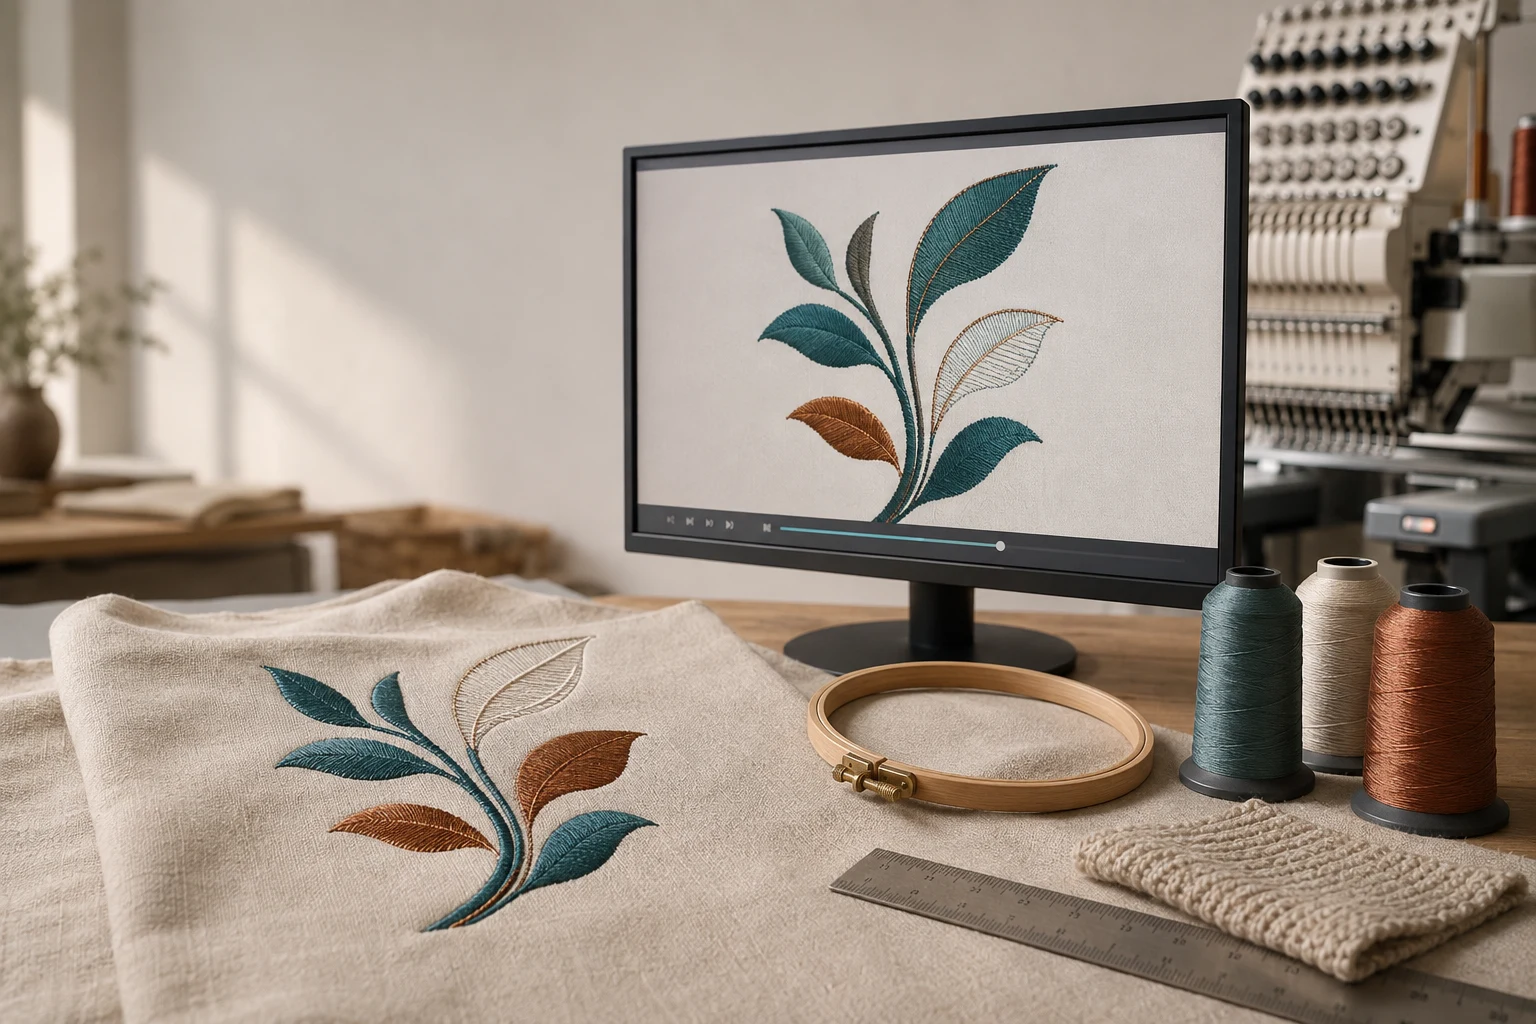
Cover image: AI-generated editorial concept; not a customer project or production proof.
Before running an embroidery file, open the exact machine file you plan to use, confirm its dimensions, and play through the stitch sequence. Check how underlay, top stitches, color changes and travel paths build the design. Then sew a sample on the intended fabric with the planned stabilizer and thread before approving a production run.
A preview can reveal sequencing problems, but it cannot prove how the embroidery will behave on fabric. Wilcom’s Stitch Player documentation explains how simulation follows machine movements to help assess a design before stitching.
Confirm the file and finished size
Start with the delivered stitch file, rather than relying only on an artwork image or a preview of the editable design. Keep the original file unchanged while reviewing it.
Compare the filename and revision with the job instructions. Check the intended machine format against your machine’s documentation, then confirm the design’s width, height and orientation. Verify that it fits the usable embroidery area of the selected hoop.
For orders moving between US, Canadian and UK teams, label measurements explicitly in millimeters or inches. For example, 3 inches is 76.2 mm; a size recorded simply as “3” leaves room for error. Hatch’s export guidance includes checking hoop fit before export.
Watch the stitch order
Play the whole design once to understand its construction. Replay complicated sections slowly, pausing around lettering, overlapping shapes and changes between separate areas.
Look for underlay appearing before the cover stitching it supports. It does not necessarily all run at the beginning: separate objects can have their own underlay and cover sequence. Underlay adds stitches for a reason—it supports the top stitching and helps stabilize the fabric. Wilcom’s underlay guidance explains these functions.
Check whether the design repeatedly travels between distant areas or returns to a color unexpectedly. Flag these sections for review, but do not automatically regroup everything by color: the intended layering also matters. Hatch identifies sequencing, connections, trim paths and color order as useful targets for Stitch Player review.
Check color changes, jumps and trims
Match each color block to the supplied thread sequence. A screen color is not always a reliable thread instruction. DST files store color-change commands but do not store the actual thread colors, according to Hatch’s DST documentation. Obtain the thread chart or production sheet if it is missing.
Show connectors or machine functions where your viewer supports them. Inspect travel across open areas, connections between letters and repeated trims. Ask whether a visible connecting thread is intended to remain, be covered by later stitches or be cut.
Use the preview to identify questions for the digitizer and operator. Confirm trim behavior on the target machine during the sample run; a displayed travel path alone does not establish how that machine will cut the thread.
Inspect the trouble spots
Zoom in to inspect construction, then return to the intended finished size to judge the overall design. Use these observations as reasons to investigate, rather than automatic pass-or-fail rules.
Area to inspect | What to look for |
|---|---|
Stitch count | An unexpected change from the previous revision. Consider size, coverage, detail and underlay before deciding the count is excessive. |
Dense areas | Crowded needle penetrations, repeated stitching over the same area or heavy overlaps that need a closer review. |
Tiny text | Letter openings and spaces that look crowded; check readability again on the physical sample. |
Thin satin columns | Narrow strokes and tight turns that may not reproduce clearly with the intended thread and fabric. |
Corners and joins | Bunched short stitches or abrupt transitions that deserve slow playback and sample inspection. |
Wilcom notes that short stitches and bunching at sharp corners can cause hard spots, fabric damage or thread and needle breakage in its EmbroideryStudio reference manual. Stitch count alone is therefore a weak quality measure: inspect where the stitches go.
Avoid applying one density or lettering threshold to every job. Fabric affects the required density, underlay and compensation, as explained in Wilcom’s fabric adjustment guidance. Record the area of concern and ask for a review suited to the actual garment.
Sew a sample before production
Use the intended fabric or a representative blank, along with the planned stabilizer, thread, needle and hooping method. Keep a record of those choices so that an approved result can be reproduced.
Watch the sample run for unexpected stops, uncut connections and recurring thread breaks. After removing it from the hoop, inspect lettering, outline alignment, coverage, puckering and stiffness. Compare the result with the approved artwork and finished dimensions.
A neat screen image cannot settle fabric-related questions. Hatch explains that fabric, hooping, stabilizer and stitch construction influence pulling, and recommends using a test stitch-out to assess compensation in its pull compensation guide.
If a revision is needed, send the exact file version, finished size, fabric details, a marked screenshot and clear sample photographs. For help preparing or revising a design, see DigitEMB’s embroidery digitizing services. Recheck the revised machine file and sew another sample before releasing the job.
Frequently asked questions
Can a simulator guarantee a clean sew-out?
No. It helps reveal stitch order and travel, while a sample shows the result with the actual fabric and machine setup. Use both before a production run.
Why are the colors wrong when I open a DST file?
DST does not retain actual thread colors. Compare the color-change sequence with the supplied thread chart instead of treating the viewer’s palette as authoritative. Hatch explains this format limitation.
Does a high stitch count mean the file is poor quality?
No. Coverage, detail and supporting underlay all contribute to the count. Investigate unexpected increases and crowded areas, then judge the construction and sample together.
Practical details for Reading a Stitch File Before You Run It
Use the article above as a starting point, then make the production brief specific to your own design. A stitch file is made for a finished size and material, so the artwork alone is only part of the instruction.
Work through these points in order and keep the answers with the artwork or production request. A short written brief makes it easier to compare a proof with the intended result, ask a useful follow-up question and avoid relying on assumptions made from a screen image alone.
The aim is not to add unnecessary steps. It is to identify the choices that change the final result before work begins. If a requirement is unknown, flag it for confirmation rather than guessing; that keeps the approval process focused on the design, material and use that apply to this particular project. Save the approved brief with the project files for future reorders or revisions.
Confirm the finished use
State the item, placement and finished width and height. A chest logo, cap front and jacket back do not use the same sewing area, even when they start from the same artwork.
Protect the smallest details
Review small lettering, narrow gaps, thin outlines and tiny colour changes at the final size. Simplifying a fragile detail before digitizing is often more reliable than trying to force it into a small sew-out.
Match the file to the machine
Tell the production team the embroidery machine or format required, along with the fabric or garment type. This lets them prepare the right export and make choices that suit the material rather than treating every job alike.
Quick questions to check before you proceed
What should I send with my artwork?
Send the clearest original available, the finished dimensions, placement, fabric or garment type and the required machine format if you know it.
Can the same file be used at every size?
Not always. Scaling changes the relationship between stitch length, detail and fabric, so a design may need review when the finished size or placement changes.
What should I check before production?
Confirm the spelling, colours, final size, placement and any details that must remain readable. A proof or sample is the best point to catch a change.