
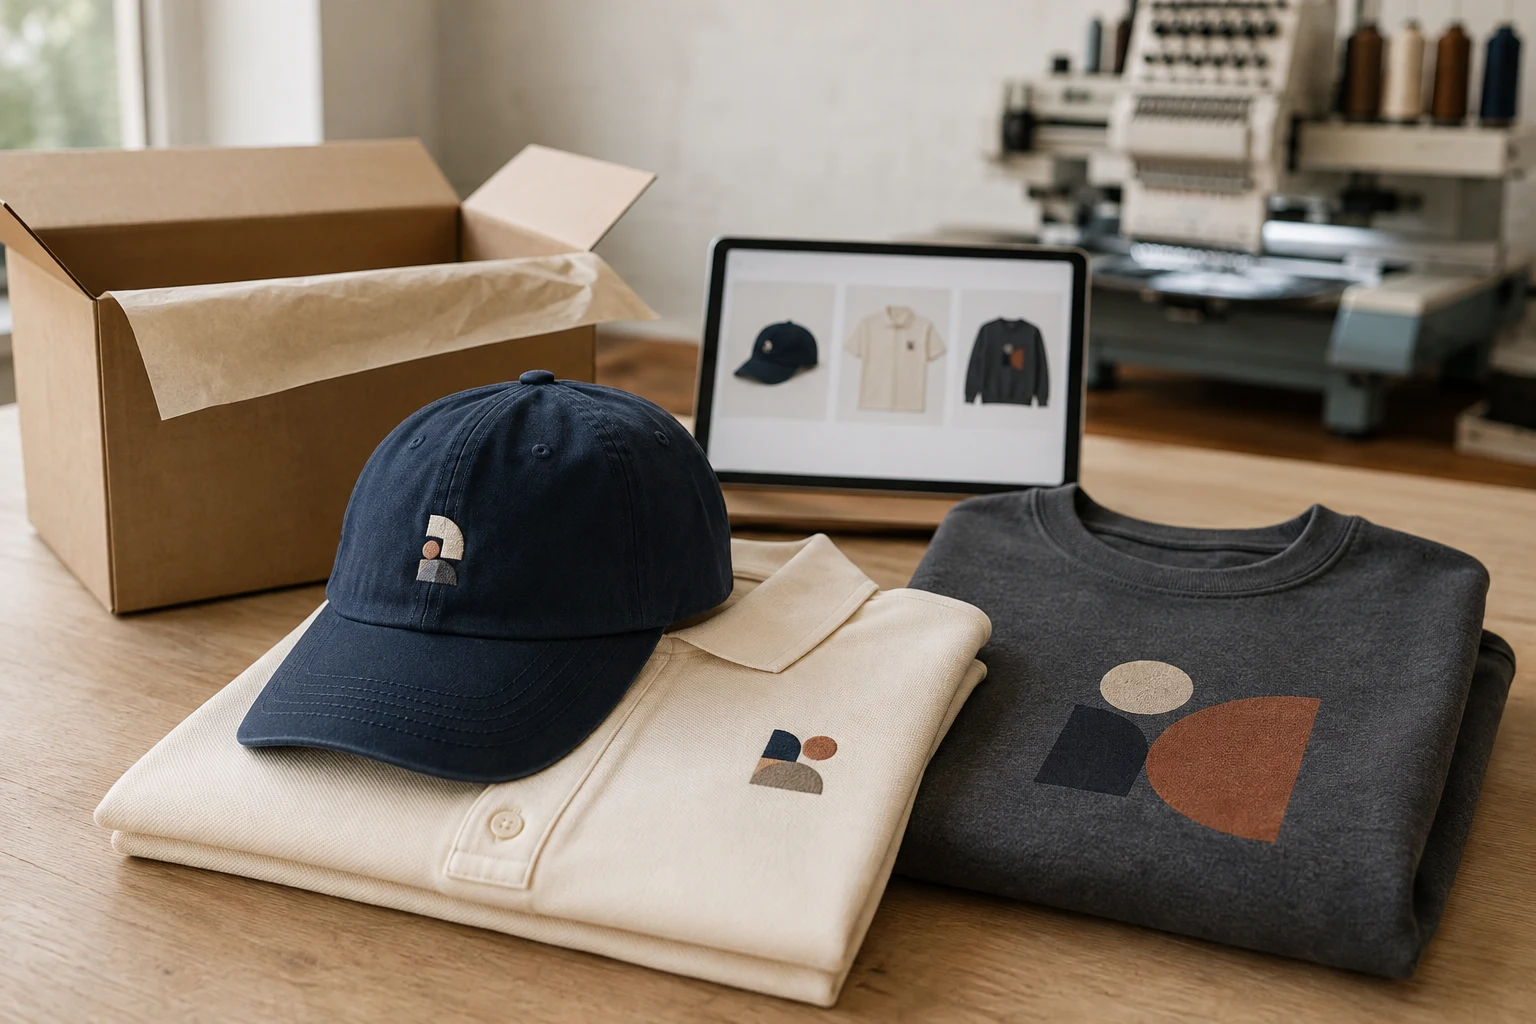
Cover image: AI-generated editorial concept; not a customer project or production proof.
Embroidery print on demand lets you sell stitched products that a supplier makes after an order arrives, without holding finished inventory yourself. It suits small logos, hats, polos and other apparel where thread texture is part of the appeal. The extra preparation is digitizing: your artwork needs machine-readable stitch instructions before production can begin. Providers such as Printful offer on-demand embroidery without order minimums.
Why embroidery POD is different
A print-ready image is not a stitch file. Digitizing defines how the machine builds the design, including stitch types, density, thread paths and color mapping. The finished size and placement matter, so moving a design from a shirt to a cap may require an adjustment or separate digitization. Printful explains its digitization process and reuse conditions.
Setup happens before the first production run, but “digitize once” needs qualification. An approved file can support repeat orders when the product and design remain compatible; it does not guarantee identical results forever. Keep an approved physical sample as your reference, and review a new sample when changing the garment, placement or supplier.
Where embroidery fits
Start with a design whose appeal survives simplification. A compact symbol or clear wordmark is a sensible starting point for a first collection.
Product idea | What to check before offering it |
|---|---|
Logo cap | The template and stitch requirements for the exact cap and placement. |
Polo or sweatshirt | How the chest design looks and feels on the chosen garment. |
Monogrammed accessory | Whether the supplier supports individual text changes and how each version is approved. |
Large decorative design | Available embroidery area, artwork suitability and any additional production charges. |
For standard embroidery, use bold shapes, readable lettering and solid colors. Tiny details, distressed textures and photographic shading often need simplification. Some specialist embroidery systems support gradients, so check the actual technique rather than assuming all embroidery has the same limits. Printful’s artwork guidelines illustrate these differences.
If the design depends on a large photographic image, consider a printed product instead. Choose the decoration method around what the buyer needs to see.
Check the supplier’s file policy first
Before paying for independent digitizing, ask whether your fulfillment provider accepts externally prepared stitch files. For example, Printful does not accept outside digitized files; it digitizes submitted artwork for its own equipment.
If your chosen embroiderer accepts outside files, DigitEMB’s embroidery digitizing service is a relevant preparation option. Supply the artwork, finished dimensions, garment type, placement and the embroiderer’s file requirements. Confirm acceptance before commissioning the work.
Also ask whether you can download and transfer the resulting file. Paying a setup fee does not automatically make a supplier’s file portable: Printful limits its digitized files to its own fulfillment.
Understand costs and delivery before listing
Stitch count can affect production charges, but it is not a universal formula for the whole order. For example, Printful uses stitch-count tiers for certain large embroidery uploads. Ask your supplier what the product charge includes and whether digitizing, adjustments or additional placements cost extra.
For buyers and sellers in the US, Canada and UK, request a destination-specific order estimate. Check the billing currency, shipping charge, production location and whether the quoted total includes applicable taxes or import charges. Confirm who handles replacements and returns. Treat production time and transit time as separate estimates when setting customer expectations.
Start with a sample, then expand
Choose one product and one placement from the supplier’s current catalog.
Prepare the artwork at its intended size, recording dimensions in inches and millimeters.
Confirm digitizing responsibilities, file acceptance and any setup charges.
Order a physical sample. Examine lettering, placement, thread colors, fabric distortion and comfort against the skin.
Photograph the approved item and retain its product details and design version for reorders.
A digital mockup helps with planning, but the sewn result may differ. Printful recommends sampling before selling. Expand the range once the first product meets your expectations.
Frequently asked questions
Can I start without buying stock?
Yes, with a provider offering individual on-demand orders. Budget for samples and any setup charges even if you hold no finished inventory.
Can one stitch file work for hats and shirts?
Do not assume so. Product type, placement and size can require changes. Ask the supplier whether an existing digitization is eligible for reuse.
Will reorders always match the first sample?
An approved file gives production a repeatable starting point, but it is not a blanket quality guarantee. Keep the sample and specifications, and ask how the supplier handles changes to blanks or production settings.
Practical details for Print on Demand Meets Embroidery: What to Know
The best next step is to translate the topic in this article into a short, specific brief. That gives everyone involved the same reference before a file, proof or finished product is prepared.
Work through these points in order and keep the answers with the artwork or production request. A short written brief makes it easier to compare a proof with the intended result, ask a useful follow-up question and avoid relying on assumptions made from a screen image alone.
The aim is not to add unnecessary steps. It is to identify the choices that change the final result before work begins. If a requirement is unknown, flag it for confirmation rather than guessing; that keeps the approval process focused on the design, material and use that apply to this particular project. Save the approved brief with the project files for future reorders or revisions.
State the intended outcome
Describe where and how the finished item will be used, who it is for and the result that matters most. This helps separate a useful requirement from a visual preference.
Collect the source material
Provide the clearest artwork, references and text available. Mark anything that cannot change, such as a logo, spelling, colour or placement requirement.
Review the final details
Before approving work, check the real size, material, format and any production constraints. Confirm the details that affect how the design will look in use, not only on a screen.
Quick questions to check before you proceed
What should I prepare first?
Start with the artwork, its intended use, finished size and any requirements that cannot change.
Why is a proof important?
A proof is the shared reference for checking details before production. It is the best time to correct a size, spelling, colour or placement issue.
What makes a useful request?
A clear request explains the goal, provides the best available source material and identifies the details that need approval.