
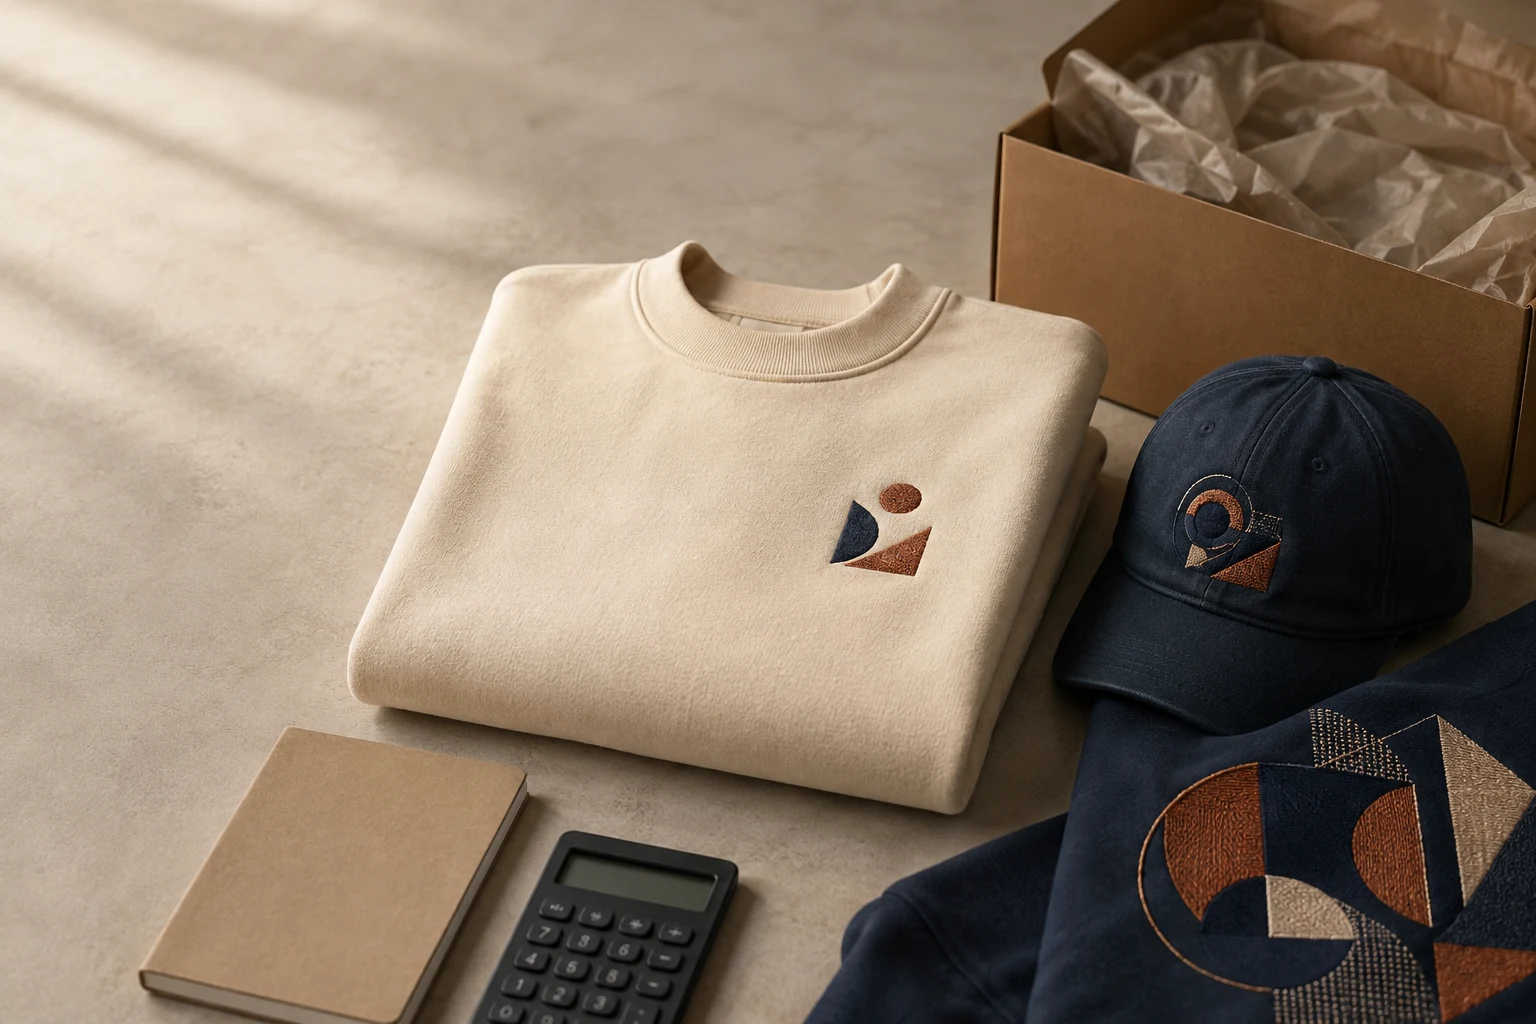
Cover image: AI-generated editorial concept; not a customer project or production proof.
To price a print-on-demand embroidered product, add all costs you absorb per sale, allocate design setup costs, then set a selling price that covers percentage fees and your target margin. Start with a quote for the exact product and design. Stitch count matters, but it is not a universal retail pricing formula.
What actually drives embroidery cost
Embroidery uses thread and machine time, so design size and complexity can affect production costs. How those costs appear on your invoice depends on the supplier. For example, Printful uses stitch-count tiers for products with its large-embroidery custom-upload option; that policy does not describe every embroidery product. Check the applicable product configuration before calculating your price. Printful’s large embroidery pricing.
Separate bundled charges from extras so you do not count the same cost twice.
Cost component | What to include |
|---|---|
Blank and embroidery | The quoted product price, including the selected size, embroidery type and included placement. |
Additional placements | Any charge for a sleeve, back or other extra location. Quote the complete configuration. |
Digitizing and adjustments | Initial design setup plus any separately quoted changes. |
Fulfillment and shipping | Handling, packaging upgrades and delivery costs you absorb. |
Selling costs | Marketplace fees, payment processing, advertising and other costs associated with the sale. |
Operating allowance | A realistic share of samples, subscriptions, customer service and expected replacement costs. |
A catalog price may leave out significant expenses. Printful, for example, lists shipping, taxes and additional features separately from its base product pricing. Printful pricing.
Spread setup costs realistically
Digitizing converts artwork into embroidery machine instructions. A setup fee may be reusable, but “one-time” does not necessarily mean one file works unchanged across every product. Printful distinguishes between design digitization and adjustments when switching product types, such as hats and apparel. Digitization and adjustment fees.
Calculate your setup allowance as:
Setup allowance per item = total setup cost ÷ expected sales of that design
Use a conservative sales estimate. Spreading setup over hundreds of hoped-for orders can make a slow-selling design look more profitable than it is. For a personalized one-off, recover the full setup cost in that order, either within the product price or as a clearly disclosed setup charge.
Before buying an independently digitized file, ask the fulfillment provider whether it accepts outside files for your exact product. Confirm any approval, adjustment or digitization charges. Where outside digitizing is accepted, explore DigitEMB’s embroidery digitizing services with the provider’s file requirements, garment details, placement and finished dimensions ready.
Build a price around margin
Markup and margin use different denominators. Markup measures profit against cost; margin measures it against selling revenue. Adding 40% to cost does not produce a 40% margin.
For a simplified model where percentage fees apply to the product selling price:
Selling price = fixed per-item costs ÷ (1 − percentage fee rate − target margin)
Here, fixed per-item costs include production, allocated setup, seller-funded shipping, fixed transaction charges and your other per-sale allowances. Enter percentages as decimals. The denominator must be greater than zero.
A worked example
The following figures are hypothetical arithmetic inputs in USD, not supplier prices or recommended retail rates.
Input | Illustrative amount |
|---|---|
Product and included embroidery | $20.00 |
Seller-funded shipping | $5.00 |
Allocated setup | $1.00 |
Other fixed per-sale costs | $2.00 |
Total fixed per-item costs | $28.00 |
Percentage selling fees | 10% |
Target margin after listed costs | 30% |
The calculation is $28 ÷ (1 − 0.10 − 0.30) = $46.67, rounded to the nearest cent.
At that price, percentage fees are approximately $4.67, leaving $14.00 after the listed costs. This is not automatically net business profit: any expenses omitted from the model still need funding.
If you offer a 10% discount, revenue drops to approximately $42.00. With the same costs and fee rate, the remaining amount falls to $9.80, or about 23.3% of revenue. Test planned promotions before deciding on the list price.
If your platform charges fees on shipping or other amounts as well, calculate those charges using its actual fee basis rather than applying this simplified formula unchanged.
Price for US, Canadian and UK orders
Build a separate cost calculation for each destination market you serve. Keep all inputs in the same currency—USD, CAD or GBP—and use the fulfillment quote for that destination.
For each market, confirm the shipping amount, any currency conversion charge, and whether import charges or taxes appear in the supplier quote or customer checkout. Record which amounts you absorb and which the customer pays. Avoid treating the full checkout total as product revenue without separating those components.
If you advertise shipping as included, fund it within your price. If you charge shipping separately, compare the shipping revenue with the actual shipping expense and any fees applied to that charge. Revisit the calculation when your supplier, fulfillment location or currency costs change.
Keep designs efficient without losing quality
Start with the intended garment, placement and finished dimensions. Ask for a quote on that configuration before adding more embroidery locations or expanding the design.
When the quote is too high, consider a smaller motif, fewer placements or simplified artwork. Keep the design recognizable and readable at its actual size. Use the product’s embroidery guidelines and permitted area; Printful directs sellers to the guidelines on each product page and provides templates for placement dimensions. Creating embroidery files.
Request an updated quote after changes. A lower stitch count only saves money when it changes the supplier’s charge. Order a sample before committing to the listing, and evaluate whether the finished product supports the price you intend to ask.
Frequently asked questions
Is embroidered POD always priced per thousand stitches?
No. Check the supplier’s product price and applicable surcharges. Stitch-based tiers are one model, and their scope may be limited to particular products or placements.
Should I charge digitizing separately?
For a one-off or personalized order, a disclosed setup charge can make the cost clear. For a repeat design, allocating setup across conservative expected sales may be easier for buyers to understand. Either way, recover the expense only once in your calculation.
What margin should I aim for?
Choose a target that covers your operating needs and leaves room for promotions and unexpected costs. Then compare the resulting delivered price with comparable products and buyer expectations. If the price is difficult to justify, reconsider the blank, design, placements or cost structure before reducing the margin.
Practical details for Pricing Your Print-on-Demand Embroidered Products
The best next step is to translate the topic in this article into a short, specific brief. That gives everyone involved the same reference before a file, proof or finished product is prepared.
Work through these points in order and keep the answers with the artwork or production request. A short written brief makes it easier to compare a proof with the intended result, ask a useful follow-up question and avoid relying on assumptions made from a screen image alone.
The aim is not to add unnecessary steps. It is to identify the choices that change the final result before work begins. If a requirement is unknown, flag it for confirmation rather than guessing; that keeps the approval process focused on the design, material and use that apply to this particular project. Save the approved brief with the project files for future reorders or revisions.
State the intended outcome
Describe where and how the finished item will be used, who it is for and the result that matters most. This helps separate a useful requirement from a visual preference.
Collect the source material
Provide the clearest artwork, references and text available. Mark anything that cannot change, such as a logo, spelling, colour or placement requirement.
Review the final details
Before approving work, check the real size, material, format and any production constraints. Confirm the details that affect how the design will look in use, not only on a screen.
Quick questions to check before you proceed
What should I prepare first?
Start with the artwork, its intended use, finished size and any requirements that cannot change.
Why is a proof important?
A proof is the shared reference for checking details before production. It is the best time to correct a size, spelling, colour or placement issue.
What makes a useful request?
A clear request explains the goal, provides the best available source material and identifies the details that need approval.