
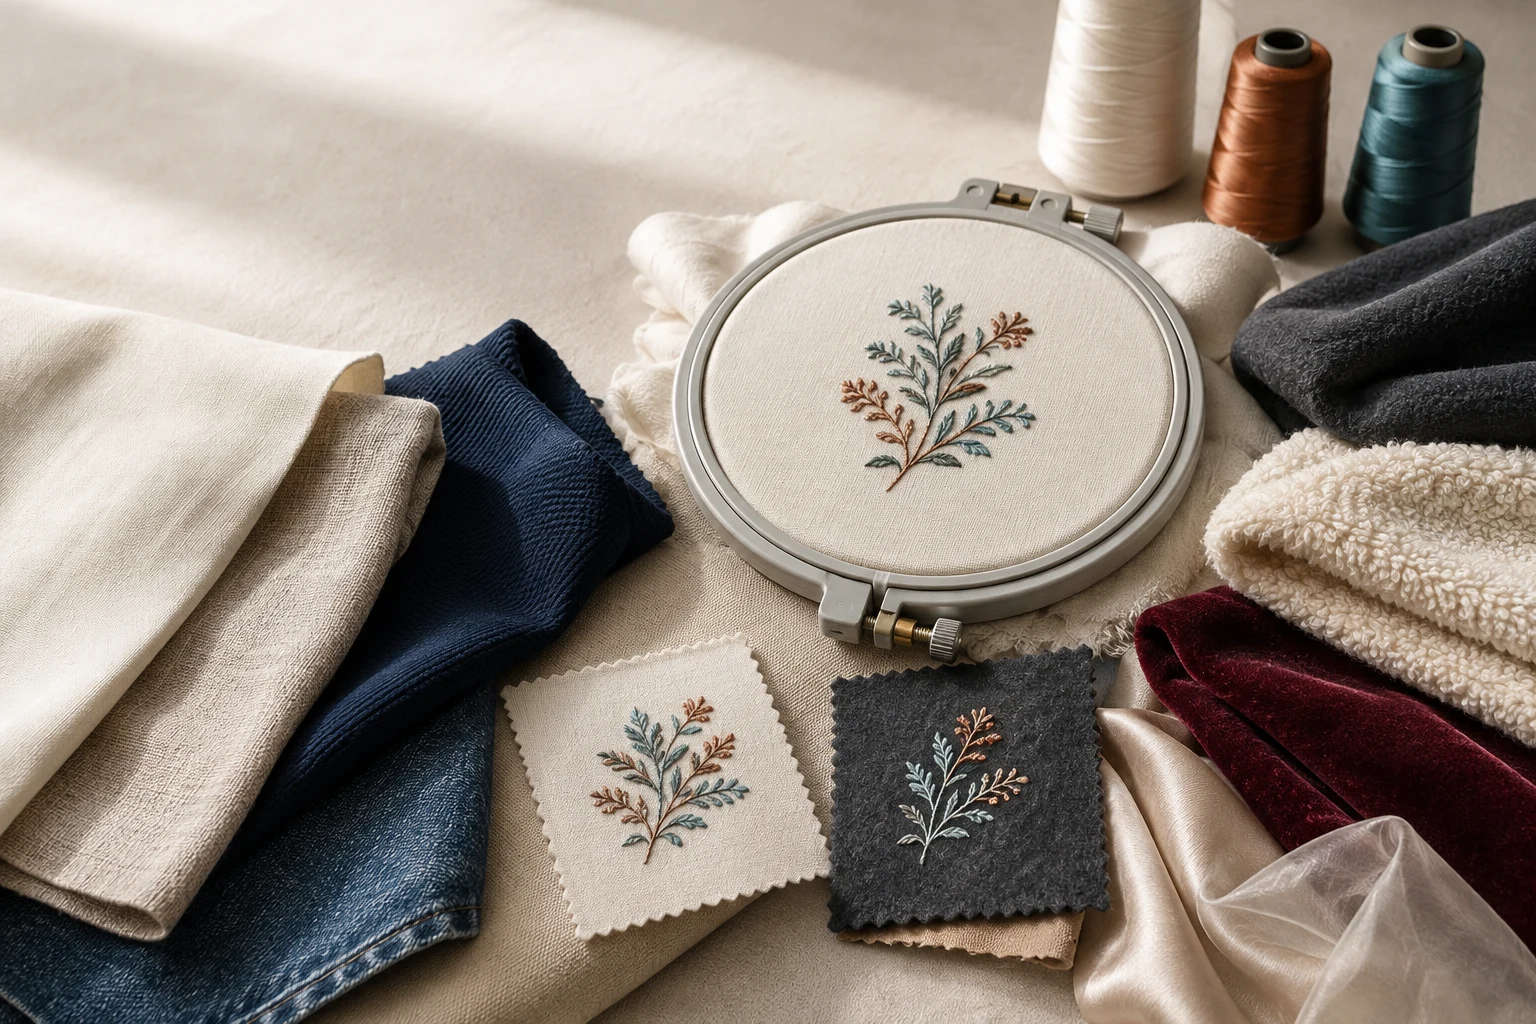
Cover image: AI-generated editorial concept; not a customer project or production proof.
A stable, closely woven cotton is a practical starting point for machine embroidery. Other useful choices include linen, polyester fabrics, denim, canvas, jersey, fleece, terry cloth, silk and velvet. The right choice depends on the fabric’s construction, stretch, surface and weight, together with the design you want to stitch.
Cotton is not one uniform embroidery surface: a woven cotton panel behaves differently from a cotton T-shirt or towel. Likewise, polyester can be woven, knitted or made into fleece. Choose the actual fabric and intended finish before deciding how to digitize and stabilize the embroidery.
Compare popular machine embroidery fabrics
Use this comparison to shortlist materials for clothing, accessories and home textiles. These are starting points for a sample sew-out, not fixed machine settings.
Fabric or construction | Suitable uses and selection considerations |
|---|---|
Closely woven cotton | A practical choice for quilt blocks, shirt panels and general embroidery practice. Check its weight and weave; thin, loosely woven cotton needs a lighter design and more careful support. |
Linen | Useful for napkins, table linens and garments. Open motifs help preserve drape; heavier stitching can change how the finished piece hangs. |
Woven polyester and cotton-polyester blends | Options for shirts and uniform panels. Assess the actual weave, thickness and stretch rather than choosing settings from the fiber label alone. |
Jersey, interlock and piqué knits | Used for T-shirts and polos. Their movement makes stabilization and a fabric-specific stitch file particularly important. |
Denim and canvas | Useful for bags, jackets and structured items. Sturdy versions support substantial designs, but check hoop access and thick seams. Stretch denim needs a different approach from rigid denim. |
Fleece | Suitable for sweatshirts, jackets and blankets. Account for both stretch and the raised surface when selecting support and design detail. |
Terry cloth | Used for towels and bathrobes. Loops can obscure stitches, so surface support matters as well as backing. |
Silk and satin fabrics | Options for decorative garments and accessories. Match design weight to the specific fabric; lightweight silk needs a different approach from firmer dupioni. |
Velvet | Useful for decorative accessories and home textiles. Plan for pile, hoop marking and stitch visibility before committing the finished item. |
Chiffon and organza | Specialist choices for sheer decorative work. Start with designs intended for lightweight materials and consider whether backing will remain visible. |
Embroidery Library’s own sew-out tutorials illustrate how construction changes design choice: its cotton muslin tests distinguish lightweight loose weaves from firmer cotton, while its linen tutorial discusses preserving drape. Its canvas guidance demonstrates the greater design flexibility of a sturdy woven surface.
How to choose fabric for your project
Look beyond the fiber name
Cotton, linen, silk and polyester describe fibers. Woven, knitted and nonwoven describe construction. Satin describes a weave, so satin fabric is not necessarily silk.
For practical selection, compare how easily the sample stretches, how open its structure is and whether its surface is flat or raised. A thick fabric is not automatically stable, and a nonwoven fabric is not automatically the best embroidery base.
Fabric-specific settings matter because the same artwork can need different underlay, stitch spacing and pull compensation on different materials. Wilcom’s Auto Fabric Assistant guidance explains how these settings change with fabric and object size.
Match the design to the fabric’s drape and surface
For a flowing blouse or lightweight scarf, start with an open motif rather than a large area of layered fill. On a firm bag panel, a more substantial design may be appropriate. Consider thread contrast too: assess the chosen colors against the actual fabric sample.
Silk needs particular care because its forms vary considerably. Embroidery Library’s silk embroidery tests use light designs on translucent charmeuse and more substantial embroidery on firmer silk. Its chiffon tutorial also addresses the challenge of removing support from sheer fabric.
Include care and ordering details
For washable fabric, follow its care instructions when preparing the sample and evaluating the finished embroidery. Ask the supplier about shrinkage and permitted washing or pressing methods before preparing a production batch.
For buyers in the US, Canada and UK, specify the finished embroidery size with units, such as inches or millimeters. Include the fabric composition, construction, weight if known, garment style and placement. A label that says only “polyester” leaves important questions unanswered.
Choose backing and topping for the fabric
Backing supports the fabric from underneath; topping controls the surface above it. They serve different purposes.
Support type | Practical starting point |
|---|---|
Cut-away backing | Use for knits and stretchy fabrics that need lasting support behind the stitches. Select the weight for the fabric and design. |
Tear-away backing | Consider for stable woven fabrics when most excess backing should be removed. Test whether removal disturbs the stitching. |
Water-soluble backing | Consider for suitable sheer projects where visible backing is undesirable and the fabric tolerates the removal process. |
Water-soluble topping | Use where pile or loops could swallow stitches. It does not replace the backing required underneath. |
These distinctions follow BERNINA’s stabilizer and materials guide. Avoid choosing the heaviest backing simply because the fabric feels difficult: the finished embroidery should have enough support without unnecessary stiffness.
Set stitch density and underlay together
Stitch density describes how closely stitches are placed. More density is not an automatic solution for stretchy, loose, slippery or delicate fabric.
Underlay consists of foundation stitches sewn before the visible cover stitches. It helps support the embroidery and can raise the cover stitching above a soft surface. Wilcom explains that suitable underlay can improve coverage more effectively than simply adding density, while helping reduce puckering and pulling. See its automatic underlay guidance.
Choose underlay according to the embroidered shape as well as the material. A narrow satin letter and a broad filled area should not automatically receive the same foundation. There is no single density or underlay recipe for everything labeled cotton, polyester or fleece.
For textured fabric, assess backing, topping and underlay before increasing cover-stitch density. For delicate material, consider reducing design weight or simplifying the artwork. Confirm the combination with a sew-out at the intended size.
Understand puckering, distortion and bird nesting
Lightweight fabric and stretchy knits deserve particular attention when evaluating puckering and shape distortion. If a sample wrinkles or outlines fail to align, review fabric movement, support and the design settings together. Adding stitches alone may not address the cause.
Bird nesting—thread bunching around the underside of the work—also requires a machine and threading check. Do not assume that denim, canvas or another fabric is inherently responsible. Brother’s thread-jamming guidance identifies tangled upper thread, unsuitable needle/thread/fabric combinations and inadequate stabilizer among the checks. Follow your own machine’s manual for threading and component specifications.
Test before ordering or stitching a batch
Use the actual garment or a matching fabric sample, the intended backing and topping, and the final embroidery size. A successful test on firm cotton does not establish that the same file will work on a stretchy polo.
Before approving production, inspect the sample out of the hoop. Look at edge alignment, lettering, pile showing through and the feel of the backing against the skin. For washable items, evaluate a sample after the intended care cycle as well.
When requesting DigitEMB’s embroidery digitizing service, provide the artwork, finished dimensions, fabric details, placement and required machine format. Mention whether the same design will be used on several fabric types so each application can be assessed.
Frequently asked questions
What fabric should a beginner use?
Start with a stable, closely woven cotton and a modest design. Avoid treating all cotton alike: loose muslin, jersey and terry cloth require different support and design choices.
Can you machine embroider polyester?
Yes. Identify whether it is a woven fabric, knit or fleece, then select the design settings and stabilizer for that construction. Fiber content alone is insufficient.
Do towels need denser stitching?
Not automatically. First address the loops with appropriate topping and a suitable underlay, alongside the necessary backing. Test whether the design remains readable before adding more cover stitches.
Can one embroidery file work on every fabric?
Do not assume so. Changing from a stable woven surface to a stretchy or raised fabric can require changes to stitch spacing, underlay and pull compensation. Test each intended material.
Practical details for Popular Fabrics for Machine Embroidery: How to Choose
Use the article above as a starting point, then make the production brief specific to your own design. A stitch file is made for a finished size and material, so the artwork alone is only part of the instruction.
Work through these points in order and keep the answers with the artwork or production request. A short written brief makes it easier to compare a proof with the intended result, ask a useful follow-up question and avoid relying on assumptions made from a screen image alone.
The aim is not to add unnecessary steps. It is to identify the choices that change the final result before work begins. If a requirement is unknown, flag it for confirmation rather than guessing; that keeps the approval process focused on the design, material and use that apply to this particular project. Save the approved brief with the project files for future reorders or revisions.
Confirm the finished use
State the item, placement and finished width and height. A chest logo, cap front and jacket back do not use the same sewing area, even when they start from the same artwork.
Protect the smallest details
Review small lettering, narrow gaps, thin outlines and tiny colour changes at the final size. Simplifying a fragile detail before digitizing is often more reliable than trying to force it into a small sew-out.
Match the file to the machine
Tell the production team the embroidery machine or format required, along with the fabric or garment type. This lets them prepare the right export and make choices that suit the material rather than treating every job alike.
Quick questions to check before you proceed
What should I send with my artwork?
Send the clearest original available, the finished dimensions, placement, fabric or garment type and the required machine format if you know it.
Can the same file be used at every size?
Not always. Scaling changes the relationship between stitch length, detail and fabric, so a design may need review when the finished size or placement changes.
What should I check before production?
Confirm the spelling, colours, final size, placement and any details that must remain readable. A proof or sample is the best point to catch a change.