
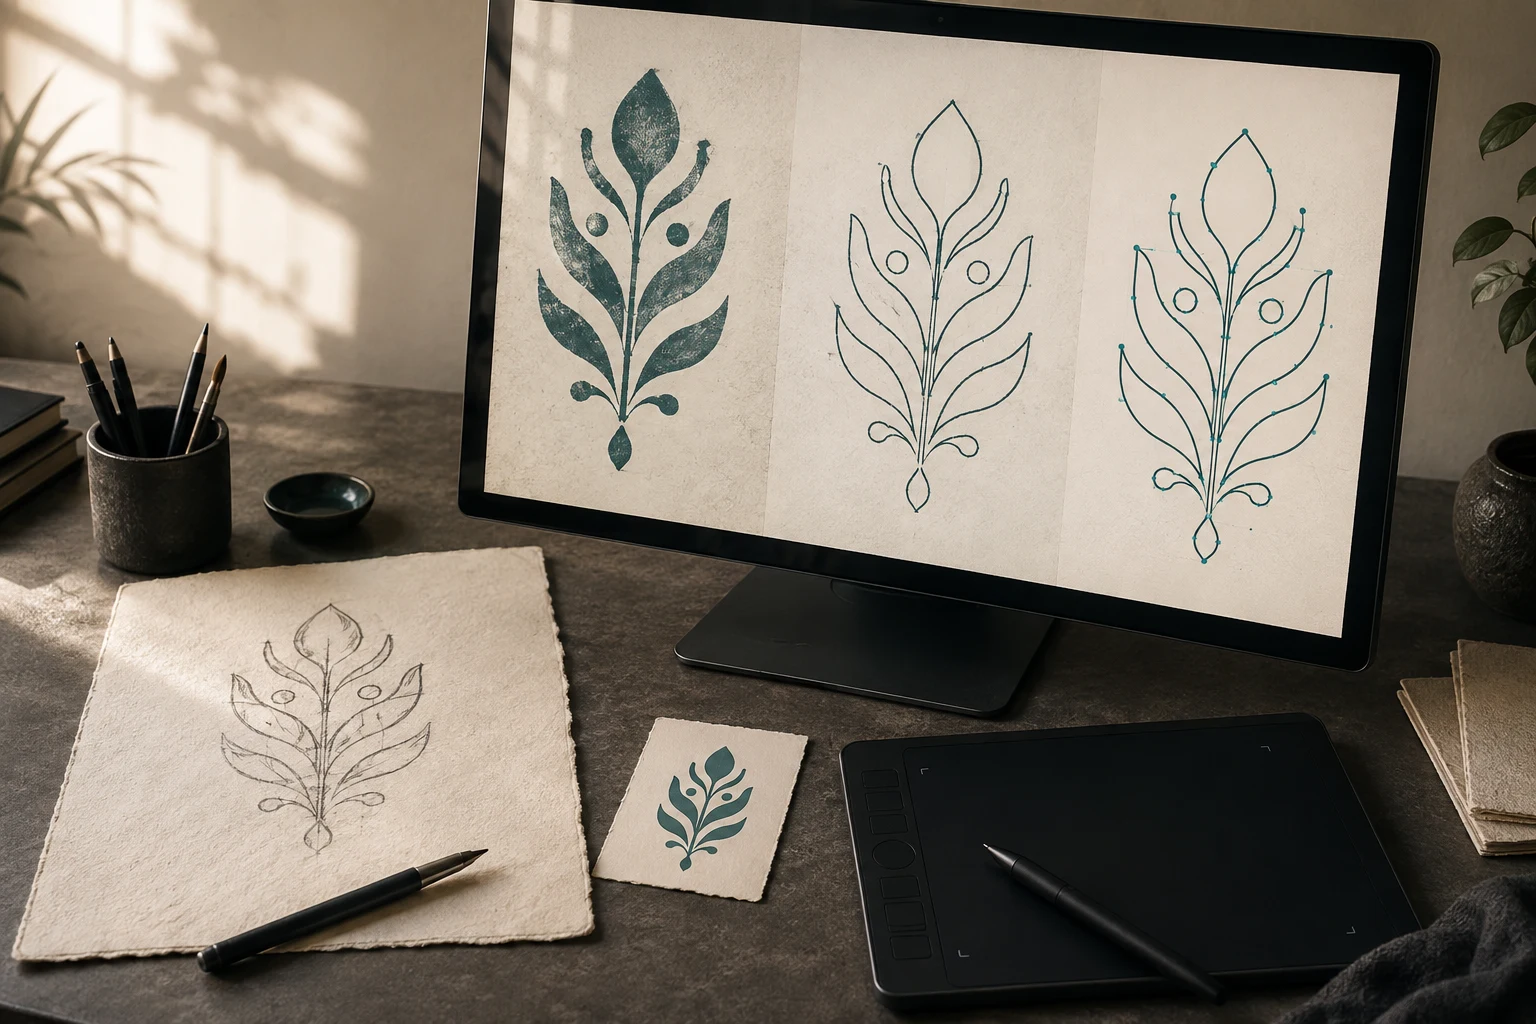
Cover image: AI-generated editorial concept; not a customer project or production proof.
To turn an image into editable vector artwork in Adobe Illustrator, place the image, select it, open Window > Image Trace, choose a preset, refine the result, and select Expand. Image Trace provides an automatic starting point; inspect and clean up the paths before using the artwork. Adobe documents this workflow in its Image Trace guide.
Trace an image into vector in eight steps
1. Prepare your source and document
Open an existing Illustrator document or create a new one. Keep an untouched copy of the source image for comparison.
Start with the clearest artwork available. A scan with strong edges is easier to assess than a tiny screenshot. Tracing cannot reliably reconstruct missing lettering or detail: Adobe’s preset examples show why low-resolution artwork may need manual correction.
2. Place and select the image
Choose File > Place, select your image, and place it on the artboard. Use the Selection tool to select the image you want to trace.
3. Open the Image Trace panel
Choose Window > Image Trace. The full panel gives you access to presets and adjustment controls. Recent Illustrator versions offer enhanced and legacy presets, so the choices may differ from older tutorials. See Adobe’s tracing workflow for the current interface.
4. Choose a suitable starting preset
Choose according to the result you need, then compare it with the source.
Intended result | Starting point |
|---|---|
One-color artwork or a silhouette | Black and White |
Flat-color illustration | Auto-Color, then reduce colors as needed |
Detailed photographic treatment | High Color or High Fidelity Photo |
Simplified photographic treatment | Low Color or Low Fidelity Photo |
Gray tonal artwork | Grayscale |
Clean line drawing | Outline |
These are starting points, not quality guarantees. A detailed photo trace can require substantial cleanup, while an outline trace needs careful inspection of line continuity. Adobe’s preset examples illustrate these tradeoffs.
5. Refine the tracing controls
Adjust one setting at a time so you can see its effect.
Control | What it changes |
|---|---|
Mode | Selects Color, Grayscale, or Black and White. |
Colors or Grays | Adjusts color or gray detail; behavior depends on the palette. |
Threshold | Sets the dividing point between black and white pixels. |
Paths | Higher values follow source edges more closely; lower values fit more loosely. |
Corners | Higher values favor more corner points. |
Noise | Higher values ignore larger small areas, reducing specks but potentially losing detail. |
Paths does not directly set the number of paths, and increasing it does not necessarily produce smoother curves. These control definitions follow Adobe’s Image Trace panel reference.
6. Preview and compare
Use Preview and the View options to compare the trace with the source. For background removal, use Ignore Color to exclude a chosen color, or the supported Transparency option for transparent source areas. Availability depends on the tracing settings. See Adobe’s panel options.
Inspect lettering, enclosed spaces, narrow gaps, and curved edges. Check both an enlarged view and the intended output size. Removing every tiny shape can also remove intentional details.
7. Expand the result
Keep a duplicate of the live trace if you may need to revise its settings. Select the tracing result, then select Expand in the Image Trace panel.
Expansion converts the result into grouped, editable paths. You can no longer adjust Image Trace settings on that expanded object. Adobe explains this in Edit tracing results.
8. Edit and refine the paths
Double-click the group to edit in isolation mode, or ungroup it to work with individual objects. Remove stray pieces, correct damaged contours, and review fills and strokes. Use Object > Path > Simplify cautiously to reduce excess anchor points, comparing the silhouette before and after. These editing options are covered in Adobe’s tracing cleanup instructions.
Save an editable master before preparing the file your supplier requests.
Image Trace or the Pen tool: which should you use?
Try Image Trace when the source has clear shapes and the preview is already close to your goal. Consider manual tracing when important curves, lettering, or geometric relationships remain distorted after adjustment.
The Pen tool lets you place anchors and control curve direction with handles. Adobe’s Pen tool guide explains how those curves are constructed. This control takes practice, but can be useful when a small number of carefully drawn shapes would replace extensive automatic cleanup.
A practical compromise is to trace the usable parts automatically and redraw the troublesome areas. Judge the total cleanup effort and the final appearance rather than assuming either method always wins.
Before sending the artwork to a supplier
For orders in the US, Canada, or UK, specify the finished dimensions and units, intended use, required file format, and colors to preserve. Ask the supplier to confirm those requirements before you prepare the final delivery file.
If you need help rebuilding the artwork, explore DigitEMB’s raster-to-vector services. Include the original image and identify details that must remain accurate so the requested work is clear.
Frequently asked questions
Why does my trace look rough?
The source may contain pixelated edges, compression artifacts, or unwanted specks. Try a clearer source first, then balance Paths and Noise. Tight edge fitting can preserve unwanted bumps as well as useful detail, as Adobe’s preset examples demonstrate.
Why can’t I edit individual traced shapes?
Select Expand first, then enter isolation mode or ungroup the result. Expansion is the step that makes the tracing result available for ordinary path editing. See Adobe’s editing guide.
Which settings work for every image?
There is no universal preset. Start with the intended visual result, compare critical details, and stop adjusting when manual correction would be more efficient.
Practical details for How to Trace an Image to Vector in Adobe Illustrator
Vector artwork is built from editable paths rather than a fixed grid of pixels. The clearest result starts with a specific intended use, because a file prepared for print, cutting and embroidery may need different checks.
Work through these points in order and keep the answers with the artwork or production request. A short written brief makes it easier to compare a proof with the intended result, ask a useful follow-up question and avoid relying on assumptions made from a screen image alone.
The aim is not to add unnecessary steps. It is to identify the choices that change the final result before work begins. If a requirement is unknown, flag it for confirmation rather than guessing; that keeps the approval process focused on the design, material and use that apply to this particular project. Save the approved brief with the project files for future reorders or revisions.
Start with the best source
Provide the largest, clearest original you have and include any brand colours, fonts or reference files. A small or blurry image can still be traced, but missing edges and lettering need careful confirmation.
Define the final use
Say whether the artwork is for print, cutting, screen printing, embroidery reference or a digital asset. This tells the artist which details, colour separations and file formats matter most.
Review paths, text and colour
Before using the finished file, check that lettering is correct, shapes are closed where required and colours match the approved artwork. Keep a master editable file as well as the delivery format used by production.
Quick questions to check before you proceed
Is a vector file the same as an embroidery file?
No. A vector is editable artwork; an embroidery file contains stitch instructions. Vector art can be useful source material for digitizing, but it still needs to be digitized for machine embroidery.
Can a blurry logo be converted?
Often, yes, but the result depends on what can be verified. Supply a clearer reference, font name or brand guide whenever possible.
Which details need approval?
Check spelling, line weight, enclosed spaces, colour choices and the shape of any logo elements before the file goes to print or production.