
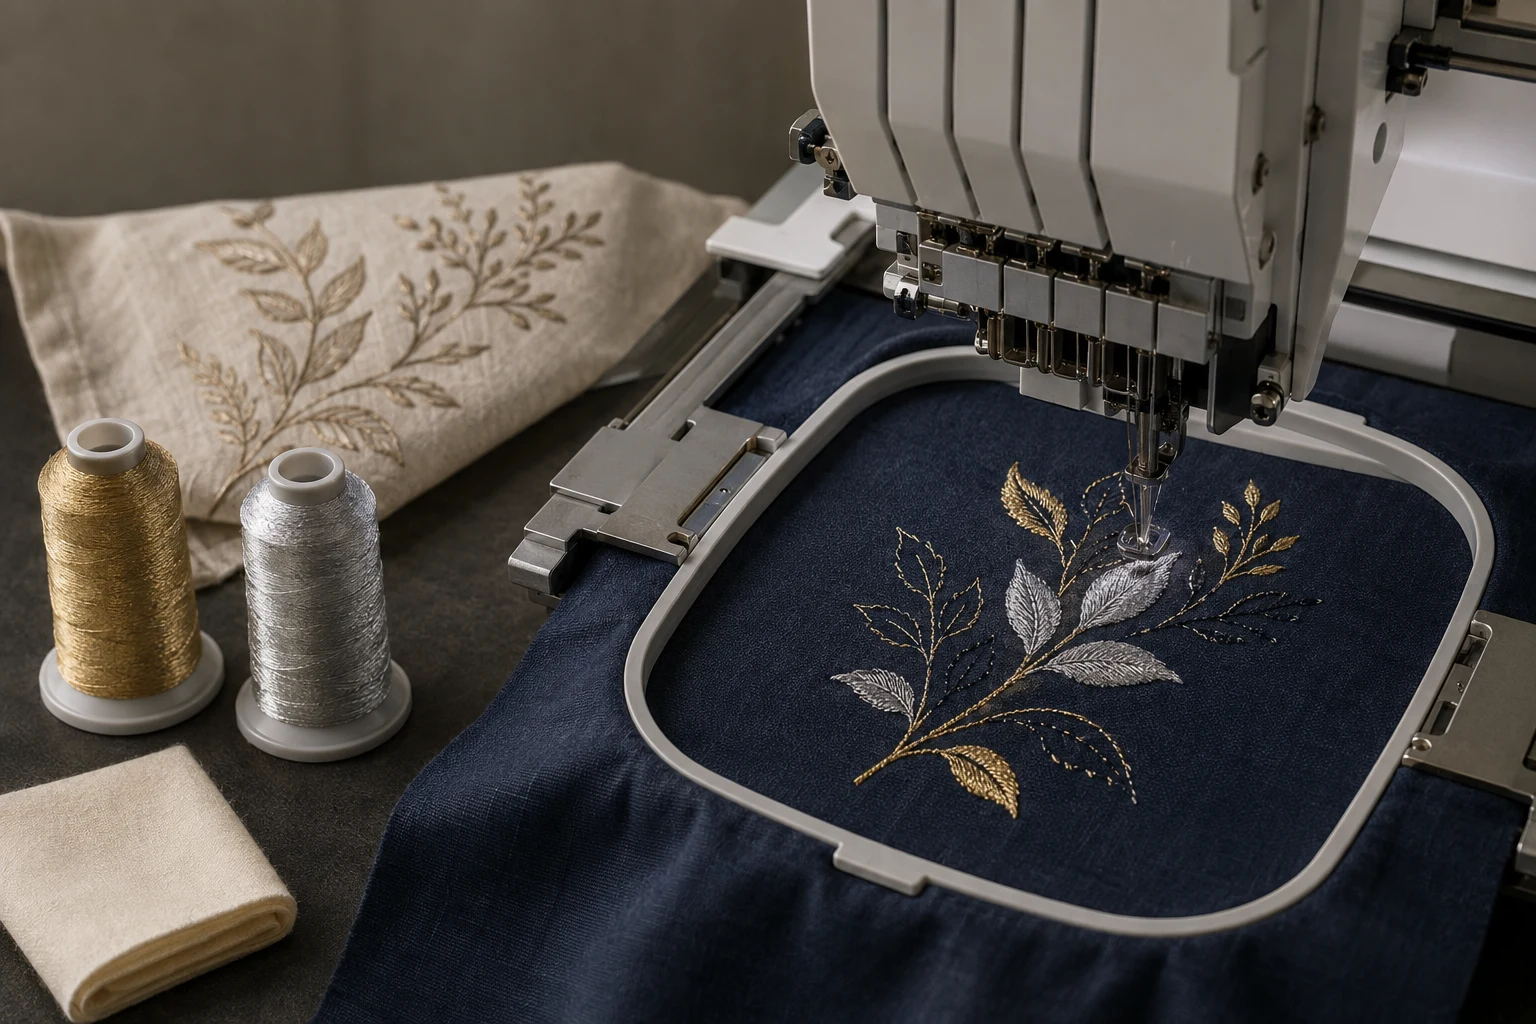
Cover image: AI-generated editorial concept; not a customer project or production proof.
To embroider with metallic thread, choose a product intended for machine embroidery, match its needle recommendations to your machine, ensure smooth thread feeding, and test the design on your actual fabric and stabilizer. Many traditional metallic threads benefit from slower stitching and reduced upper tension, but settings depend on the specific product. Madeira’s metallic-thread guidance explains these starting principles.
Metallic accents can add shine to clothing, accessories and home décor. Reliable results come from treating the thread, design and fabric as one combination rather than assuming a gold or silver spool will behave like ordinary embroidery thread.
Choose the right metallic thread
Construction matters more than a broad label such as “rayon metallic” or “polyester metallic.” Check the product description, intended application and handling instructions.
Thread option | What to know |
|---|---|
Wrapped metallic | A reflective wrapping surrounds a supporting core. Core materials and outer layers vary by product. |
Flat metallic | A thin ribbon or film creates strong reflections and needs careful feeding to avoid unwanted twisting. |
Holographic metallic | Some flat threads use a holographic layer for changing reflections. |
Variegated metallic | Multiple colors provide a changing color effect; check the underlying construction separately. |
For examples, Sulky describes a polyester-core wrapped thread alongside flat and holographic varieties in its metallic embroidery guide. Superior describes a nylon-core construction and offers variegated options in its metallic-thread overview.
Some products handle differently from traditional wrapped metallics. Madeira’s CR Metallic guidance specifies conventional embroidery needles and settings similar to its polyester thread. Read the instructions for the exact range you buy.
Why metallic thread frays, twists or breaks
A metallic thread’s decorative structure can suffer from friction, excessive tension or an unsuitable needle. Dense stitching adds another challenge. Madeira recommends matching the needle to the thread and using designs prepared for metallics in its handling advice.
Watch the thread as it leaves the spool. Tight coils or thread doubling back on itself suggest a feeding problem. Flat products need particular attention: Sulky advises arranging the spool so the thread feeds as flat as possible into the tension area. Follow the product and machine instructions when choosing spool orientation or a compatible thread stand. Sulky’s feeding guidance illustrates why this matters.
Set up your machine
Match the needle to the thread and fabric
Use a fresh needle of the correct system for your machine. A household needle and an industrial needle are not interchangeable simply because their size numbers match.
A metallic needle’s elongated eye gives the thread more room to pass through. SCHMETZ explains this feature in its metallic needle specification. A compatible topstitch needle may also be appropriate when the thread manufacturer recommends it.
Avoid making 90/14 a universal rule. Superior recommends a 90/14 topstitch needle for its metallic thread on home machines, while Madeira lists 75/11 for FS Metallic 40 and 90/14 for FS Metallic 30. Match the product recommendation with your machine’s permitted needle system and the fabric being embroidered. Superior’s recommendation, Madeira’s FS specifications.
Start with clean guides and a controlled speed
Clean accessible thread guides and the bobbin area according to your machine manual. Replace an unsuitable or damaged needle before changing multiple settings.
For its general metallic workflow, Madeira suggests 650–750 stitches per minute. Treat that as a manufacturer example, not a requirement for every machine or metallic product. Start within your equipment and thread instructions, then assess the sample. Madeira’s setup guide.
Adjust tension through test stitching
Traditional metallics often need less upper tension. Record the original setting, make small changes, and inspect the resulting stitches rather than relying on how the thread feels when pulled by hand.
Use a compatible embroidery bobbin thread; metallic upper thread does not require metallic thread underneath. Superior recommends smooth polyester bobbin thread for its metallic product. Its numerical tension recommendation is product guidance, not a transferable setting for every machine. Superior’s setup advice.
Follow your machine manual for bobbin adjustment. Avoid changing both upper and bobbin tension together during an initial test, because that makes the effect of each change harder to identify.
Choose a suitable design, fabric and stabilizer
Give metallic stitches enough space
Open motifs and selected accents are sensible first projects. Madeira recommends reduced density, avoiding sharp angles, and observing the selected thread’s minimum and maximum stitch lengths. Ask a digitizer to review crowded areas and overlapping stitching for the intended metallic product. Madeira’s design guidance.
Do not use shrinking as a shortcut for reducing density. Request a version prepared at the final embroidery dimensions, with spacing and stitch lengths checked for that size.
Stabilize for the fabric and design
A stable woven cotton is a practical test material, but test the final design on the intended project fabric too. Knits and textured fabrics require an appropriate support plan; metallic thread alone does not determine the backing.
BERNINA recommends cut-away stabilizer for knits and stretchy fabrics. For stable wovens, tear-away may be suitable depending on the design and required support. Sheer fabrics need additional consideration of visible backing, drape and whether wash-away removal suits the project. BERNINA’s stabilizer guide.
Test before stitching the finished item
Use the same fabric, backing, thread and final design size planned for production. BERNINA emphasizes testing because fabric and design differences affect stabilizer performance. BERNINA’s testing guidance.
Record the thread product, needle, speed and tension settings.
Stitch a sample that includes the design’s most demanding areas.
Inspect the front and back, then check the fabric after releasing the hoop.
Change one variable at a time and repeat the affected section.
Run the full design successfully before committing valuable garments or a batch order.
These records also help when requesting a file revision: report where a problem occurs and include clear photographs of both sides.
Troubleshoot metallic-thread problems
Use these checks to narrow down the cause. They follow the needle, feeding, tension and design principles in Madeira’s troubleshooting preparation and Sulky’s metallic guide.
Symptom | First checks |
|---|---|
Fraying near the needle | Replace the needle with the recommended compatible type and size; inspect the thread path for catching. |
Twisting before the tension guides | Recheck spool orientation and the thread’s route into the machine. |
Repeated breaks in one design area | Review local density, sharp turns and stitch lengths. |
Breaks across the whole design | Recheck needle suitability, feeding, speed and tension in sequence. |
Loose or inconsistent stitches | Rethread according to the machine manual, then assess tension on a fresh sample. |
Puckering | Reassess fabric support, hooping and design suitability before focusing only on the metallic thread. |
Stop the machine before clearing tangled thread or inspecting the needle area. Persistent catching after routine cleaning and rethreading warrants the machine manufacturer’s troubleshooting procedure or a technician’s inspection.
What to specify when ordering digitizing
For buyers in the US, Canada and UK, a useful brief includes the final dimensions in millimeters or inches, garment fabric, placement, machine model, required file format and exact metallic thread range. Mark which parts should use metallic thread and explain how the finished item will be washed.
You can use DigitEMB’s embroidery digitizing service page to discuss a file request. Ask whether the selected artwork needs changes for the intended thread, and arrange your own production sample before approving a garment run.
Frequently asked questions
Can I use metallic thread in a home embroidery machine?
Often, yes. Manufacturers such as Superior provide home-machine recommendations. Confirm compatibility in your machine manual and follow the exact thread product’s instructions. Superior’s home-machine guidance.
Does every metallic thread need a larger needle and lower tension?
No. Recommendations vary by construction and thickness. Madeira CR Metallic, for example, specifies standard embroidery needles and polyester-like settings. Madeira CR specifications.
Can metallic embroidery be washed?
Check the exact thread’s care instructions alongside those for the fabric and backing. Metallic products differ in laundering resistance; a claim for one range should not be applied to another. Test the intended care process on a sample before approving washable merchandise. Madeira’s product-specific metallic information.
How should I store metallic thread?
Keep it protected from dust, heat and humidity in a cool, dry place, following its manufacturer’s instructions. Madeira’s thread storage advice.
Practical details for How to Do Machine Embroidery With Metallic Thread
Use the article above as a starting point, then make the production brief specific to your own design. A stitch file is made for a finished size and material, so the artwork alone is only part of the instruction.
Work through these points in order and keep the answers with the artwork or production request. A short written brief makes it easier to compare a proof with the intended result, ask a useful follow-up question and avoid relying on assumptions made from a screen image alone.
The aim is not to add unnecessary steps. It is to identify the choices that change the final result before work begins. If a requirement is unknown, flag it for confirmation rather than guessing; that keeps the approval process focused on the design, material and use that apply to this particular project. Save the approved brief with the project files for future reorders or revisions.
Confirm the finished use
State the item, placement and finished width and height. A chest logo, cap front and jacket back do not use the same sewing area, even when they start from the same artwork.
Protect the smallest details
Review small lettering, narrow gaps, thin outlines and tiny colour changes at the final size. Simplifying a fragile detail before digitizing is often more reliable than trying to force it into a small sew-out.
Match the file to the machine
Tell the production team the embroidery machine or format required, along with the fabric or garment type. This lets them prepare the right export and make choices that suit the material rather than treating every job alike.
Quick questions to check before you proceed
What should I send with my artwork?
Send the clearest original available, the finished dimensions, placement, fabric or garment type and the required machine format if you know it.
Can the same file be used at every size?
Not always. Scaling changes the relationship between stitch length, detail and fabric, so a design may need review when the finished size or placement changes.
What should I check before production?
Confirm the spelling, colours, final size, placement and any details that must remain readable. A proof or sample is the best point to catch a change.