
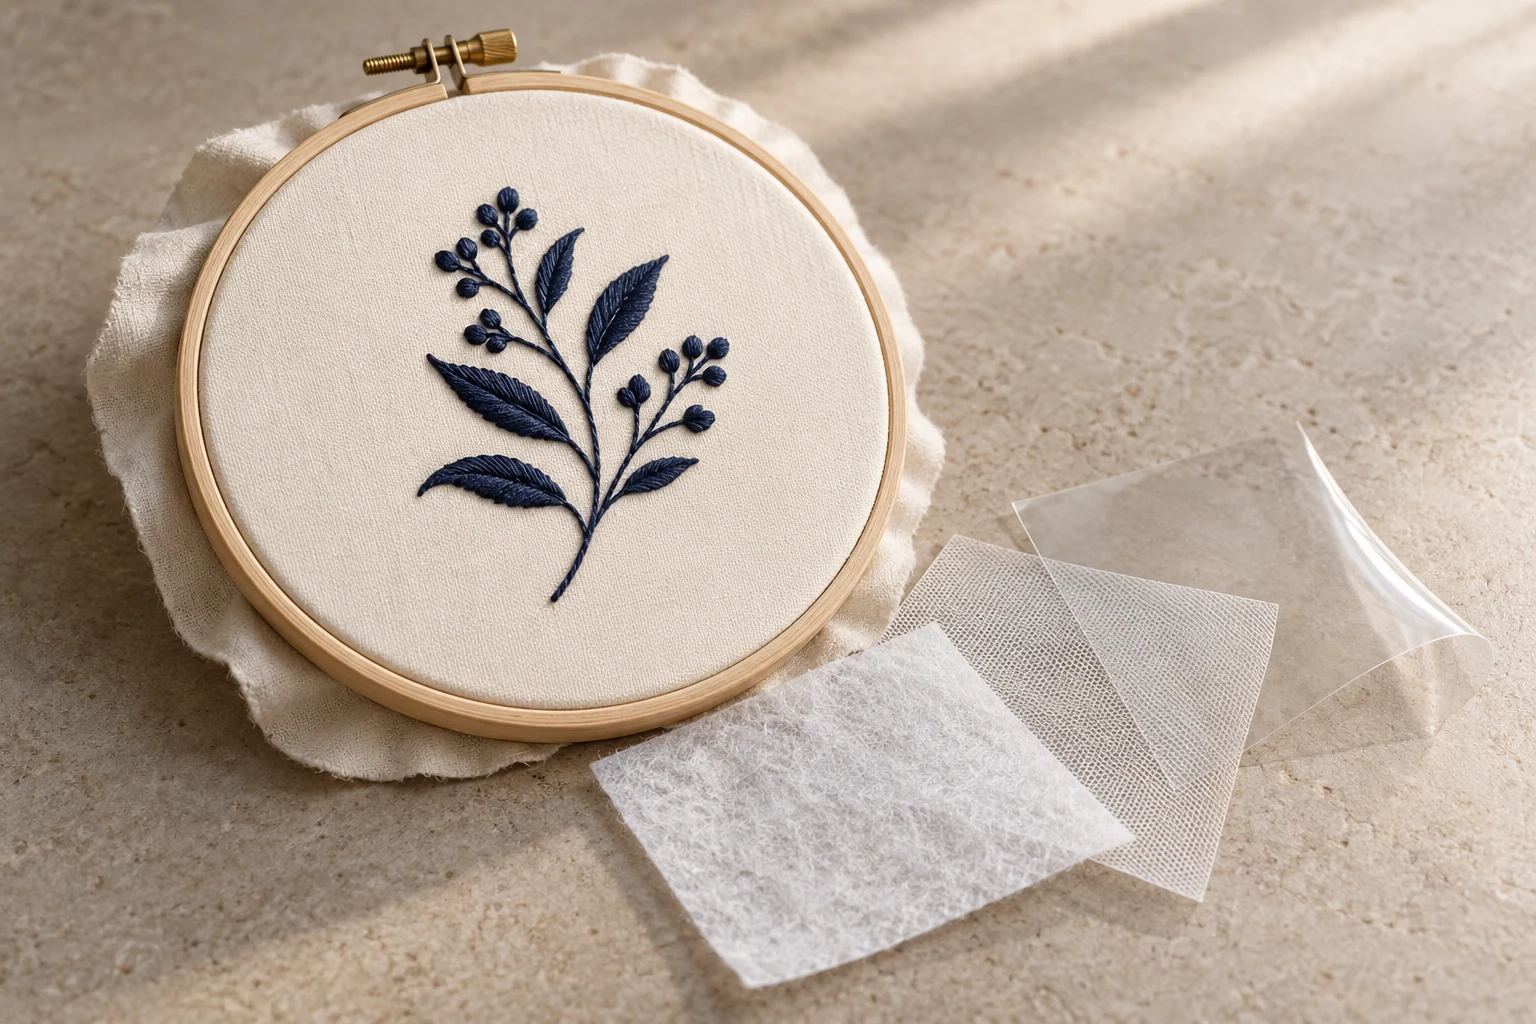
Cover image: AI-generated editorial concept; not a customer project or production proof.
Use cut-away backing for stretchy fabrics, tear-away for suitable stable woven fabrics, and wash-away when the project needs removable support. Add a topper over raised fabric fibers when stitches need help staying visible. Secure the chosen layers, stitch a sample, then remove only the material intended to come away. BERNINA’s embroidery workbook explains these backing and topping roles.
The practical choice depends on the fabric, design and finished use together. A soft T-shirt, woven bag, towel and freestanding lace ornament need different support even when their designs are similar in size.

Understand backing, topping and finishing covers
Backing sits beneath the fabric to support embroidery. Topping sits above it to help keep stitches from disappearing into texture. A finishing cover goes over the completed embroidery’s reverse to soften contact with the back stitches.
These terms describe different jobs. A thin topper does not automatically provide the support needed underneath a garment. Likewise, a cover applied after stitching cannot correct movement that happened during embroidery.
Stabilizer can reduce distortion, but it is only one part of the setup. Use the following choices as starting points and assess the finished sample before committing to a garment or production run.
Choose the stabilizer for the project

Project or fabric | Starting point |
|---|---|
T-shirts, jersey and other stretchy garments | Cut-away backing for support that remains after stitching. |
Stable woven cotton, canvas or similar fabric | Tear-away backing when the design and fabric can tolerate its removal. |
Towels and textured blankets | Backing selected for the fabric’s stability, plus a suitable topper over the pile. |
Light-colored garments | Test a lightweight mesh cut-away where permanent support is needed; inspect its visibility. |
Washable projects requiring complete backing removal | A wash-away product suitable for the stitching load. |
Freestanding lace | Wash-away backing and a design specifically prepared for freestanding lace. |
BERNINA’s stabilizer instructions distinguish woven, non-stretch materials from elastic fabrics. Sulky’s towel guidance also explains why some towels benefit from permanent backing alongside a topper.
Cut-away: apply underneath and trim the excess
Use cut-away when the embroidery needs continuing support, particularly on knits. Position it beneath the embroidery area and secure it with the fabric using the chosen hooping method. After stitching, separate the loose backing from the garment before trimming so the scissors cannot catch the fabric.
Leave the backing beneath the stitches intact. Follow the product’s trimming guidance; BERNINA’s workbook gives approximately ¼ inch, or 6 mm, around the design as one reference allowance.
For pale garments, compare backing samples under the actual fabric. Lightweight mesh can reduce a visible backing outline, but “no-show” should not be treated as a guarantee of invisibility. Design density also matters: choose enough support without making the embroidered area unnecessarily stiff. American Embroidery Supply’s stabilizer FAQ discusses mesh visibility, stitch density and testing heavier support.
Tear-away: remove gently after stitching
Tear-away is a useful option for stable fabrics when most excess backing should be removed. Secure it beneath the fabric, embroider, then support the stitched area while carefully tearing away the excess.
Work in small sections rather than pulling a large sheet against delicate stitches. Material can remain trapped beneath filled areas; tear-away does not necessarily disappear completely. BERNINA describes this limitation in its embroidery preparation instructions.
Do not choose tear-away simply because the fabric is thin. Consider whether removal could distort the weave or whether the finished design needs lasting support.
Wash-away: choose backing or topping deliberately
Water-soluble products vary in weight and construction. A lightweight film used over a towel is different from a substantial wash-away backing used to support freestanding lace.
Check that the fabric, thread and any trims tolerate the required wet treatment. Stitch with the specified product and number of layers, remove accessible excess without cutting stitches, then rinse or soak according to the manufacturer’s directions. Let the piece dry before judging its final feel.
For lace, confirm that the design is intended to remain connected after the backing dissolves. An ordinary garment design may depend on fabric to hold its elements together. Sulky’s water-soluble stabilizer guide describes the different products used for topping, backing and lace.
Toppers and heat-away products
Place a suitable topper over terry loops, fleece or other raised surfaces before embroidery, while retaining the required backing underneath. Secure it so it cannot shift into the stitching path.
Heat-away can be useful when wet removal is unsuitable, provided the complete project tolerates the required heat. Follow the exact product directions for temperature, iron movement and residue removal. Do not assume every heat-away product needs steam or a protective pressing sheet. Sulky explains its heat-removal method in the same water-soluble and heat-away guide.
Use adhesive and fusible versions correctly
“Sticky” and “fusible” describe attachment methods. Check whether the underlying material is cut-away, tear-away or wash-away before choosing it.
For paper-backed adhesive stabilizer, hoop the stabilizer with its release paper facing upward. Score and remove the paper without cutting through the support, then position the fabric on the exposed adhesive. This can help with small pieces or materials that should not be clamped directly in a hoop.
For fusible products, test adhesion and heat compatibility on a scrap, then apply using the manufacturer’s pressing instructions. Keep the fabric relaxed during application. If using temporary embroidery spray adhesive, apply it away from the machine. BERNINA’s hooping and adhesive instructions cover these attachment options.
Finish the reverse when comfort matters
After removing or trimming excess stabilizer, a soft fusible cover can be applied over the reverse stitches where appropriate. Check that its application method suits the garment and evaluate adhesion after the intended care cycle.
Sulky describes Tender Touch as a cover for completed embroidery in its finishing-cover guidance. Treat this as an optional finishing step, not a promise that a garment will suit every wearer’s skin.
Test the complete setup before repeating it
Use this practical sample routine:
Record the fabric, design version, finished size, stabilizer product and layer count.
Stitch on matching material using the planned backing, topping and attachment method.
Remove or trim the stabilizer as intended for the finished item.
Check the front and reverse for distortion, visible backing, trapped residue and excessive stiffness.
For washable items, evaluate a sample after the intended washing and drying routine.
Change one variable at a time and retain the successful sample as a reference.
Adding more backing is not always the solution. If extra support fails to resolve registration or puckering, investigate the design, tension and needle as well. American Embroidery Supply’s troubleshooting advice makes this distinction.
For buyers working with an embroiderer in the US, Canada or UK, specify the fabric, placement, finished dimensions and care requirements. Label dimensions in inches or millimeters. Ask what backing will remain and who will review the physical sample.
When commissioning a stitch file through DigitEMB’s embroidery digitizing service, include these production details with the artwork so the intended fabric and finish are clear.
Frequently asked questions
Do I need stabilizer for hand embroidery?
Support needs vary with the fabric and stitching. For hand embroidery, a suitable stabilizer may help manage the fabric or carry a removable pattern. Sulky identifies hand embroidery uses in its stabilizer guidance. Test the finished feel and removal method rather than assuming every hand-stitched project needs permanent backing.
Does a towel always need heavyweight backing?
No. Consider the towel’s structure and the design. A topper addresses surface loops; the backing addresses support underneath. Sulky’s towel advice includes both removable and permanent backing options.
Can wash-away stabilizer be reused after dissolving?
The dissolved sheet no longer provides its original continuous support. Plan each project around intact material and the product’s instructions. Do not rely on a previously perforated or partly dissolved piece beneath a new design.
Will stabilizer hide all reverse threads on sheer fabric?
Do not assume it will. Inspect the intended backing and thread arrangement through a fabric sample. Permanent backing may itself remain visible, while removable support must leave a design the fabric can carry after removal.
Practical details for How to Use Different Stabilizers for Embroidery
Use the article above as a starting point, then make the production brief specific to your own design. A stitch file is made for a finished size and material, so the artwork alone is only part of the instruction.
Work through these points in order and keep the answers with the artwork or production request. A short written brief makes it easier to compare a proof with the intended result, ask a useful follow-up question and avoid relying on assumptions made from a screen image alone.
The aim is not to add unnecessary steps. It is to identify the choices that change the final result before work begins. If a requirement is unknown, flag it for confirmation rather than guessing; that keeps the approval process focused on the design, material and use that apply to this particular project. Save the approved brief with the project files for future reorders or revisions.
Confirm the finished use
State the item, placement and finished width and height. A chest logo, cap front and jacket back do not use the same sewing area, even when they start from the same artwork.
Protect the smallest details
Review small lettering, narrow gaps, thin outlines and tiny colour changes at the final size. Simplifying a fragile detail before digitizing is often more reliable than trying to force it into a small sew-out.
Match the file to the machine
Tell the production team the embroidery machine or format required, along with the fabric or garment type. This lets them prepare the right export and make choices that suit the material rather than treating every job alike.
Quick questions to check before you proceed
What should I send with my artwork?
Send the clearest original available, the finished dimensions, placement, fabric or garment type and the required machine format if you know it.
Can the same file be used at every size?
Not always. Scaling changes the relationship between stitch length, detail and fabric, so a design may need review when the finished size or placement changes.
What should I check before production?
Confirm the spelling, colours, final size, placement and any details that must remain readable. A proof or sample is the best point to catch a change.