
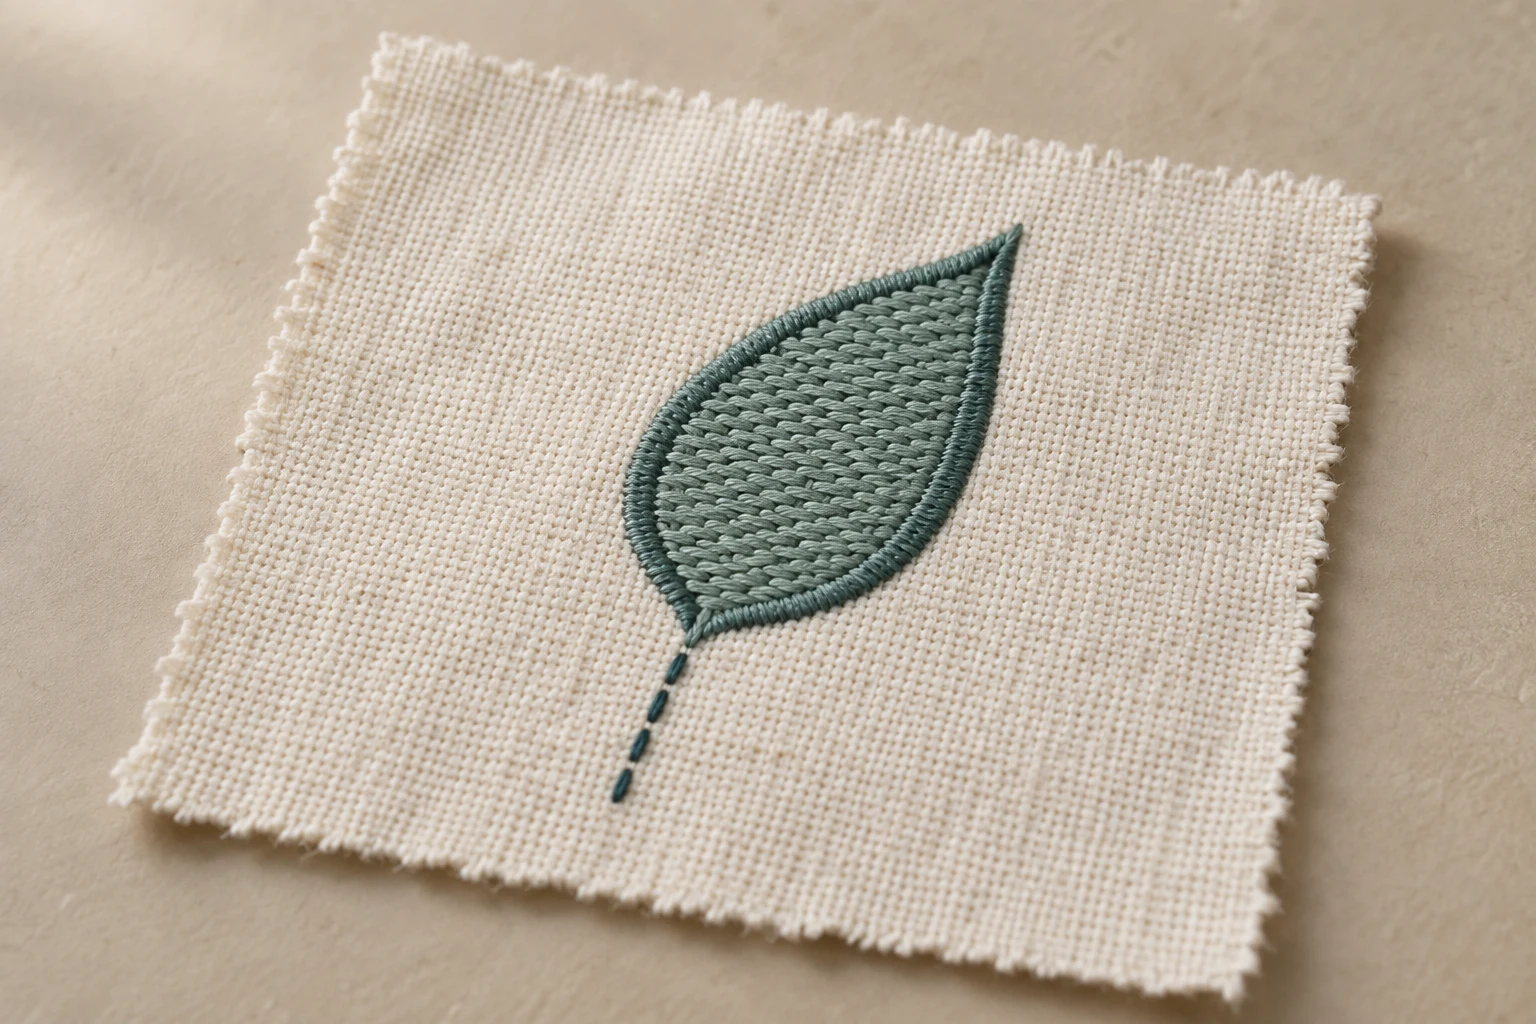
Cover image: AI-generated editorial concept; not a customer project or production proof.
Choose running stitch for fine lines, satin for narrow columns and suitable lettering, and tatami fill for broad areas. Then adjust the construction for the finished dimensions, fabric and intended use. A single design can combine all three.
These are core stitch structures, rather than an exhaustive list of machine embroidery effects. Hatch also documents decorative fills, motif runs and raised embroidery techniques. This guide focuses on making practical choices for each part of a design. Hatch’s digitizing and stitch options
Start with the design at its finished size
Before choosing settings, identify the intended width and height, garment fabric and embroidery placement. For buyers and production shops in the US, Canada and UK, label dimensions explicitly in inches or millimeters. For example, 3 inches equals 76.2 mm; this is a conversion, not a recommended logo size.
Examine individual shapes as well as the overall design. A large letter may have narrow strokes, while a small emblem may contain a relatively broad solid area. Select stitches for those local shapes.
Design feature | Starting choice and review point |
|---|---|
Fine outline or line detail | Running stitch; check whether the line remains visible. |
Narrow border or letter stroke | Satin; review the width and turns of the column. |
Broad solid shape or background | Tatami; assess coverage and surface texture. |
Shape that changes greatly in width | Consider dividing it into sections with different constructions. |
The basic roles follow Hatch’s stitch descriptions. Treat the choices as starting points for a sample, not automatic approval of every detail.
Choose and adjust running stitch for linework
Running stitch places successive stitches along a path. It is useful for outlines, fine details and some underlay. A repeated run can make a line more prominent; Hatch’s triple run follows the line three times. Hatch’s running stitch options
For a visible run, review the path and individual stitch lengths. Curves need enough needle points to follow their shape. A stitch length that looks smooth on a straight section may cut across a tight bend. Variable run length lets software adapt stitch lengths along a path. Hatch’s stitch terminology
Check the sample for a readable line without excessive buildup where paths repeat. Do not treat a single running line as though it had the row-spacing control of a filled area. Also avoid assuming that changing tiny lettering to running stitch will preserve its original appearance; agree on a simpler letterform or larger size when necessary.
Choose satin for columns, borders and lettering
Satin stitches cross between the sides of a column, producing a smooth surface with relatively uninterrupted thread spans. This makes satin useful for narrow shapes and borders. Hatch’s satin fill guidance
Review the narrowest and widest parts separately. At a tight turn, look for crowded inner stitches. At a wide section, consider whether the exposed thread span suits the garment’s use.
There is no single machine stitch-length limit that applies to every setup. Hatch explains that the limit varies with the selected machine. Its Auto Split function divides long satin stitches and distributes the added penetrations, changing the surface appearance. For broad areas, compare split satin with tatami instead of simply extending an ordinary satin column. Satin limits and automatic splitting
If the brief calls for foam embroidery, identify that requirement before digitizing. Foam uses specialist construction; ordinary flat satin settings should not be assumed suitable. Hatch’s raised embroidery options
Choose tatami for broad coverage
Tatami covers an area with rows of shorter stitches. Its spacing and stitch length are separate controls: row spacing determines fill density, while stitch length controls distances between penetrations along the rows. Increasing row spacing opens the fill; reducing it brings rows closer together. Hatch’s tatami density guidance
Choose the intended surface first: solid coverage, a lighter background or a visible pattern. Then assess how the fill behaves alongside borders and any lettering placed over it.
Avoid calculating a universal stitch count per square inch. Length, spacing, shape and supporting stitches all affect the result. Likewise, a heavy fabric does not automatically call for the densest possible fill. Review the actual sample for coverage and feel before adding more stitches.
Match support to the fabric and shape
Fabric weight alone is an incomplete guide. Stretch and surface characteristics also affect the support needed beneath the visible stitches. Hatch allows underlay to vary with fabric, object shape and lettering size; its guidance distinguishes stretchy knits from firm fabrics. Hatch’s automatic underlay guidance
Underlay is supporting stitching beneath the top embroidery. Center run can support narrow columns, zigzag can support wider columns, and open tatami underlay can support larger filled shapes. Select a foundation for the object rather than assigning the same underlay everywhere. A visible running outline does not automatically need a separate zigzag foundation. Underlay types and purposes
Pull compensation addresses another issue: stitches can draw fabric inward at needle penetrations, contributing to gaps or puckering. Compensation adjusts the stitched shape to allow for that movement. Appropriate backing, topping and underlay also help control the effect. Hatch’s pull compensation explanation
When a border misses a fill edge, investigate support and fabric movement before changing the stitch type or increasing density.
Apply the choices to one complete design
Consider an illustrative leaf emblem with a fine stem, a narrow outer border and a broad leaf interior. Start by evaluating running stitch for the stem, satin for the border and tatami for the interior.
At the intended size, ask whether the stem is visible and whether the border leaves enough room for the interior. If the emblem becomes smaller, review those decisions again rather than carrying over the original settings unchanged.
Next, assess the planned fabric and support. The same artwork on a knit shirt and a firm woven bag deserves separate evaluation. Record the stitch choices and any simplified details so the buyer can review the intended appearance.
This example is a decision exercise, not a customer project or a production specification.
Review a sample before settling the settings
Use a sew-out at the intended size on the planned fabric and support materials. Keep the review focused on what would justify a change:
Sample observation | What to review |
|---|---|
Fine lines disappear | Line construction, contrast and whether the detail needs enlarging. |
Satin looks crowded at turns | Column shape, stitch direction and local stitch buildup. |
Broad areas show unwanted gaps | Fill spacing, underlay and fabric movement. |
Borders fail to align | Compensation, support and sewing sequence. |
Embroidery feels too heavy | Coverage, repeated paths and overlapping layers. |
These are investigation prompts, not diagnoses. Record the fabric, backing, thread and file version, then change one relevant variable at a time where practical. Compare the revised sample under the same conditions.
For a digitizing request, provide artwork, finished dimensions, fabric, placement, required machine format and the desired texture. Identify whether you want flat or foam embroidery and agree on who will perform the sew-out. Use DigitEMB’s embroidery digitizing service page to discuss the project requirements.
Frequently asked questions
Should every part of a logo use the same stitch?
No. Choose by the role and dimensions of each element. Fine lines, narrow columns and broad areas often need different constructions.
Is higher density always better?
No. For tatami, closer row spacing increases density, but the goal is suitable coverage on the actual fabric. Review supporting stitches and the sample before adding more top stitching.
Can satin fill a large shape?
It can, but long spans require care. Review the machine’s limits and the effect of splitting, or consider tatami for broad coverage. Do not apply one universal satin-width rule to every machine and garment.
Do I need to review stitch choices after resizing?
Yes. Recheck narrow strokes, wide spans and small spaces at the new size. Confirm the result with a sample rather than relying only on the enlarged or reduced screen preview.
Practical details for How to Select Embroidery Stitches for Your Fabric and Design Size
Use the article above as a starting point, then make the production brief specific to your own design. A stitch file is made for a finished size and material, so the artwork alone is only part of the instruction.
Work through these points in order and keep the answers with the artwork or production request. A short written brief makes it easier to compare a proof with the intended result, ask a useful follow-up question and avoid relying on assumptions made from a screen image alone.
The aim is not to add unnecessary steps. It is to identify the choices that change the final result before work begins. If a requirement is unknown, flag it for confirmation rather than guessing; that keeps the approval process focused on the design, material and use that apply to this particular project. Save the approved brief with the project files for future reorders or revisions.
Confirm the finished use
State the item, placement and finished width and height. A chest logo, cap front and jacket back do not use the same sewing area, even when they start from the same artwork.
Protect the smallest details
Review small lettering, narrow gaps, thin outlines and tiny colour changes at the final size. Simplifying a fragile detail before digitizing is often more reliable than trying to force it into a small sew-out.
Match the file to the machine
Tell the production team the embroidery machine or format required, along with the fabric or garment type. This lets them prepare the right export and make choices that suit the material rather than treating every job alike.
Quick questions to check before you proceed
What should I send with my artwork?
Send the clearest original available, the finished dimensions, placement, fabric or garment type and the required machine format if you know it.
Can the same file be used at every size?
Not always. Scaling changes the relationship between stitch length, detail and fabric, so a design may need review when the finished size or placement changes.
What should I check before production?
Confirm the spelling, colours, final size, placement and any details that must remain readable. A proof or sample is the best point to catch a change.