
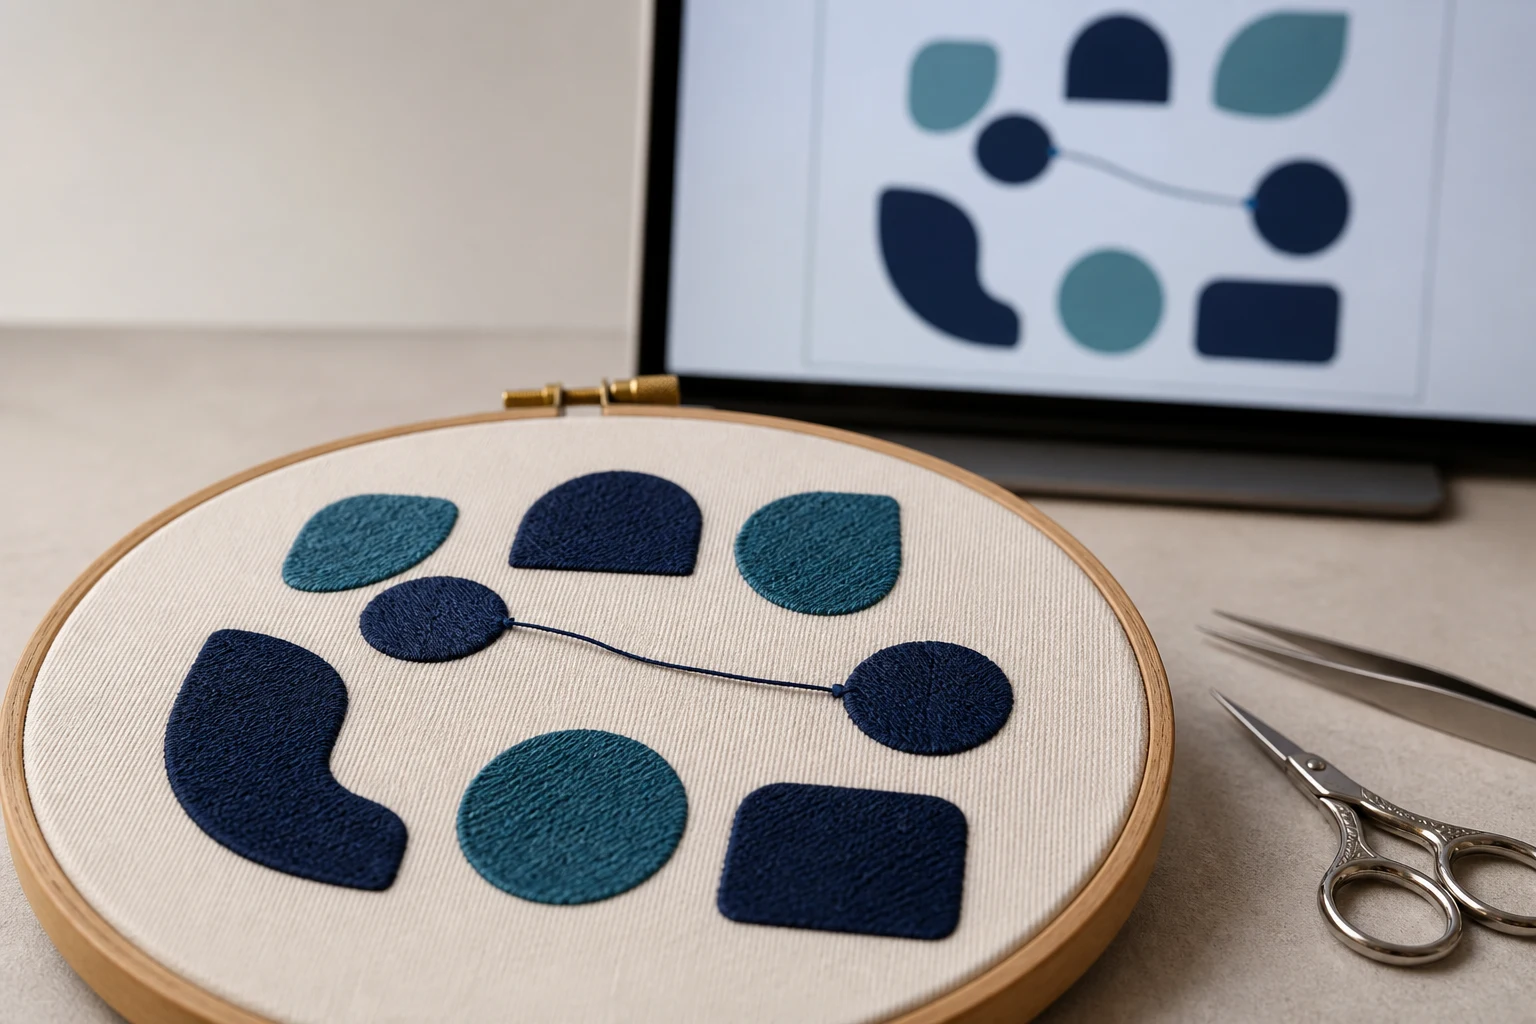
Cover image: AI-generated editorial concept; not a customer project or production proof.
To remove visible jump stitches from finished embroidery, carefully cut the exposed connecting threads with fine embroidery scissors. To reduce them in the design file, review the stitching order, adjust entry and exit points, and use suitable travel runs or trims. Test the revised file before stitching a production batch.
What are jump stitches?
A jump moves the embroidery frame between stitching areas without the needle penetrating the fabric. If the thread remains uncut, it leaves a loose bridge between parts of the design—the visible thread commonly called a jump stitch. Separated letters and disconnected shapes can require these movements. Wilcom explains jump connectors.
A jump is different from a travel run, which uses actual stitches to connect areas. A trim cuts the connecting thread; it does not remove the need for the frame to move to the next area.
Unnecessary exposed threads add finishing work, particularly across repeated shirts, caps or uniforms. The aim is a clean, secure design with sensible connections, rather than eliminating every jump movement.
How to trim jump stitches from finished embroidery
Brother’s embroidery instructions recommend using scissors to remove excess jump threads after the pattern finishes when jump trimming is switched off. Brother’s finishing guidance.
Finish stitching and move the work away from the needle. Follow your machine’s instructions for removing the hoop.
Identify the loose bridge. Check that it connects separate stitched areas and is not a decorative stitch or part of the underlying stitching.
Lift it gently. Use fine tweezers if necessary, without pulling on the embroidery.
Cut the exposed thread near each end. Keep the scissor tips clear of the fabric and surrounding stitches. Do not dig into the embroidery to chase a tiny tail.
Remove the cut piece and inspect the area. Stop if the stitches begin to loosen; the connection may lack adequate securing stitches.
Work under good light, especially between small letters. Avoid cutting every thread visible on the back: first establish which threads are loose connectors and which belong to the stitching. Coloring an exposed bridge with a marker does not remove it and is not a substitute for correcting or trimming the connection.
How to reduce jump stitches in digitizing software
1. Save a copy and inspect the connections
Keep the original design before editing. Use the editable source file when available, and review the design at its intended finished size.
In Wilcom EmbroideryStudio, Show Connectors displays connections and Show Functions reveals functions such as trims and tie-offs. These views help distinguish a jump from a planned cut. Wilcom’s connector controls.
Step through the stitch sequence and identify connections crossing open fabric. Inspect the actual path as well as the finished-design preview.
2. Review stitching order and entry/exit points
Look for avoidable trips across the design. Where the required layering allows it, arrange nearby objects in a practical sequence and shorten the distance from one object’s exit to the next object’s entry.
Wilcom supports manual entry/exit adjustments and an Apply Closest Join feature. Its documentation warns that closest joins are not automatically maintained after objects are moved, resequenced or edited, so check them again after changes. Wilcom’s guidance on minimizing connectors.
Moving an entry or exit point can shorten a connection, but it cannot erase a genuine gap between separate letters. Preserve the artwork’s spacing and shape.
3. Choose a covered travel run or a trimmed jump
Connection situation | Suitable approach |
|---|---|
Adjacent areas with stitching that will cover the connection | Consider a travel run positioned beneath that coverage. |
Separate shapes with open fabric between them | Use a jump with appropriate securing stitches and a trim. |
A long connection caused by an inefficient route | Review object order and entry/exit placement. |
A short visible bridge between letters | Review lettering connector settings and plan trimming if needed. |
Travel runs can remain visible unless covered. Route them within areas that subsequent stitching will conceal, and inspect their path rather than assuming that shorter stitches will disappear. Wilcom’s explanation of run connectors.
4. Check trims and securing stitches together
In EmbroideryStudio’s Object Properties > Connectors, settings can apply after an object or inside supported objects, including lettering components. Trim options include always trimming or trimming connections beyond a chosen distance.
Preserve suitable tie-offs before cuts and tie-ins where stitching restarts. These securing stitches help prevent unraveling; deleting them simply to lower the stitch count can undermine the result. Wilcom’s trim and tie settings.
For compatible objects, branching can also resequence components and minimize connectors. Treat it as an option to inspect, not an automatic fix for every design. Wilcom’s connector overview.
5. Export and run a sample
Export for the intended machine, then stitch a sample using the planned fabric, stabilizer and thread. Inspect exposed bridges, remaining tails and the security of starts and ends. Record any hand trimming still required before repeating the design across an order.
A useful test asks whether the file runs cleanly and finishes securely—not just whether its preview contains fewer connector lines.
Why your machine may leave jump threads
Check the manual for your exact model. A machine’s end-of-color cutting function and its jump-thread trimming controls may be separate.
On the models covered by Brother’s jump-trim manual, the selected length determines which jumps remain uncut. A higher setting produces fewer cuts and leaves more surface connections. That behavior and its available settings should not be assumed for every machine.
File interpretation can matter too. For the PR600II and PR620, Brother explains that DST jump-code settings must match how the file was created; a mismatch can cause missing or unexpected trims. This is model-specific guidance, not a universal DST setting. Brother Canada’s trimming troubleshooting.
If expected cuts fail, check the supported trimming function, enabled settings and file requirements before changing the artwork again.
What to request when ordering digitizing
For a buyer in the US, Canada or UK, a useful brief includes the machine model, required file format, fabric, placement and finished dimensions. State the units clearly, whether inches or millimeters.
Ask the digitizer to review exposed connectors, preserve secure starts and ends, and identify any expected manual trimming. Supply close-up photographs of problem areas from a sample sew-out where available.
You can use DigitEMB’s embroidery digitizing service page to explore the service before preparing that brief. Evaluate the proposed file through a sample on your production setup.
Frequently asked questions
Can all jump stitches be eliminated?
Separate design areas still need connecting movements. Some connections can become covered travel runs; others need jumps and trims. Removing every jump is not a useful goal if it changes the artwork or weakens the stitching.
Does moving a letter’s start point remove its jump thread?
It may shorten the connection. If open fabric still separates the letters, the thread still needs an appropriate trimming plan.
Are jump threads proof of poor digitizing?
No. Disconnected artwork can require jumps. Review whether the connections are intentional, whether trims suit the machine, and how much finishing the sample needs.
Is automatic jump trimming worth paying for?
Compare machines using a representative design and include hand-finishing time in your assessment. Verify that the specific model trims within a color and test short connections; an automatic cutter alone does not establish how every jump will be handled.
Practical details for How to Remove Jump Stitches in Embroidery and Reduce Them in Digitizing
Use the article above as a starting point, then make the production brief specific to your own design. A stitch file is made for a finished size and material, so the artwork alone is only part of the instruction.
Work through these points in order and keep the answers with the artwork or production request. A short written brief makes it easier to compare a proof with the intended result, ask a useful follow-up question and avoid relying on assumptions made from a screen image alone.
The aim is not to add unnecessary steps. It is to identify the choices that change the final result before work begins. If a requirement is unknown, flag it for confirmation rather than guessing; that keeps the approval process focused on the design, material and use that apply to this particular project. Save the approved brief with the project files for future reorders or revisions.
Confirm the finished use
State the item, placement and finished width and height. A chest logo, cap front and jacket back do not use the same sewing area, even when they start from the same artwork.
Protect the smallest details
Review small lettering, narrow gaps, thin outlines and tiny colour changes at the final size. Simplifying a fragile detail before digitizing is often more reliable than trying to force it into a small sew-out.
Match the file to the machine
Tell the production team the embroidery machine or format required, along with the fabric or garment type. This lets them prepare the right export and make choices that suit the material rather than treating every job alike.
Quick questions to check before you proceed
What should I send with my artwork?
Send the clearest original available, the finished dimensions, placement, fabric or garment type and the required machine format if you know it.
Can the same file be used at every size?
Not always. Scaling changes the relationship between stitch length, detail and fabric, so a design may need review when the finished size or placement changes.
What should I check before production?
Confirm the spelling, colours, final size, placement and any details that must remain readable. A proof or sample is the best point to catch a change.